Advertisement
Quick Links
Congratulations on your purchase of a quality Intermatic low voltage product.
1. Dig a hole with a small garden spade. Put the stake into the hole and refill, positioning the fixture as desired. To
prevent frost heaving, back-fill the hole with gravel.
2. Install the fixture onto the cap. The fixture must be U.L. listed, suitable for use in wet locations, a 1/2 inch trade size
nipple is provided if needed.
3. Pull the supply wires through the cap and connect the supply wires to the fixture.
4. Install the fixture and cap onto the top of the Landscape Lighting Stake.
Caution: FIXTURE MUST BE INSTALLED IN ACCORDANCE WITH ALL LOCAL CODES AND ORDINANCES. Lay out
the cable at this time and locate the place where the fixture will be installed. Do not install within 10 feet of a pool.
Instrucciones para su instalación
1. Cave un agujero utilizando una pequeña pala de jardinería. Coloque el soporte de fijación al suelo en el agujero y
rellene con tierra; asegurándose de que la lámpara quede colocada en la posición deseada. Para evitar que el
soporte se mueva de lugar a causa de heladas, puede rellenar con grava el agujero.
2. Instale la lámpara en el casquillo. La lámpara debe ser aprobada por los laboratorios U.L. y ser resistente al agua. Si
es necesario puede utilizar la boquilla roscada de 1/2 pulgada incluida en el paquete.
3. Pase los cables de corriente a través del casquillo y conéctelos a la lámpara.
4. Coloque la lámpara y el casquillo en la parte alta del soporte de la lámpara para jardines.
PRECAUCIÓN: SE DEBE INSTALAR LA LÁMPARA DE ACUERDO CON TODOS LOS CÁDIGOS Y REGLAMENTOS
LOCALES.
No instale ningún proyector a menos de 10 pies (3.30m) de distancia de una piscina.
1. Creusez un trou avec une petite bêche. Placez le pieu dans le trou et remplissez-le en plaçant la lampe à l'endroit
choisi. Pour éviter tout soulèvement dû au gel, remblayez le trou avec du gravier.
2. Installez la lampe sur le bouchon. Cette lampe doit être homologuée UL et convenir aux endroits mouillés. Au besoin,
on peut utiliser le mamelon commercial de 1/2 pouce fourni.
3. Passez les fils d'alimentation dans le bouchon et branchez-les à la lampe.
4. Installez la lampe et le bouchon sur le dessus du pieu d'éclairage de paysage.
®
LOW VOLTAGE LIGHTING
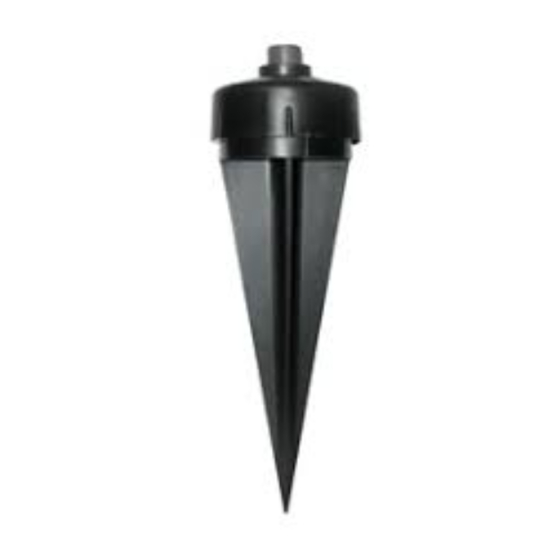
POWER STAKE
Fixture Fitting Suitable for Wet Locations
INSTALLATION INSTRUCTIONS
AL1150
Advertisement

Related Manuals for Intermatic AL1150


Summary of Contents for Intermatic AL1150
- Page 1 INSTALLATION INSTRUCTIONS Congratulations on your purchase of a quality Intermatic low voltage product. 1. Dig a hole with a small garden spade. Put the stake into the hole and refill, positioning the fixture as desired. To prevent frost heaving, back-fill the hole with gravel.
- Page 2 GARANTÍA LIMITADA DE UN AÑO Si en un plazo de uno (1) año contados a partir de la fecha de compra, el producto falla debido a un defecto de material o mano de obra, Intermatic Incorporated lo reparará o reemplazará, a opción propia, de forma gratuita. Esta garantía se aplica solamente al comprador particular original y no es trans- ferible.