Advertisement
Quick Links
Nasuni Filer Hardware Deployment
Welcome!
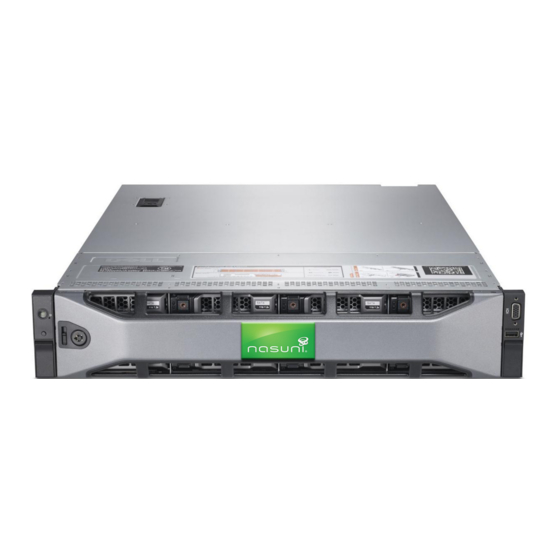
Welcome to the Nasuni family of customers. The Nasuni Filer hardware appliance is your connection to Nasuni's
services, giving you a single point of control to manage your storage. Our Service enables you to absorb data
growth, reduce headaches due to backups, and experience the security of offsite replication. The Nasuni Filer
hardware appliance is easy to install, taking no more than 15 minutes.
Enjoy powerful data storage and global multi-site access to files — simplified!
Summary
You can set up your Nasuni Filer without console access. At the end of the setup process, there are several ways
to determine the initial IP address of the Nasuni Filer Web-based user interface. This IP address is critical for
administering your Nasuni Filer. After you install the hardware appliance, you configure and administer the Nasuni
Filer using the Web user interface.
Network Configuration
The Nasuni Filer has one required and two optional ports that need to be open and available on your network:
•
443 HTTPS (required) — This port is used when communicating with the Nasuni Service.
•
NTP (optional) — You can configure the Nasuni Filer to use your local NTP time server. Depending on your
network environment, you might need to open port 123 on your network to use the default NTP servers.
•
25 SMTP (optional) — You can configure the Nasuni Filer to use your local SMTP server. Depending on your
network environment, you might need to open port 25 on your network. This step is necessary for the Nasuni
Filer to send alerts via SMTP if you configure the alerts option.
Installation Procedure
To set up the Nasuni Filer hardware appliance:
1.
Install the mounting rails in the rack where you want to mount the Nasuni Filer hardware appliance, then mount
the hardware appliance on the rails. Refer to the hardware mounting documentation (included) for more details.
2.
Attach the power and network cables. Plug one network cable into the "Gb1" port; after the initial installation is
complete, you can configure additional ports. Please see the Nasuni Filer Users Guide for details. Provide each
power supply with power from separate sources for best power redundancy.
3.
Connect the Nasuni Filer hardware appliance to your network.
4.
Power on the Nasuni Filer hardware appliance. Wait 5 minutes for the system to start up.
5.
Determine or set the IP address of the Nasuni Filer in one of the following ways:
•
If DHCP is available on the network, connect a monitor to the VGA port. Alternatively, search network traffic
logs for the MAC address. Alternatively, set the MAC address in the DHCP host to force the Nasuni Filer to a
known IP address, then restarting. Alternatively, download the Filer Finder tool: https://account.nasuni.com/.
•
Otherwise, connect a monitor and keyboard. Press Enter. Use username service and password
service. Enter editnetwork. Enter setall static. Follow the prompts to enter data. Enter save.
6.
Provide the IP address noted to the Nasuni Filer administrator to complete the software installation using a Web
browser. You can find software installation documentation at:
Getting Started Guide for NF-400
http://www.nasuni.com/support/documentation
© 2013 Nasuni Corporation All Rights Reserved
Advertisement

Summary of Contents for Nasuni NF-400
- Page 1 Summary You can set up your Nasuni Filer without console access. At the end of the setup process, there are several ways to determine the initial IP address of the Nasuni Filer Web-based user interface. This IP address is critical for administering your Nasuni Filer.
- Page 2 © Copyright 2010-2013 by Nasuni Corporation. All rights reserved. Information in this document is subject to change without notice and does not represent a commitment on the part of Nasuni. The software described in this document is furnished under a license agreement. The software may be used only in accordance with the terms of the license agreement. It is against the law to copy the software on any medium.
