Table of Contents
Advertisement
Advertisement
Table of Contents

Related Manuals for Hanns.G HC194D


Summary of Contents for Hanns.G HC194D
-
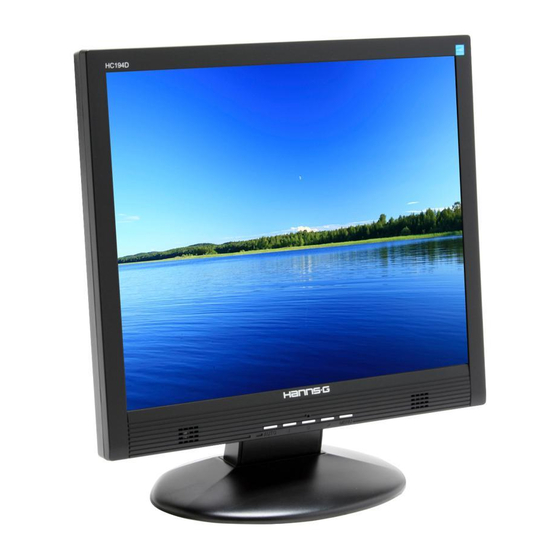
Page 1: Tft Lcd Monitor
19 inch HC series TFT LCD Monitor USER’S MANUAL... - Page 3 Before operating the monitor, please read this manual thoroughly. This manual should be retained for future reference. FCC Class B Radio Frequency Interference Statement This equipment has been tested and found to comply with the limits for a Class B digital device, pursuant to Part 15 of the FCC Rules.
- Page 4 User’s Manual Some of the features of the TCO’03 Display requirements: Ergonomics • Good visual ergonomics and image quality in order to improve the working environment for the user and to reduce sight and strain problems. Important parameters are luminance, contrast, resolution, reflectance, colour rendition and image stability.
-
Page 5: Recycling Information
User’s Manual Recycling Information We, the HannStar Display Corp. care very much about our environment protection strategy and firmly believe that it helps us have healthier earth via appropriate treatment and recycling of industrial technology devices at the end-of-life. These devices contain recyclable materials, which can be re-decomposed and re-integrated into brand-new marvels. -
Page 6: Table Of Contents
User’s Manual SAFETY NOTICE ... 7 PRECAUTIONS ... 7 SPECIAL NOTES ON LCD MONITORS ... 8 BEFORE YOU OPERATE THE MONITOR ... 9 FEATURES ... 9 CHECKING THE CONTENTS OF THE PACKAGE ... 9 INSTALLATION INSTRUCTIONS ... 10 POWER... 10 CONTROLS AND CONNECTORS... -
Page 7: Safety Notice
• tub, swimming pool or in a wet basement. Do not place the monitor on an unstable cart, stand, or table. If the monitor falls, it can • injure a person and cause serious damage to the appliance. Use only a cart or stand recommended by the manufacturer or sold with the monitor. -
Page 8: Special Notes On Lcd Monitors
User’s Manual SPECIAL NOTES ON LCD MONITORS The following symptoms are normal with LCD monitor and do not indicate a problem. Due to the nature of the fluorescent light, the screen may flicker during initial use. Turn • off the Power Switch and then turn it on again to make sure the flicker disappears. -
Page 9: Before You Operate The Monitor
BEFORE YOU OPERATE THE MONITOR FEATURES 19” TFT Color LCD Monitor • Crisp, Clear Display for Windows • Recommended Resolutions: 1280 X 1024 19” monitors • ® EPA ENERGY STAR • Ergonomic Design • Space Saving, Compact Case Design •... -
Page 10: Installation Instructions
2. This LCD monitor has an Internal universal power supply that allows operation in either 100/120V AC or 220/240V AC voltage area (No user adjustment is required.) 3. Connect the AC-power cord one end to your LCD monitor’s AC-input socket, the other end to wall-outlet . -
Page 11: Controls And Connectors
CABLE CONNECTIONS: Turn off your computer before performing the procedure below. 1. Connect one end of the 15-pin D-Sub cable to the back of the monitor and connect the other end to the computer’s D-Sub port. 2. Connect one end of the 24-pin DVI cable (Dual input mode optional) to the back of the monitor and connect the other end to the computer’s DVI port. -
Page 12: Adjusting The Viewing Angle
User’s Manual ADJUSTING THE VIEWING ANGLE For optimal viewing it is recommended to look at the full face of the monitor, then adjust • the monitor’s angle to your own preference. Hold the stand so you do not topple the monitor when you change the monitor’s angle. -
Page 13: Operating Instructions
OPERATING INSTRUCTIONS GENERAL INSTRUCTIONS Press the power button to turn the monitor on or off. The other control buttons are located at front panel of the monitor (See Figure 4). By changing these settings, the picture can be adjusted to your personal preferences. -
Page 14: Front Panel Control
(The Auto Adjustment function is used to optimized the H-Position, V-Position, Clock and Focus.) NOTES: Do not install the monitor in a location near heat sources such as radiators or air dusts, • or in a place subject to direct sunlight, or excessive dust or mechanical vibration or shock. -
Page 15: How To Adjust A Setting
User’s Manual HOW TO ADJUST A SETTING OSD Diagram OSD Description Brightness/Contrast adjustment: Brightness: Adjusts brightness by using the buttons < or > (② and ⑤ in fig. 4). Contrast: Adjusts screen contrast by using the buttons < or > (② and ⑤ in fig. Image Control: Auto Adjustment: Automatically selects the optimal settings for image parameters... -
Page 16: Plug And Play
This monitor is equipped with VESA DDC2B capabilities according to the VESA DDC STANDARD. It allows the monitor to inform the host system of its identity and, depending on the level of DDC used, communicate additional information about its display capabilities. - Page 17 When there is no video input signal this monitor, following a time-out period, will automatically switch to an OFF mode. This reduces the monitor's internal power supply consumption.
-
Page 18: Technical Support (Faq)
*Computer Video Card should be snugly seated in its slot *Make sure monitor’s video cable is properly connected to the computer. *Inspect monitor’s video cable and make sure none of the pins are bent. *Make sure computer is operational by hitting the CAPS LOCK key on the keyboard while observing the CAPS LOCK LED. -
Page 19: Error Message & Possible Solution
ERROR MESSAGE & POSSIBLE SOLUTION CABLE NOT CONNECTED : 1. Check that the signal-cable is properly connected, If the connector is loose, tighten the connector’s screws. 2. Check the signal-cable’s connection pins for damage. INPUT NOT SUPPORT : Your computer has been set to unsuitable display mode, set the computer to display mode given in the following table. -
Page 20: Appendix
User’s Manual APPENDIX SPECIFICATIONS LCD Panel Input Display Colors Dot Clock Max. Resolution Plug & Play Audio output Input Connector Power Source Environmental Considerations Dimensions Weight (GW/NW) Regulatory Compliance ***The above specification is subject to actual panel specification and is subject to change without prior notice. -
Page 21: Connector Pin Assignment
CONNECTOR PIN ASSIGNMENT 15 - Pin Color Display Signal Cable: PIN NO. DESCRIPTION Green Blue Ground Ground R-Ground G-Ground B-Ground 24 - Pin Color Display Signal Cable: (Dual Input Mode) PIN NO. DESCRIPTION TMDS Data 2- TMDS Data 2+ TMDS Data 2/4 Shield TMDS Data 4- TMDS Data 4+ DDC Clock...