Table of Contents
Advertisement
Quick Links
Advertisement
Table of Contents

Related Manuals for Cambridge Audio EDGE W


Summary of Contents for Cambridge Audio EDGE W
- Page 1 EDGE W Manual Generated: 26/08/2022 - 04:19...
-
Page 2: Table Of Contents
Table of Contents EDGE W ............................................... Introduction ............................................What’s included with the EDGE W? ....................................Front panel ............................................Rear panel connections ........................................Getting connected ..........................................Power syncing ..........................................Protection circuitry ......................................... Troubleshooting ..........................................Technical specifications ......................................... Frequently Asked Questions (FAQ) -
Page 3: Edge W
EDGE W Last updated: August 9, 2022 05:05. Revision #5727 Users Manual... -
Page 4: Introduction
This guide is designed to make installing and using this product as easy as possible. Information in this document has been carefully checked for accuracy at the time of printing; however, Cambridge Audio’s policy is one of continuous improvement, therefore design and specifications are subject to change without prior notice. -
Page 5: What's Included With The Edge W
Inside the box of your EDGE W you will receive: EDGE W Power Amplifier UK power cord (Depending on which country the EDGE W was purchased in) EU power cord (Depending on which country the EDGE W was purchased in) -
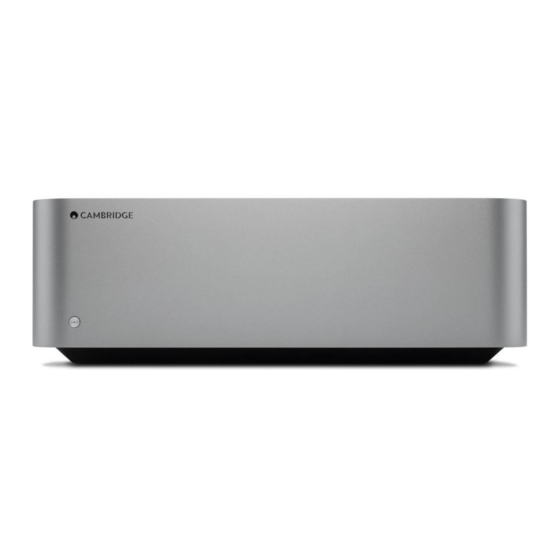
Page 6: Front Panel
Front panel Last updated: August 9, 2022 05:05. Revision #5719 1. STANDBY/ON - Switches the unit between Standby mode (indicated by dim LED) and On (indicated by bright LED). Standby mode is a low power mode where the power consumption is less than 0.5 Watts. AUTO POWER DOWN (APD) The product will automatically switch to standby mode after inactivity of 20 minutes. -
Page 7: Rear Panel Connections
Rear panel connections Last updated: August 9, 2022 05:05. Revision #5720 1. VOLTAGE SELECTOR SWITCH Note: For use by Cambridge Audio service personnel only! 2. AC POWER SOCKET 3. SPEAKER TERMINALS Note: When using a banana plug, make sure the speaker terminals are completely tightened before inserting the plug. - Page 8 Connect the wires from your left channel loudspeaker to the left positive and negative terminals and the wires from the right channel loudspeaker to the right positive and negative terminals. In each case, the red terminal is the positive output and the black terminal is the negative output. Care should be taken to ensure no stray strands of wire short the speaker outputs together.
-
Page 9: Getting Connected
Getting connected Last updated: August 9, 2022 05:05. Revision #5721 LOUDSPEAKERS Check the impedance of your speakers. You can use types with an impedance of between 4 and 8 Ohms. The red coloured speaker terminals are positive (+) and the black speaker terminals are negative (-). Make sure the correct polarity is maintained at each speaker connector or the sound can become weak and “phasey”... - Page 10 The analogue inputs are to be connected to the Pre-Outs of a Preamplifier or Integrated amp. The diagrams below show the basic connection from a Preamplifier. Unbalanced input: Using RCA cables will enable an unbalanced analogue connection to your EDGE W. If using RCA cables, ensure the ‘Unbalanced’ switch on your EDGE W is selected.
- Page 11 Balanced input: Using XLR cables will enable a balanced analogue connection to your EDGE W. This will provide a cleaner signal path compared to an RCA unbalanced connection, especially over longer cable lengths, however the increase in audio quality they provide is subjective when used over shorter lengths.
- Page 12 Bi-amping allows you to drive the high and mid frequencies of your speakers from one power amp, and the low frequencies of your speakers from a second power amp. The diagram below shows how to bi-amp a pair of EDGE W's connected to an EDGE NQ using a balanced connection.
-
Page 13: Power Syncing
Last updated: August 9, 2022 05:05. Revision #5722 Use the Link wire between the EDGE NQ and EDGE W or EDGE A and EDGE W to synchronise power on/standby. When you turn the EDGE A or NQ On/Off, the EDGE W will also turn On/Off. -
Page 14: Protection Circuitry
EDGE W offers loudspeaker protection if the output of the amplifier goes to a high constant voltage (DC) because of some internal fault. This is a rare fault, although detecting it will protect your loudspeakers from damage. -
Page 15: Troubleshooting
Troubleshooting Last updated: August 9, 2022 05:05. Revision #5724 There is no power Ensure the AC power cord is connected securely. Ensure the plug is fully inserted into the wall socket and is switched on. Check fuse in the mains plug or adaptor. There is no sound Make sure the unit is not in Standby mode. -
Page 16: Technical Specifications
Technical specifications Last updated: August 9, 2022 05:05. Revision #5725 Continuous power output: 100W RMS into 8 Ohms 200W RMS into 4 Ohms THD (unweighted): <0.002% 1kHz at rated power (8 Ohms) <0.02% 20Hz – 20kHz at rated power (8 Ohms) Frequency Response: <3Hz –... - Page 17 23.6kg (51.9lbs)
-
Page 18: Frequently Asked Questions (Faq)
Last updated: August 9, 2022 05:05. Revision #5726 What impedance speakers can I use with the EDGE W? You can use speakers with an impedance between 4-8 Ohms with the EDGE W. The EDGE W outputs 100W RMS into 8 Ohms and 200W RMS into 4 Ohms.