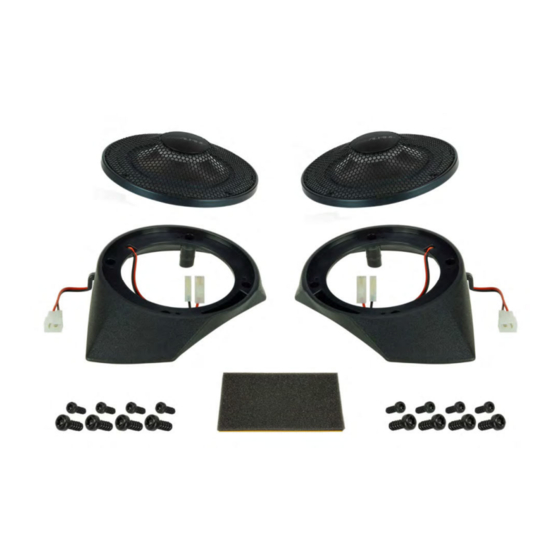
Summary of Contents for Alpine SPC-R100-DU
- Page 1 SPC-R100-DU Installation Manual / Einbauanleitung Radial Speaker System Fiat Ducato / Peugeot Boxer / Citroën Jumper (250/290)
- Page 2 SPC-R100-DU First you have to disconnect the plug from the original tweeter. Some vehicles don’t have a tweeter or cable, then you can find the plug behind the A-Pillar. In case of no tweeter cable, please connect the speaker directly to the head unit ISO-connector.
- Page 3 SPC-R100-DU Remove the two screws from the right REMIfront top cover with a PH2 screw driver (this step is only necessary if a REMIfront is available). Entfernen Sie die beiden Kunststoff- schrauben der oberen REMIfront Verkleidung mit einem Kreuzschrauben- dreher (dieser Schritt nur notwendig, wenn eine REMIfront vorhanden ist).
- Page 4 SPC-R100-DU Remove the connector from the tweeter, if a tweeter is present. Lösen Sie den Stecker vom Hochtöner Retirez le connecteur du tweeter, si un tweeter est présent Now the connector is accessible and you can start with the speaker installation.
- Page 5 SPC-R100-DU Place the housing on the contour of the dashboard close as possible to the vehicle air vent. Platzieren Sie das Gehäuse auf der äußeren Wölbung des Armaturenbretts möglichst nah am Lüftungsaustritt. Placer le boîtier sur le contour du tableau de bord.
- Page 6 SPC-R100-DU Drill the four holes. Bohren Sie die vier Löcher. Percez les quatre trous 2,5mm Connect the plug to the enclosure and put the housing on the Dashboard. Verbinden Sie die Stecker und platzieren Sie das Gehäuse auf dem Armaturenbrett Branchez la fiche au boîtier et placez le...
- Page 7 SPC-R100-DU Wrap one piece of the adhesive foam around the connector and stow it away behind the A-pillar trim. Afterwards fix the A-pillar (counter direction to steps 2 to 5) Wickeln Sie das selbstklebende Schaumstoffstück um die Stecker und verstauen es hinter der A-Säulen- verkleidung.
- Page 8 SPC-R100-DU Connect the speaker wire to the speaker. Schließen Sie das Lautsprecherkabel an. Connectez le fil du haut-parleur au haut- parleur. Fix the speaker with the four supplied screws (Torx 10) Befestigen Sie den Lautsprecher mit den vier mitgelieferten Torx Schrauben (T10).
- Page 9 SPC-R100-DU The SPC-R100-DU installation is done. (Same procedure on the left side) Der Einbau des SPC-R100-DU ist fertig. (gleiche Prozedur auf der linken Seite) L'installation du SPC‐R100‐DU est terminée. (Même procédure sur le côté gauche) System Diagram/ Systemdiagramm...
- Page 10 SPC-R100-DU In case you’ll combine the “ALPINE Companion Ensemble” Sound solution with one of the below listed ALPINE Multimedia Systems you can increase the sound performance by the right setup of your DSP parameter (follow the settings listed in below table) Falls Sie ihre “ALPINE Companion Ensemble”...


