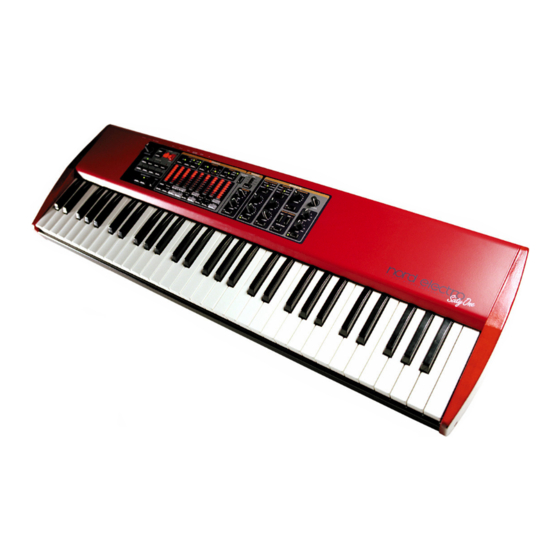
Clavia nord electro 2 Service Manual
Hide thumbs
Also See for nord electro 2:
- Setting up (2 pages) ,
- User manual (64 pages) ,
- Service manual (8 pages)
Table of Contents
Advertisement
Quick Links
Advertisement
Table of Contents

Summary of Contents for Clavia nord electro 2
- Page 1 SERVICE MANUAL...
-
Page 2: Table Of Contents
Running the test program ............4 Error Codes ................7 Hardware ..................8 Hardware structure ..............8 Opening the synth............... 9 Hardware configuration............. 10 Hardware versions..............10 Software ..................11 Spare Parts................. 12 Clavia DMI Service manual Nord Electro rev. 1.2 Page 1... - Page 3 The information in this service manual is intended for service centers that repair Clavia products. It may not be copied, reposted, modified, served from other web pages, made into derivative works or distributed to other sources such as end users or retailers that do not repair Clavia products.
-
Page 4: Overview
D: 295 mm D: 295 mm D: 105mm H: 95 mm H: 95 mm H: 4 rack units Weight: 9,4Kg / 20 lbs Weight: 7,8Kg / 17 lbs Weight: - Clavia DMI Service manual Nord Electro rev. 1.2 Page 3... -
Page 5: Test Program
After finishing each test successfully, the test program jumps forward to the next step. The active test is shown in the display. To toggle manually between tests, press [ shift + up ] or [ shift + down ]. Clavia DMI Service manual Nord Electro rev. 1.2 Page 4... - Page 6 Rocking the control pedal back and forth should generate values between 0 and 7F, shown in the display. To make the test jump forward to the next stage, unplug all pedals and then reconnect and unplug the control pedal. Clavia DMI Service manual Nord Electro rev. 1.2 Page 5...
- Page 7 'rd'. If the test stops, there are likely errors on either the EEPROM or surrounding connections Press [ shift + octave up + octave down ] to execute the EEPROM test. Clavia DMI Service manual Nord Electro rev. 1.2 Page 6...
-
Page 8: Error Codes
F.n USB Error: Sent/received NAK. F.o USB Error: Sent stall. F.P USB Error: Overflow error. F.r USB Error: Bitstuff error. F.t USB Error: Invalid data PID. F.y USB Error: Unknown error. Clavia DMI Service manual Nord Electro rev. 1.2 Page 7... -
Page 9: Hardware
The model of the Nord Electro is hardware configured on the panel board. See section ”Hardware configuration” for details. The panel board is connected to the main board with a 26 pole connector P1 (22520). Clavia DMI Service manual Nord Electro rev. 1.2 Page 8... -
Page 10: Opening The Synth
Loosen the last two screws holding the top to the chassis. (40038) Loosen the nine screws holding the panel board to the upper lid. (40262) You can now lift out the panel board. Clavia DMI Service manual Nord Electro rev. 1.2 Page 9... -
Page 11: Hardware Configuration
-The latest available OS version (and piano samples) will work on all officially released main board versions, however old OS versions might NOT work on newer main boards Always use the latest OS version! Clavia DMI Service manual Nord Electro rev. 1.2 Page 10... -
Page 12: Software
The factory programs are available as a MIDI Sysex file for download at www.clavia.se Please refer to the Nord Electro user manual for information on how to restore the factory presets. Clavia DMI Service manual Nord Electro rev. 1.2 Page 11... -
Page 13: Spare Parts
40228 Angle bracket, support NE 40231 Wood side Electro61, Left 40232 Wood side Electro61, Right 40233 Wood side Electro73, Left 40234 Wood side Electro73, Right 40262 Screw M4x6 40267 Screw, woodside E61,73 outside Clavia DMI Service manual Nord Electro rev. 1.2 Page 12... - Page 14 22590 Connector 1/4" Mono 22640 Connector din 5pol Midi 22680 Connector 20 pole, micromatch 22670 Connector 16 pole, micromatch 22520 Connector 26 pole 22480 Connector 10pol 22690 USB connector Type B Clavia DMI Service manual Nord Electro rev. 1.2 Page 13...


