
Related Manuals for Bosch I94CAQ6N0B


Summary of Contents for Bosch I94CAQ6N0B
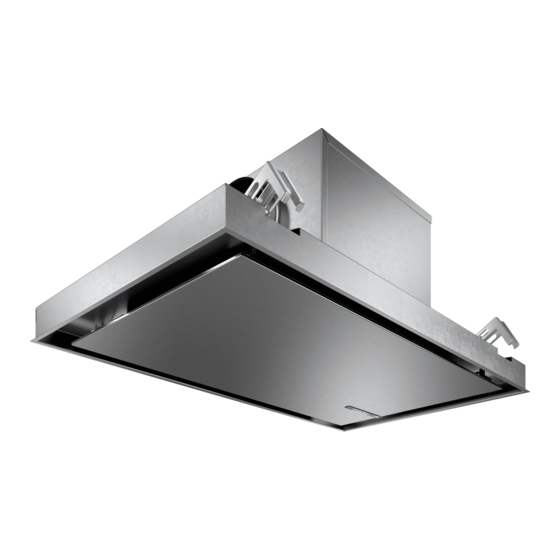
- Page 1 Ceiling-mounted ventilation system [en] User manual and installation instructions I94CAQ6N0B...
-
Page 2: Table Of Contents
en Safety 1.2 Intended use Table of contents Read the information on intended use to en- sure that you use the appliance correctly and safely. USER MANUAL This appliance is designed only to be built Safety .............. 2 into kitchen units. Read the special installation instructions. -
Page 3: Safety
Safety en ▶ Never operate the appliance without a WARNING ‒ Risk of poisoning! grease filter. Risk of poisoning from flue gases being ▶ Clean the grease filters regularly. drawn back in. Room-air-dependent heat-pro- ▶ Never work with naked flames close to the ducing appliances (e.g. -
Page 4: Preventing Material Damage
en Preventing material damage ▶ Do not make any changes to the electrical WARNING ‒ Risk of electric shock! or mechanical assembly. If the appliance or the power cord is dam- The filter cover may swing out. aged, this is dangerous. ▶ Open the filter cover slowly. ▶... -
Page 5: Environmental Protection And Saving En- Ergy
Environmental protection and saving energy en Do not pull design elements. Safely dispose of empty or defective batteries in an ▶ ▶ Do not place objects on the design elements or environmentally friendly manner. ▶ hang objects from them. There is a risk of surface damage if you do not peel off Leaking batteries may damage the remote control. -
Page 6: Familiarising Yourself With Your Appliance
en Familiarising yourself with your appliance 5 Familiarising yourself with your appliance 5.1 Controls Switch the fan run-on on or off Home Connect You can use the control panel to configure all functions of your appliance and to obtain information about the Reset the filter saturation indicator operating status. -
Page 7: Basic Operation
Basic operation en 7.2 Switching off the appliance 7.10 Intermittent ventilation Switch the appliance off when you are not using it. With interval ventilation, the ventilation system switches on and off in the selected setting for the selected time. Press to switch the appliance off. ▶... -
Page 8: Hob-Based Hood Control
en Hob-based hood control Press and hold and for approx. three seconds. 7.14 Resetting the saturation indicator a In the LED display, the LED for the setting that is After cleaning the grease filter or after changing the currently selected lights up. odour filter, the saturation indicator can be reset. Press or ... -
Page 9: Home Connect
Home Connect en 9 Home Connect This appliance is network-capable. Connecting your ap- Press pliance to a mobile device lets you control its functions a LED 1 and LED 7 flash in the LED display. via the Home Connect app, adjust its basic settings Press the WPS button on the router within the next and monitor its operating status. - Page 10 en Cleaning and servicing 9.4 Software update 9.7 Data protection Your appliance's software can be updated using the Please see the information on data protection. software update function, e.g. for the purposes of op- The first time your appliance is registered on a home timisation, troubleshooting or security updates.
-
Page 11: Cleaning And Servicing
Cleaning and servicing en Do not use hard scouring pads or cleaning ▶ 10.3 Cleaning the stainless steel surfaces sponges. Observe the information regarding the cleaning Do not use any special cleaners for cleaning the ap- ▶ agents. pliance while it is hot. → "Cleaning products", Page 10 Only use glass cleaners, glass scrapers or stainless ▶... - Page 12 en Cleaning and servicing Open the filter cover by pulling it downwards. Use special grease solvent for stubborn dirt. You can obtain grease solvents from after-sales service or the online shop. Start the dishwasher. Select a temperature of no more than 70 °C. Allow the grease filters to drain.
-
Page 13: Troubleshooting
Troubleshooting en Remove the batteries if you are not using the re- ▶ Insert the new batteries (3 V CR 2032). mote control. Safely dispose of empty or defective batteries in an ▶ environmentally friendly manner. Remove the cover. Remove the empty batteries. Close the cover. Dispose of the empty batteries in an environmentally friendly manner. -
Page 14: Accessories
en Customer Service 12 Customer Service If you have any queries on use, are unable to rectify If you contact Customer Service, you will require the faults on the appliance yourself or if your appliance product number (E-Nr.) and the production number needs to be repaired, contact Customer Service. -
Page 15: Installation Instructions
Installation instructions en 15 Installation instructions Observe this information when installing the appliance. 15.3 Dimensions You will find the dimensions of the appliance here 15.1 Included with the appliance After unpacking all parts, check for any damage in transit and completeness of the delivery. 15.4 Secure installation Follow these safety instructions when installing the ap- pliance. - Page 16 en Installation instructions Unrestricted operation is possible if the appliance is Keep your hands away from the hinges. ▶ ▶ operated exclusively in air recirculation mode. WARNING ‒ Risk of electric shock! WARNING ‒ Risk of suffocation! Sharp-edged components inside the appliance may Children may put packaging material over their heads damage the connecting cable.
- Page 17 Installation instructions en ¡ To prevent condensate from returning, fit the ex- ¡ The appliance corresponds to protection class 1. haust pipe with a 1° gradient from the appliance. You should therefore only use the appliance with a protective earth connection. Flat ducts ¡...
- Page 18 en Installation instructions Installing the appliance Connecting the appliance Undo the screws on the top frame assembly using a WARNING ‒ Risk of injury! screwdriver and remove the top frame assembly. Components inside the appliance may have sharp edges. Wear protective gloves. ▶ The appliance is heavy.
- Page 19 Installation instructions en Loosen the screws on the side covers and remove Turning the air outlet to the back the covers. Starting with the delivery condition, turn the fan box clockwise so that the air outlet is pointing to the back. Insert the extension cable.
- Page 20 en Installation instructions Finishing connecting the appliance Fitting the filter cover Guide the cable through the opening in the side WARNING ‒ Risk of injury! cover. Components inside the appliance may have sharp Insert the side covers and screw them firmly in edges. place.
- Page 21 Installation instructions en Check whether the appliance frame is lying flush. Undo the screws on the top frame assembly using a screwdriver and remove the top frame assembly. Retighten the screws if necessary. Insert the grease filters. To avoid causing damage, do not bend the grease filters.
- Page 22 en Installation instructions Disconnect the cable at the appropriate point. Rotate the fan box in such a way that the air outlet faces forwards. Undo the opposite screws to loosen the fan box. Remove the fan box. Loosen the mounting brackets on the appliance us- ing a screwdriver.
- Page 24 Valid within Great Britain: Imported to Great Britain by BSH Home Appliances Ltd. Grand Union House Old Wolverton Road Wolverton, Milton Keynes MK12 5PT United Kingdom *9001482617* 9001482617 Constructa-Neff Vertriebs-GmbH Carl-Wery-Straße 34 010120 81739 München GERMANY...