Table of Contents
Advertisement
Quick Links
Advertisement
Table of Contents

Related Manuals for Power Acoustik PD-348B


Summary of Contents for Power Acoustik PD-348B
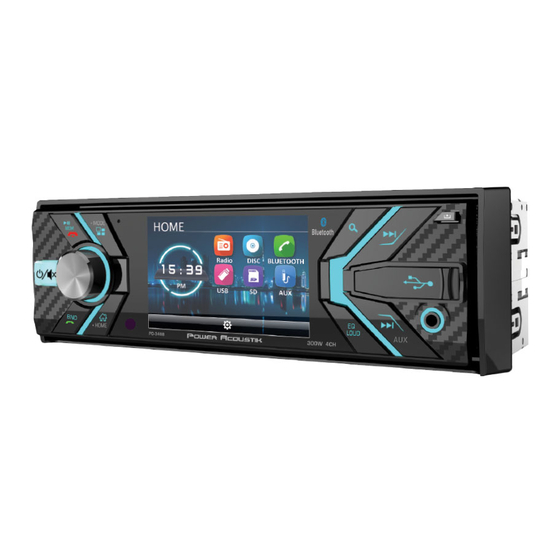
- Page 1 PD-348B Flip-down/Detachable 3.4” Monitor DVD/CD/MP3/MP4 Player AM/FM Radio Support Bluetooth Owner‟s Manual Take the time to read through this owner’s manual. Familiarity with installation and operation procedures will help you obtain the best Performance from your new DVD-receiver.
-
Page 2: Important Safeguards
Important Safeguards Using the device at temperature below -10℃ may cause the breakage of the device. BEFORE USING PLEASE HEAT UP THE PASSENGER COMPARTMENT TO THE RECOMMENDED TEMPERATURE! Read carefully through this manual to familiarize you with this high-quality sound system. -
Page 3: Table Of Contents
Contents Important Safeguards ......................2 Contents ...........................3 Accessories ..........................4 Installation/Un-Installation ......................5 Wiring Connections ........................6 Front panel ..........................7 Inner panel ..........................7 Remote control .........................8 Remove battery ........................8 Main Menu ..........................9 General Operation ........................9 Radio operation ........................13 DVD/USB/SD/MMC Operation ....................14 Bluetooth Section ........................17 Anti-theft system ........................ -
Page 4: Accessories
Accessories Package contains the following accessories for installation and operation of the unit. (1) Washer, Spring 1 each Washer, M5 Nut (2) Mounting Strap (3) Bolt (4) Screw (5) Mounting Collar (6) Release Key (7) Screw (8) Rubber Cushion Remote Control Power cable Warranty card User Manual... -
Page 5: Installation/Un-Installation
Installation/Un-Installation First complete the electrical connections, and then check them for correctness. Installation This unit can be installed in any dashboard having an opening as (※) Lock lever shown on the picture. The dashboard should be 4.75 – 5.56 mm thick in order to be able to support the unit. -
Page 6: Wiring Connections
Wiring Connections Make sure you have good chassis ground. A good ground connection will eliminate most electrical noise problems. A good chassis ground requires a tight connection to the vehicle‟s metal chassis. The area around the ground connection should be clean, bare metal without rust, paint, plastic, dust, or dirt for a good electrical connection. -
Page 7: Front Panel
Front panel 11 12 13 1) Power /Mute button 9) LCD Screen 2) Play/Pause /Reject button 10) AS/PS button 3) Volume/OK button 11) Next / Forward button 4) Mode button 12) USB slot 5) 13) Release Button 6) BAND / Media select /Accept button 14)... -
Page 8: Remote Control
Remote control Noted:The RC is the universal and full-featured. Some options are available with the corresponding model. Remove battery Note: The distance may vary according to the brightness of ambient light. If the remote is not used for an extended period of time, remove the battery to prevent possible damage from battery leakage and corrosion. -
Page 9: Main Menu
Main Menu The best way to discover the program is to explore each screen in detail, and to find out how to move from one to another. Read this chapter for a guided tour. Unit starts by displaying the Main menu. This is the root of the screen hierarchy, you can simply take knowledge of the features. - Page 10 EQ: Select the digital sound effect FLAT→CLASSIC→POP→ROCK→USER. BASS: Bass up/down. TREBLE: Treble up/down. BALANCE: Left/right Balance control. FADER: Front/rear Fader control. BEEP: Keypad sound setting. LOUDNESS: Set the loudness on or off. Rotate Volume knob on the front panel or press up/down arrow on the RC to select any items and then press OK button on the panel or Enter button on the RC to confirm the item.
- Page 11 FADER: Front/rear Fader control. BEEP: Select keypad sound on or off. LONDNESS: Selecting loudness ON will emphasize the low frequency output. Display Screen:screen ratio control Backlight: set the LCD screen backlight. General Clock display: Select ON (clock is displayed) OFF (clock is not displayed). Clock hour: select 12-hour or 24-hour clock display mode.
- Page 12 [1].Subtitle Lang setting: With this option you can select the preferred language for the subtitles. When the selected language is recorded on the disc then this language will automatically be shown. If not, the first language recorded on the disc is displayed. [2].Audio Lang setting: With this option you can select the preferred language for the audio output.
-
Page 13: Radio Operation
System information The software version is just for your reference. AUX IN To start AUX-IN Mode, tap on AUX-IN button from main menu screen.Connect the external audio signal source to this unit. Select AUX-IN mode in the main menu. Parking When the car is stopped and the parking brake is working, the screen can display the video image, and otherwise the screen display warning information. -
Page 14: Dvd/Usb/Sd/Mmc Operation
Auto store In tuner mode, Press the AS/PS on the panel or RPT/P.SCN button on the RC and hold for 2 seconds to store radio stations with the best reception to the preset number automatically. Manual store In tuner mode, long press the number 1-6 buttons on the RC after you find the station you desired. - Page 15 playback. Press ENTER button on the front panel or RC to enter the next menu, press the MENU button on the front panel to turn to previous menu. Press the MENU button on the RC to back to main menu. During playback press SEEK- or SEEK+ on the RC or front panel to play the previous...
- Page 16 OSD function During playback, press repeatedly to show display information. Such as: Number of title, number of chapter, TITLE elapsed => TITLE remain => CHAPTER elapsed => CHAPTER remain =>Display off. Zoom in/out Press it and hold for two seconds in Movie mode to zoom the image in or out in the sequence of 2×->...
-
Page 17: Bluetooth Section
Bluetooth Section Warning: Driving and having a Telephone conversation at the same time is dangerous, please park your car before having a telephone conversation. The supplier assumes any and all liability when this warning is not followed. To enter Bluetooth mode, you can press mode button on remote or on front panel. BT Main Menu Bluetooth disconnect mode Bluetooth connect mode... - Page 18 NOTE: the phonebook only supports Western Characters. Any difference in character will be shown such as “ + , * or # ”. 2. (A2DP) Music Model Press on the panel or / / / on the RC to select MUSIC icon and press VOL button on panel or enter button on the RC to confirm the selection to listen music in Bluetooth mode.
-
Page 19: Anti-Theft System
Anti-theft system Remove the panel 1. Press the PWR button to turn the power off. 2. Press OPEN button to detach the panel. 3. Pull the panel out. 4. Place the panel into the case and take it with you when you leave the car. Remove the unit 1. -
Page 20: Troubleshooting Guide
Troubleshooting guide Symptom Cause Solution If the power supply is properly connected General The car ignition is not on. to the car accessory switch the ignition key to “ACC”. No power The fuse is blown. Replace the fuse. Inserting the disc in upside Insert the compact disc with the label down. -
Page 21: Specification
Specification General Power supply: 12 V DC Current consumption: Max. 10 A Maximum power output: 52W x 4 channels (Max.) DVD/SVCD/VCD/HDCD/MP3/MP4/WMA/CDDA/Picture-C Compatible formats: D/JPEG/CD-R/ -RW/DVD±R/±RW playback Dimensions (W x D x H) / 178 x 165 x 50 mm / 1.5 kg weight: ESP function: 40 sec.