Advertisement
Advertisement
Table of Contents

Related Manuals for Mr. Coffee ECMP10


Summary of Contents for Mr. Coffee ECMP10
-
Page 2: Brewing Espresso
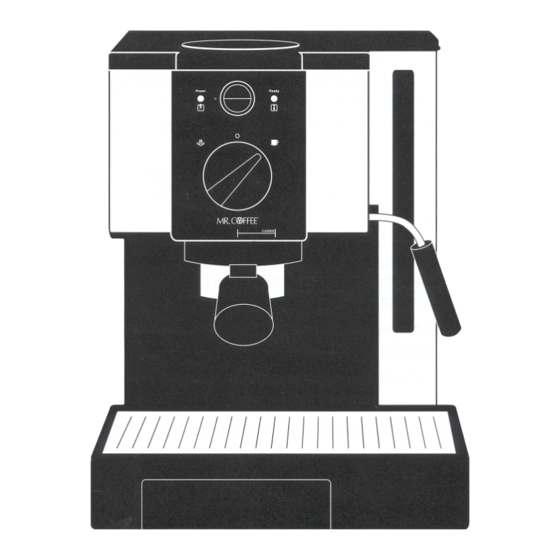
Thank you for purchasing a MR. COFFEE Espresso and Cappuccino Maker. NOTICE: PLEASE READ THE FOLLOWING CHANGES TO THE INSTRUCTION MANUAL Page 4 - DIAGRAM OF PARTS N - Heating Indicator Light (Orange) Page 6 - BREWING ESPRESSO The Heating Indicator Light will be illuminated when the machine is heating water for brewing and steaming. - Page 3 M P O R T A N T When using electrical appliances, basic safety precautions should always be followed to reduce the risk of fire, electric shock and/or injury to persons, including the following: READ ALL INSTRUCTIONS BEFORE USING THE MACHINE. 2.
- Page 4 Eastern Standard Time, Monday through Friday. All repairs must be made by Sunbeam or by an Authorized MR. COFFEE”” Service Center. Please call us for assistance or for the location of the nearest Authorized MR. COFFEE”” Service Center. RETURN THIS APPLIANCE TO YOUR STORE LEASE DO NOT We welcome your questions, comments or suggestions.
- Page 5 You are the owner of a MR. COFFEE Espresso and Cappuccino ONGRATULATIONS Maker. Please read of the instructions in this manual carefully before you begin to use this appliance. Proper care and maintenance will ensure the long life of this appliance and its trouble-free operation.
-
Page 6: Before Using For The First Time
MR. COFFEE Burr Mill or a MR. COFFEE Bean Grinder. Store whole beans in an air-tight container, in a cool, dark area. You do not need to store them in a refrigerator or freezer. If you buy pre-ground coffee, plan to use the coffee within 7 to 8 days for best flavor. - Page 7 1. Make sure the Control Dial (see Diagram on Page 4) is in the 0 position and the On/Off switch is off. 2. Plug in your new MR. COFFEE Espresso and Cappuccino Maker. 3. Remove the water reservoir and fill witk fresh, cold water. Be sure to keep the water reservoir filled above the “min”...
-
Page 8: Steaming Milk
For best results, use whole or 2% milk. This will create the thickest froth with your steamed milk. Skim or 1% milk may be used for lower fat beverages. Your MR. COFFEE Espresso, Maker’s special frothing attachment will make thick froth even using skim or 1% milk! 1. - Page 9 IMPORTANT Clean the steam nozzle and frothing attachment immediately after each use. Fill a pitcher halfway with water and run the steaming feature again for about 20 seconds. This will clean out the inside of the steaming tube. Use a damp cloth to wipe off the exterior of the steaming tube and frother attachment.
- Page 10 LEANING THE The Brew Head may need cleaning after prolonged use. You may wipe off the brew head with a damp cloth to remove any old espresso grounds. If the brewing sieve (the underside of the brew head) is particularly dirty, run a few cycles of plain water through the machine. Operate the machine as if you were going to brew espresso, but do not put coffee grounds in the filter cup.
-
Page 11: Troubleshooting
TROUBLE SHOOTING The espresso temperature is too low . . . Tamp the espresso ground coffee down a little more firmly. Pre-warm the cup by rinsing with hot water. De-lime the appliance. The flow through speed of the brewing espresso falIs Off noticeably. . . Do not tamp grounds so firmly. - Page 12 CAPPUCCINO -..LATTE - ... SPRESSO - then pour over ice. APPUCCINO OR ATTE RECIPE APPUCCINO -..RENCH ANILLA - .
- Page 13 Notes...
- Page 14 Notes...
- Page 15 Notes...
-
Page 16: Year Limited Warranty
MR. COFFEE product. Some states do not allow the exclusion or limitation of incidental or consequential damages, so the above limitation or exclusion may not apply to you.