
Summary of Contents for National Communications RCU-SIP
- Page 1 RCU-SIP USER GUIDE For Technical Assistance Please Ph: 07 5596 5128 or Email : info@natcomm.com.au...
- Page 2 User Set Relay Control Codes, RCU-SIP provides 2 layers of security. RCU-SIP has a full Analog Telephone Adaptor (ATA) incorporated within its design. RCU-SIP can be connected to ANY Point on a Local Area or Wide Area Network, such as : * Any Internal Network Point of a LAN...
-
Page 3: Connection Overview
CONNECTION OVERVIEW PBX CONNECTION RCU-SIP is designed to connect as a SIP Client of an IP based PBX. It has an RJ45 Socket for Network Connection. It is supplied with a CAT5 connection cable. RCU-SIP will connect to your PBX Network via DHCP and you can then access its... -
Page 4: Installation Diagram
INSTALLATION DIAGRAM A Screw Terminal Connection Box supplied with RCU-SIP Relay 1 Connection To Connect to Relay 1 of RCU-SIP, use the screw terminals that connect to the ORANGE and BROWN wires in the Connection Box. Relay 2 Connection To Connect to Relay 2 of RCU-SIP, use the screw terminals that connect to the BLUE and WHITE wires in the Connection Box. - Page 5 Relay if it is OPEN, or OPEN the Relay if it is CLOSED and leave it in the new state until the next time it detects a Correct Command. If power is disconnected from RCU-SIP, it will remember the state of its Relay and set it to the Correct State after power is restored.
-
Page 6: Programming Options
The following settings are provided : SETTING DTMF RELAY CONTROL CODE A 1 to 4 digit DTMF CONTROL CODE can be set to trigger the RCU-SIP Relay response. Model RCU-SIP 2 provides for 2 Relay output. Each Relay must use a separate Control Code. - Page 7 SETTING AUTO ANSWER WAIT TIME This is the amount of time that RCU-SIP will hold a call waiting for commands after answering. The default setting is 30 seconds. The set time is reset after every valid DTMF command. This timer can be increased up to 99 seconds if required.
- Page 8 For an Error in programming You will hear 1 Long ‘Beep’ If you experience an Error, wait until RCU-SIP hangs up, then Start again at 1 If your programming is accepted, Hang Up or Continue Programming Write down your Relay Code Here : ---------- ---------- ---------- ----------...
- Page 9 For an Error in programming You will hear 1 Long ‘Beep’ If you experience an Error, wait until RCU-SIP hangs up, then Start again at 1 Write down your Relay Code Here : ---------- ---------- ---------- ---------- Write down your Relay Time Here : ----------...
- Page 10 PROGRAMMING OTHER SETTINGS You can CHANGE the following Default Settings for RCU While in Programming Mode : To Set the Number of Rings to Answer. PRESS #0 xx When xx = 01 RCU will Answer calls in 1 Ring (DEFAULT) When xx = 01 - 20 RCU will Answer in up to 20 Rings To Change the Time Period that RCU will wait for commands...
- Page 11 MASTER PIN CODE A MASTER PIN CODE facility is provided for RCU-SIP (from Nov 2021) to prevent unauthorised use of the Relays or the Programming Mode. By default this facility is OFF. If this facility is Enabled in the Programming Mode, then the MASTER PIN CODE must be entered before you can go into program mode or use either relay.
-
Page 12: Ip Network Connection
IP NETWORK CONNECTION RCU-SIP can be connected to ANY Point on a Local Area or Wide Area Network such as: Any Internal Network Point of a LAN Direct to a Network Switch Direct to a Network Modem used for LAN or WAN... - Page 13 SIP ADMINISTRATION MENU RCU-SIP will take 2-3 minutes to fully register on your Network. You will not be able to access PA-SIP until this is complete. You can then ENTER the Admin panel of PA-SIP To Enter the SIP Admin Menu type...
- Page 14 To Change to Static IP, select it here. Enter the Devices Extension or Phone Number here. Leave it set to ‘Standard Line’ for RCU-SIP Click Next after all settings have been entered/selected Page 14 Natcomm...
- Page 15 Enter the Server IP Address here : Leave RCU-SIP set to Standard Operation Enter the Server Credentials here Click Next after all settings have been entered/selected (you can go back to all previous pages if necessary)
- Page 16 You can Increase the Input Gain into RCU-SIP, if you need extra DTMF volume. Only change your DTMF Delivery setting if you have a problem. The Default Relay Method will detect and set the correct method for your Network. Add additional Codecs...
- Page 17 Click Save & Reboot as soon as you are ready to Save the new settings Click Yes...
- Page 18 Network. The Login Page will appear once this process is complete You can now call the RCU-SIP Extension number to test your Relay Activation Code and Settings Note – In special situations, your unit may be loaded with a different...
- Page 19 BYPASS WIZARD If your PBX Server generates a Configuration File to connect SIP devices (ie 3CX), you can bypass the wizard and use all functions of the Patton SN200 ATA by entering admin instead of natcomm in the User Name box. Note : A Password is not required.
-
Page 20: Specifications
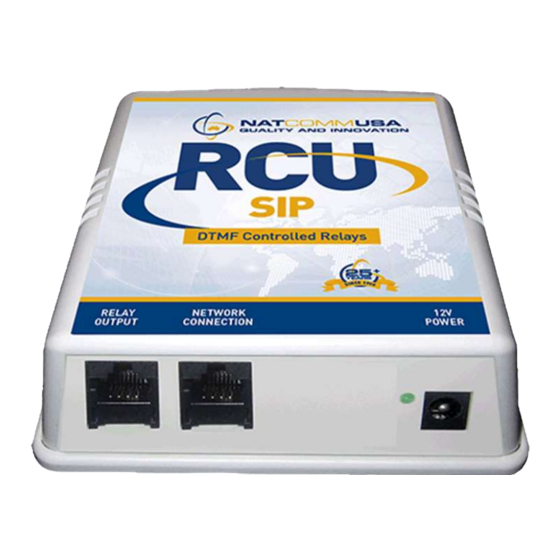
SPECIFICATIONS Dimensions (inches) : 4.2 (W) x 4.2 (D) x 1.7 (H) Dimensions (mm) 106 (W) x 106 (D) x 43 (H) Weight : 6 ounce or 170g Power Supply 12VDC/1A minimum (Centre +ve only) Network Connector RJ 45 8 pin Relay Port Connector RJ 45 8 pin Connector...