Advertisement
Quick Links
This manual was created for the benefit of customers who shop at Jzool.com Co., Ltd. (http://jzool.com). It
is in no way a comprehensive manual, and is only intended to facilitate use of the product and communicate
essential (but not all) warnings. The creators and distributors of this manual are in no way affiliated with the
manufacturer of the product and will not be liable for any harm, damage or inconvenience resulting from the
use of the product or interpretation of this manual.
The best projection range for viewing is 2 to 2.3m from the screen or ceiling. At
this range the diameter of the projection should be around 2.7m.
The input voltage for this product is 100V-240V.
Do not turn the power on without setting a star disc first. The resulting light may
be powerful enough to damage your eyes if looked into directly.
The lens may get quite hot so please be careful not to touch it after use. Also, do
not project while the projector is on.
Keep away from moisture and from the reach of young children.
Set Contents
Your Homestar set should include the following items out of the box.
Main Unit
Star Discs (2 x Color, 1 x Monochrome)
AC Adapter (100-240V)
Remote Control Unit
Lens Cap
Manual (Japanese)
Supplementary Manual in English (This Document)
Warranty Card (Please note the warranty is effective in Japan only for 1 year after the
date of purchase. For more information on repair procedures please contact the seller)
Notes and warnings:
1
Jzool.com
Advertisement

Summary of Contents for Sega Homestar Extra
- Page 1 Jzool.com This manual was created for the benefit of customers who shop at Jzool.com Co., Ltd. (http://jzool.com). It is in no way a comprehensive manual, and is only intended to facilitate use of the product and communicate essential (but not all) warnings. The creators and distributors of this manual are in no way affiliated with the manufacturer of the product and will not be liable for any harm, damage or inconvenience resulting from the use of the product or interpretation of this manual.
-
Page 2: Basic Functions
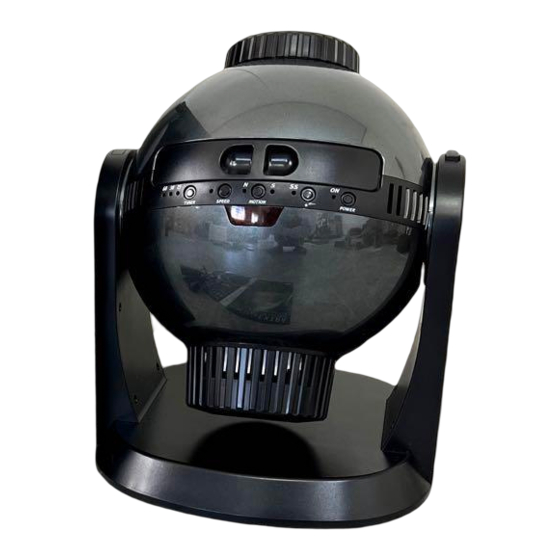
Jzool.com Basic functions Star projection Random meteors (shooting stars) Diurnal motion Diurnal motion speed adjustment Off Timer Parts of the Homestar main unit 1. Focus ring 2. Star disc tray 3. Projection angle adjuster 4. Power switch 5. Power indicator 6. -
Page 3: Using Your Remote
Jzool.com Using your remote 16. The reset button is located on the underside of the remote You should use the reset button after changing batteries or when You find that that operation has become unstable. To assist you in the dark, backlights on the remote will turn on automatically when any button is pressed. - Page 4 Jzool.com Inserting your star disc The top surface is the side on which any text appears normal and legible. Match the wedge on the star disc against the protrusion on the holder. Once set, slide the star disc holder back into place.
- Page 5 Jzool.com red to indicate that the power has been turned off. Adjusting your Homestar To adjust the projection angle, push on the release button as shown in the diagram and rotate the unit. The angle can be adjusted in 5 degree increments from 0 to 90 degrees (vertical to horizontal position).
- Page 6 Jzool.com Understanding the Diurnal Motion The movement of the sky with respect to the rotation of the Earth is called Diurnal Motion and is simulated on the Homestar by the rotation of the star disc. In the Northern Hemisphere the sky will appear to rotate counter-clockwise whereas if you’re standing somewhere in the Southern Hemisphere the sky will move clockwise.
- Page 7 Jzool.com Setting the projection time You can set the Homestar to project the sky as it would appear at a certain date and time. However, you should keep in mind that the Homestar is calibrated for Japan and regions with similar latitudes.
- Page 8 Jzool.com The celestial sphere and Homestar’s representation of the sky The following sections are translations from the supplementary guide book. When we look at the heavens it seems as if the stars are strewn across the surface of a great sphere that surrounds the earth.
- Page 9 Jzool.com The diagram on the left shows how to insert a star disc for the Northern Hemisphere. * Please note that the image at the edge of the projection may appear blurry but this is a limitation of the design and not a defect. Here’s another representation of the Celestial Sphere.
- Page 10 Jzool.com The diagram on the left shows the movement of the Big Dipper (the seven brightest stars of the constellation Ursa-Major) which appears to rotate around Polaris, the North Star. The diagram below shows the movements of Orion and Scorpius, two constellations that can be seen close to the Celestial Equator.