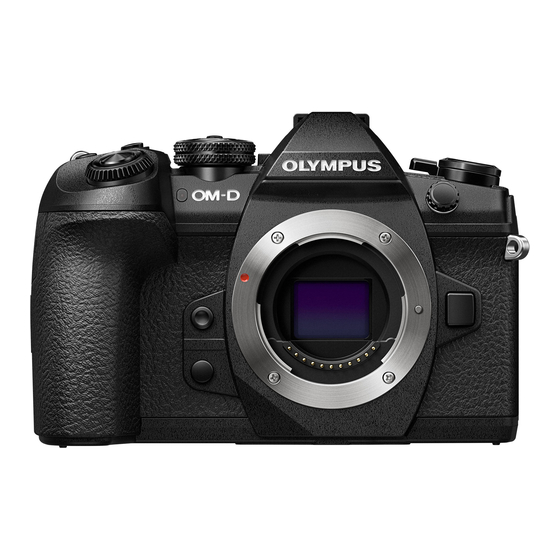
Olympus E-M1 Mark II Setup Manual
Hide thumbs
Also See for E-M1 Mark II:
- Instruction manual (196 pages) ,
- User manual (56 pages) ,
- Quick manual (12 pages)
Advertisement
Quick Links
Unlocking Olympus Basic camera setup for E‐M1 mkII
From full reset / factory settings
Set Mode dial on camera top to P / A / S / or M to start.
1. Setup Menu
1. Set date and time
2. Set rec view to off (to not auto‐playback pictures after capture...I just press the play
button on the rear to see the pictures)
2. Camera Shooting Menu 2
1. Anti‐shock Silent : Antishock 0sec Select it, and hit OK (even if it is already selected)
3. SCP From main shooting view ‐ press OK button on camera back to see the Super Control
Panel Options are listed from column top down...if I dont list it, I havent changed it)
1. ISO Auto
2. S‐IS 1 (unless on a tripod...then OFF for the stabilizer)
3. WB Auto
4. Shutter ‐ Single Anti‐shock
5. Quality to RAW
6. Focus mode to S‐AF + MF
7. Facial Recognition off
4. Custom Menu J2
1. Auto Power off 5min
2. Backlit LCD 8 sec
5. Custom Menu J1
1. Touchscreen off (I dont like using a touch screen personally)
6. Custom Menu I
1
Advertisement

Summary of Contents for Olympus E-M1 Mark II
- Page 1 Unlocking Olympus Basic camera setup for E‐M1 mkII From full reset / factory settings Set Mode dial on camera top to P / A / S / or M to start. 1. Setup Menu 1. Set date and time 2. Set rec view to off (to not auto‐playback pictures after capture...I just press the play button on the rear to see the pictures) 2. Camera Shooting Menu 2 1. Anti‐shock Silent : Antishock 0sec Select it, and hit OK (even if it is already selected) 3. SCP From main shooting view ‐ press OK button on camera back to see the Super Control Panel Options are listed from column top down...if I dont list it, I havent changed it) 1. ISO Auto 2. S‐IS 1 (unless on a tripod...then OFF for the stabilizer) 3. WB Auto 4. Shutter ‐ Single Anti‐shock 5. Quality to RAW 6. Focus mode to S‐AF + MF 7. Facial Recognition off 4. Custom Menu J2 1. Auto Power off 5min 2. Backlit LCD 8 sec 5. Custom Menu J1 1. Touchscreen off (I dont like using a touch screen personally) 6. Custom Menu I ...
- Page 2 1. EVF Style ‐ Style 2 7. Custom Menu G 1. Keep Warm Color: OFF 2. Shading Comp: ON 3. Pixel Set: (If you are JPG shooter) I set the first one to L‐SF, and the second to M‐SF 8. Custom Menu E1 1. Noise Filter: OFF 2. ISO AUto ‐ PAS 9. Custom Menu D2 1. Frame Rate: HIGH 2. Live View Boost: Manual Shooting: OFF 10. Custom Menu C1 1. Rls Priority S: ON (lets you shoot even when autofocus has not achieved focus) Thats it for basics. And FYI... Focus points are moved by using the arrow keys on the camera back. And the front body buttons next to the lens are defaulted to custom White balance, and to DOF preview. Optional: Rear Button Focus 1. Custom Menu A1: AEL/AFL : S‐AF: Mode 3 Magnify view when manual focusing 1. Custom menu A3 : MF Assist : Magnify On Swap control dials for Aperture on rear and shutter / compensation on front 1. Custom Menu B : Dial Function : Change top boxes to Fno and Shutter in Manual, or Fno and +/‐ in A and S modes...
- Page 3 If You want Highlight and shadow overlays on your liveview screen Custom Menu D1 1. Info Settings : LV‐Info : Custom 2 : check Highlight and shadows 2. Scroll through the live view info views by hitting the INFO button on the camera rear when in shooting view Turn Function Lever Off Custom Menu B : Fn Lever Settings : Off (you can set this to off if you use my custom button setup below for WB / ISO, otherwise if you leave the Fn Lever ON...the default is to adjust WB and ISO from the dials when the lever is in position 2. It is slower this way than using a custom button in my opinion. ) Custom Buttons I have mine set to the following. You can follow this to turn them off or set them as you please to other options. 1. Custom Menu B : Button Function 1. Fn1 : AEL 2. Fn2: ISO / WB 3. Record button: AEL (I like using this as a second focus button for easier ground level shooting) 4. AEL Button: Magnify (I make the AEL button magnify because I am a left eye shooter and my nose gets in the way of focusing! Since I use rear button focus. We made focus the AEL button a few steps above. That's why I assign Fn1 to AEL. I use that as my main focusing button. Its much further away from my nose!) 5. L‐Fn : HDR (I like quick access to HDR. This just turns it on or off. It will default to whatever setting you used last. So the first time you turn it on with the lens button, hit the HDR button on the top left of the body and select which HDR mode you prefer. Then the Lens button will turn it on or off to that setting.


