
Related Manuals for Siemens C2-010


Summary of Contents for Siemens C2-010
- Page 1 Quick Start Guide SIEMENS ADSL C2-010 ADSL Bridge Modem • Do never open the housing! • Use only the power supply provided with this device. • Use only the cables provided with this device and do not perform any modifications on them.
-
Page 2: Before You Begin
Before you begin Verify that the following items came with your SIEMENS ADSL C2-010 Bridge Modem kit: ADSL Bridge Modem Quick Start Guide CD-ROM Power supply ADSL cable Ethernet cable (gray) (yellow) Optional: Your service provider may include Stand-alone Line Filter(s) and Y-Line Filter(s). If you have received any of these items, follow the instructions provided in this guide for basic installation. - Page 3 Step 1: Install the Line Filter Devices such as fax machines or phones that share the same phone number as your ADSL account require a line filter, which prevents modem noise from disrupting the ADSL signal on the phone line. Filters can be in the form of a stand-alone Line Filter or a Y-Line Filter. The Y- Line Filter can be used if your ADSL modem will share the same phone jack with another device.
- Page 4 Step 2: Connect the ADSL Bridge Modem via Ethernet interface 1. With your computer off, plug the end of the ADSL cable (gray) into the DSL port of your ADSL Bridge Modem. 2a. Connect the Ethernet cable (yellow) to the LAN port of your ADSL Bridge Modem. 2b.
- Page 5 Step 3: Configure the PC (TCP/IP settings) Introduction In step 3, you will learn how to configure your computer to communicate with ADSL Bridge Modem. To do this, you will need to configure your PC’s network settings to obtain an IP address auto- matically.
- Page 6 Step 3a: Configure the PC (TCP/IP) settings for Windows 95 Windows 95 users need the Windows 95 Installation CD to complete the installation. 1. Click on Start -> Settings -> Control Panel. Double-click on the Network icon to open the Network screen. 2.
- Page 7 Step 3b: Configure the PC (TCP/IP settings) for Windows 98 and Windows ME Windows 98 users need the Windows 98 Installation CD to complete the installa- tion. 1. Click on Start -> Settings -> Control Panel. Double-click on the Network icon to open the Network screen.
- Page 8 Step 3c: Configure the PC (TCP/IP settings) for Windows NT4 1. Click on Start -> Settings -> Control Panel. Double-click on the Network icon. The Network screen will appear. 2. Select the Protocol tab and highlight the TCP/IP line. Click on Properties. 3.
- Page 9 Step 3d: Configure the PC (TCP/IP settings) for Windows 2000 1. Click on Start -> Settings -> Control Panel. Double-click on the Network and Dial-up Connections icon. The Network screen will appear. 2. Select the Local Area Connection icon for the applicable Ethernet adapter (usually it is the first Local Area Connection listed).
- Page 10 Step 3e: Configure the PC (TCP/IP settings) for Windows XP The following instructions assume you are running Windows XP’s default interface. If you are using the Classical interface (where the icons and menus look like previous Windows ver- sions), please follow the instructions for Windows 2000 (Step 3b). 1.
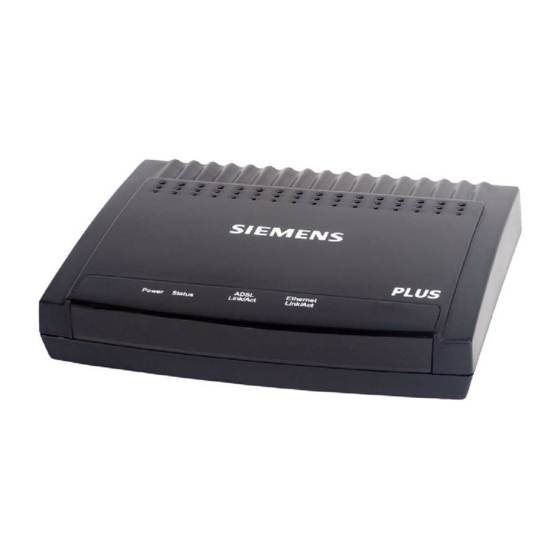
- Page 11 Step 4: Front panel system messages The following illustration shows the front panel of the ADSL Bridge Modem: LED Indicators The ADSL Bridge Modem is equipped with LEDs on the front panel as described in the table below (from left to right): Color Status Description...