Advertisement
Quick Links
DL Series Lightning Dock Replacement Instructions
IMPORTANT!
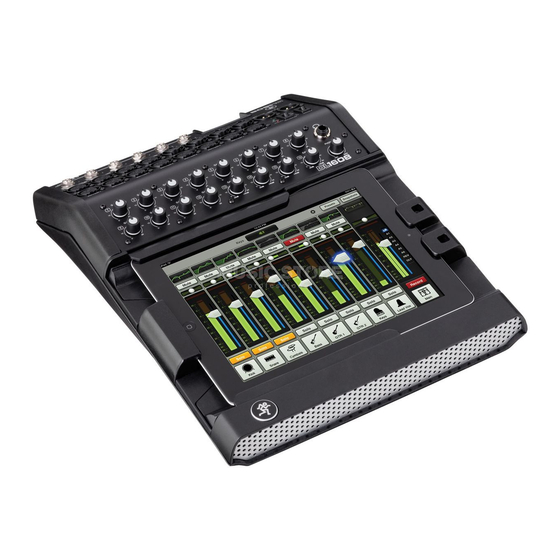
The contents of this service kit allow the dock assembly in the DL806 or DL1608 mixer to be replaced with a Lightning dock
assembly for use with an iPad with Lightning connector.
If you wish to install this kit yourself, please first read these instructions carefully to ensure you feel capable of completing the
described tasks. Failure to follow the exact instructions in this document may result in personal injury or damage to the DL806,
DL1608, iPad, or contents of the kit and may void the warranty, as well. Again, we strongly advise having an authorized service
center perform this replacement.
Parts
DL Lightning Dock Service Kit Contents – Part No. 2042300:
Lightning iPad Dock Assembly – Part No. 2037888
Dock Connector Cover – Part No. 2042399
This instruction sheet – Part No. 2042317
Tools
Required Tools (not included):
#1 Phillips screwdriver [with a 3"+ driver]
Rubbing Alcohol
Small, flat Jeweler's file
Lightning Dock Replacement
1. Before doing anything else, make sure that the latest
version of Master Fader [v1.4.2 or later] is downloaded and
installed on the iPad and that the mixer's firmware has been
updated, as well. With the iPad docked, check the version by
going to Tools > Help in Master Fader.
2. Turn off the mixer, remove the iPad and disconnect the
external power supply.
3. Flip the mixer over onto a soft, dry surface. Using the #1
Phillips screwdriver, remove the five screws from the bottom of
the DL mixer, as shown below. Store these five screws in a safe
place, as they will be necessary when reattaching the bottom.
Advertisement

Summary of Contents for Mackie DL Series
- Page 1 DL Series Lightning Dock Replacement Instructions IMPORTANT! The contents of this service kit allow the dock assembly in the DL806 or DL1608 mixer to be replaced with a Lightning dock assembly for use with an iPad with Lightning connector. If you wish to install this kit yourself, please first read these instructions carefully to ensure you feel capable of completing the described tasks.
- Page 2 4. Now turn the mixer back over so you’re looking at the top 5. At this point, your goal is to remove the current iPad again. Carefully lift (but do not remove) the entire iPad tray dock assembly from the tray assembly and replace it with assembly from the mixer.
- Page 3 7. It’s almost time to install the new Lightning iPad dock 9. Using a small amount of rubbing alcohol, clean the assembly. First determine whether your iPad tray has a notch plastic surrounding the opening of the tray where the or not by reviewing the illustrations below.
- Page 4 13. Now we can attach the dock connector cover. With the 14. The hard part is done...let’s finish it up! Place the cut corners of the label facing up, peel away the adhesive entire tray assembly back into the mixer, making sure to backing and place the label over the Lightning connector first reattach the two cable assemblies that connect the and press it on to the tray assembly.
