Table of Contents
Advertisement
Available languages
Available languages
Quick Links
BEFORE YOU BEGIN
INTRODUCTION
Please read these instructions carefully to familiarize
yourself with the required tools, materials, and installation
sequences. Follow the sections that pertain to your
particular installation. This will help you avoid costly
mistakes. In addition to proper installation, read all
operating and safety instructions.
TOOLS AND MATERIALS REQUIRED
S
Square
S
Screwdrivers
S
Pencil
S
Measuring tape
S
Shimming material (as needed)
PRODUCT REQUIREMENTS
The apron must be installed before the finish floor and wall
materials are installed.
This apron system is designed to have the finish wall
materials (1-1/2" (3.8cm) max.) go over the apron
columns. It is also designed to have the finish floor
materials (2" (5cm) max.) butt up against the channel.
A
1018323-2-
R
Español, Página 5
Français, Page 9
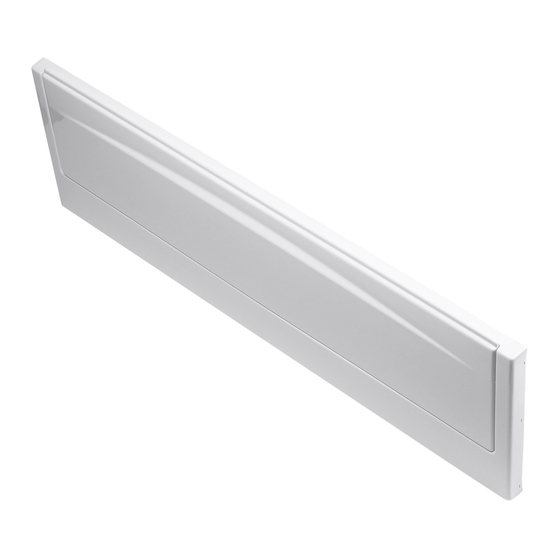
BATH/WHIRLPOOL APRONS
All information in these instructions is based upon the
latest product information available at the time of
publication. Kohler Co. reserves the right to make
changes in product characteristics, packaging, or
availability at any time without notice.
These instructions contain important care, cleaning, and
warranty information – please leave these instructions
for the consumer.
ORDERING INFORMATION
5' (152.4cm) x 18-1/2" (47cm) Apron
(for K-1226/27, K-1206/07, K-1239/42)
5' (152.4cm) x 15-1/2" (39.4cm) Apron
(for K-1266/67, K-1201/1510)
6' (182.9cm) x 18-1/2" (47cm) Apron
(for K-1231/32, K-1257/59)
The apron can be used as access to the whirlpool pump
and controls, when applicable. Additional access,
however, may make servicing of the pump and controls
easier.
NOTE : Before installing the apron, fill the bath with water
and test the drain system for leakage. If applicable, test
the whirlpool system for leakage and proper operation.
REMOVABLE
. . . . . . . .
K-1278
. . . . . . . . . . . . . . . .
K-1279
. . . . . . . . . . . . . . . . . .
K-1283
Advertisement
Table of Contents

Related Manuals for Kohler K-1278


Summary of Contents for Kohler K-1278
- Page 1 Follow the sections that pertain to your publication. Kohler Co. reserves the right to make particular installation. This will help you avoid costly changes in product characteristics, packaging, or mistakes.
-
Page 2: Installation
Thread bolt into one of the holes provided in the brace as far as it can go. Brace Carriage Bolt Apron Frame Kohler Co. 1018323-2-... - Page 3 10. Install wall covering and flooring. Maximum wall thickness is 1-1/2” (3.8cm). Maximum floor thickness is 2” (5cm). REMOVE THE APRON When servicing the unit, pry bottom of panel gently using a flat-blade screwdriver. Apron Panel Screwdriver Apron Frame Kohler Co. 1018323-2-...
-
Page 4: Important Consumer Information
Service Networks of its type. Here’s what you need to do Kohler Co. will, at its election repair, replace, or make if you require service: appropriate adjustment where Kohler Co. inspection... -
Page 5: Instrucciones De Instalación
Siga secciones momento de su publicación. Kohler Co. se reserva el correspondientes a su instalación particular. Esto le derecho de efectuar cambios en las características del ayudará a evitar errores costosos. Para una buena producto, empaque o disponibilidad en cualquier instalación, lea todas las instrucciones de funcionamiento... -
Page 6: Instalación
Enrosque hasta donde sea posible el perno en uno de los hoyos suministrados en la abrazadera. Soporte Tornillo de Tuerca carruaje Estructura de la plataforma Kohler Co. 1018323-2-... - Page 7 El grosor máximo de la pared es de 1-1/2” (3,8cm). El grosor máximo del piso es de 2” (5cm). REMUEVA LA PLATAFORMA Cuando realice el mantenimiento de la unidad, abra el panel con un destornillador plano. Panel de la plataforma Destornillador Estructura de la plataforma Kohler Co. 1018323-2-...
- Page 8 PRIMERO: Póngase en contacto con el comerciante partir de la fecha de la instalación. Kohler Co. no se hace o el contratista que le vendió e instaló el responsable por los gastos de instalación.
-
Page 9: Avant De Commencer
Suivez les étapes qui s’appliquent les produits au moment d’aller sous presse. La société particulièrement à votre installation. Ceci vous évitera des Kohler se réserve le droit d’apporter des modifications erreures coûteuses. Outre les conseils d’installation aux caractéristiques, conditionnement et disponibilité des appropriée, lisez toutes les instructions d’utilisation et de... - Page 10 à la distance séparant le centre de la structure de bandeau à l’arrière de la baignoire. Visser le boulon à fond dans l’un des trous de renfort. Renfort Boulon de Écrou carrosserie Ossature de bandeau Kohler Co. 1018323-2-...
- Page 11 L’épaisseur maximale du sol est de 2 po (5 cm). ENLÈVER LE BANDEAU En cas d’intervention, soulever délicatement la partie inférieure du panneau à l’aide d’un tournevis à lame plate. Panneau de bandeau Tournevis Ossature de bandeau Kohler Co. 1018323-2-...
- Page 12 Veuillez lire avec attention cette notice pour prendre Kohler garantit que les appareils sanitaires et accessoires connaissance de la garantie Kohler, de ses bénéfices et sont exempts de tout défaut de fabrication. de ses limitations. La société Kohler et ses distributeurs Si un défaut est décelé...