Table of Contents
Advertisement
GEAppliances.com
. . . . . . . . 2, 3
Care and Cleaning . . . . . . . . . . .11
Control Panels . . . . . . . . . . . . . . .4
Control Settings . . . . . . . . . . . . . 5
Flashing Display Lights . . . . . . . .6
Dishwasher Racks . . . . . . . . . .8, 9
Loading Place Settings . . . . . . .10
Optional Accessories . . . . . . . . .12
Using the Dishwasher . . . . . . .6, 7
. . . . 13, 14
Consumer Support
Consumer Support . . . Back Cover
Warranty . . . . . . . . . . . . . . . . . . 15
Write the model and serial
numbers here:
Model # ____________________
Serial # ____________________
You can find them on a label on the
tub wall just inside the door.
Owner's Manual
EDW3000G Series
GSD5400G Series
GSD5500G Series
GSD5800G Series
GSD5900G Series
165D4700P284
49-5960-2
06-04 JR
Advertisement
Table of Contents

Related Manuals for GE Triton GSD5900G


Summary of Contents for GE Triton GSD5900G
-
Page 1: Table Of Contents
Flashing Display Lights ..6 Loading the Dishwasher Racks ..8, 9 Loading Place Settings ..10 Optional Accessories ..12 Using the Dishwasher . -
Page 2: Safety Instructions
Use this appliance only for its intended purpose as described in this Owner’s Manual. PROPER INSTALLATION AND MAINTENANCE This dishwasher must be properly installed and located in accordance with the Installation Instructions before it is used. If you did not receive an Installation Instructions sheet with your dishwasher, you can receive one by visiting our website at GEAppliances.com. -
Page 3: Save These Instructions
PROPER DISPOSAL OF THE DISHWASHER Junked or abandoned dishwashers are dangerous…even if they will sit for “just a few days.” If you are getting rid of your old dishwasher, please follow the instructions below to help prevent accidents. Before You Throw Away Your Old Dishwasher: I Take off the door of the washing compartment or remove the door latch keeper (as shown). -
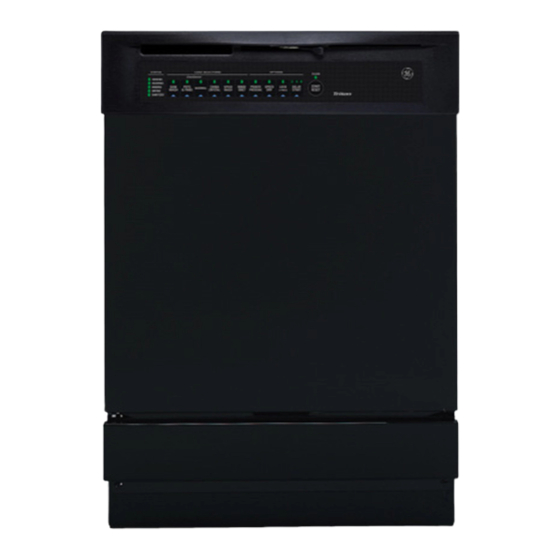
Page 4: Control Panels
About the dishwasher control panel. You can locate your model number on the tub wall just inside the door. Throughout this manual, features and appearance may vary from your model. Model Series EDW3000 STATUS SENSING WASHING SANI POTS RINSING WASH &... -
Page 5: Control Settings
Children cannot accidentally start dishwasher by touching pads with this option selected. To unlock the dishwasher after it has been locked, touch the LOCK pad twice within 3 seconds. The light above the LOCK pad will turn off. DELAY HOURS You can delay the start of a wash cycle for up to 8 hours. Press the DELAY HOURS pad to choose the number of hours you want to delay the start of the cycle, then press START/RESET. -
Page 6: Flashing Display Lights
CLEANSENSOR. NOTE: This light will NOT stay on the entire cycle. Allow up to 90 seconds for the dishwasher to drain and reset before selecting a new cycle. Press the START/RESET pad to turn off the beeper. Turn off power at the circuit breaker for 10 seconds, then restore power. -
Page 7: Proper Use Of Detergent
The door must be closed and locked into place to select a LOAD SELECTION or an OPTION. If the door is opened during a cycle and left open, the dishwasher will beep once every minute until the door is closed and latched into place. -
Page 8: Loading The Dishwasher Racks
Cups and glasses fit best along the sides. This is also a secure place for dishwasher-safe plastics. The cup shelf (on some models) may be placed in the up or down position to add flexibility. - Page 9 Silverware Basket Put flatware in the removable basket with knife handles up to protect your hands. Place spoons in the basket with handles down. Mix knives, forks and spoons so they don’t nest together. Distribute evenly. Small plastic items, such as measuring spoons and lids from small containers, should go in the bottom of the silverware basket with silverware on top.
-
Page 10: Loading Place Settings
Loading place settings. Follow these guidelines for loading 10 place settings. Features and appearance of racks and silverware baskets may vary from your model. Upper Rack—10 place settings Follow these guidelines for loading 12 place settings. Features and appearance of racks and silverware baskets may vary from your model. -
Page 11: Operating Instructions Care And Cleaning
To clean the control panel, use a lightly dampened cloth, then dry thoroughly. To clean the exterior, use a good appliance polish. Never use sharp object, scouring pads or harsh cleaners on any part of the dishwasher. Protect Against Freezing... -
Page 12: Optional Accessories
1⁄4″ thick decorative wood door and lower access panel: GPF425B (Black) GPF425W (White) NOTE: The GPF100 dishwasher door spring kit must also be ordered and installed when the door panel weighs 4 lbs. or more. About rack accessories. Baby Bottle Holder... -
Page 13: Troubleshooting Tips
Dishwashing Detergents have been approved for use in all GE dishwashers. • Use of the RINSE ONLY cycle (on some models) after adding the dish to the load can decrease the level of staining. GE recommends Cascade ® Plastic Booster ™... -
Page 14: Before You Call For Service
2 Do not add detergent. 3 Select the longest cycle. 4 Start the dishwasher and allow to run for 18 to 22 minutes. Dishwasher will now be in the main wash. 5 Open the door and pour 2 cups (500 ml) of white vinegar into the bottom of the dishwasher. - Page 15 Any part of the dishwasher which fails due to a defect in materials or workmanship. During From the date of the this full one-year warranty, GE will also provide, free of charge, all labor and in-home service original purchase to replace the defective part.
-
Page 16: Consumer Support
Caution must be exercised, since improper servicing may cause unsafe operation. Contact Us If you are not satisfied with the service you receive from GE, contact us on our Website with all the details including your phone number, or write to: General Manager, Customer Relations Register Your Appliance Register your new appliance on-line—at your convenience! Timely product registration will allow for...