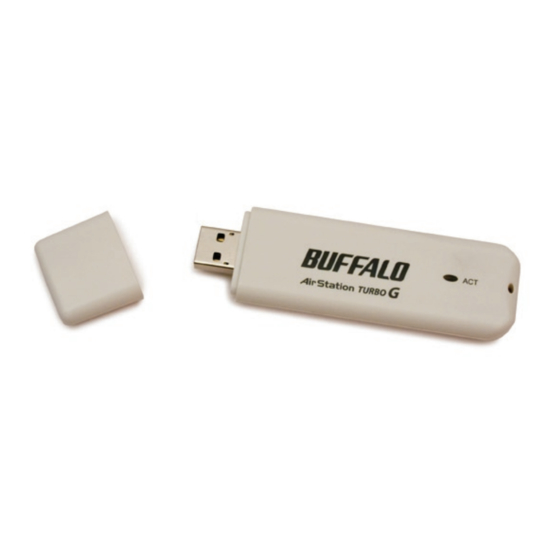
Buffalo AirStation WLI-U2-KG125S Quick Start Manual
Turbo g wireless usb 2.0 keychain adapter
Hide thumbs
Also See for AirStation WLI-U2-KG125S:
- Specification sheet (2 pages) ,
- User manual (45 pages)

Related Manuals for Buffalo AirStation WLI-U2-KG125S


Summary of Contents for Buffalo AirStation WLI-U2-KG125S
- Page 1 Quick Start Guide - AirStation WLI-U2-KG125S Turbo G Wireless USB 2.0 Keychain Adapter v1.0 www.buffalotech.com...
- Page 2 Introduction Congratulations on your purchase! The AirStation WLI-U2-KG125S Turbo G wireless USB 2.0 Adapter connects your notebook computer or desktop PC to a 2.4ghz 802.11g or b network. System Requirements • A compatible B or G band access point. •...
-
Page 3: Getting Started
Getting Started 1. Installing Drivers: Insert the AirNavigator CD into the CD-ROM drive of the PC. Do not insert the USB key into a USB port yet. If setup.exe does not launch automatically, click Start and select Run. Enter D:\Setup.exe in the Open field, where D: is the letter assigned to your CD-ROM. - Page 4 AirNavigator Select Install Wireless Drivers. Click Next.
- Page 5 AirNavigator - Installing Drivers The Software License Agreement will appear. Select Agree and then click Next. If you have Windows XP on your PC, turn to page 6 to install your adapter. If you are using Windows 98se, Me, or 2000, turn to page 7.
-
Page 6: Installing With Windows Xp
Installing with Windows XP 2. Installing the Wireless USB Adapter with Windows XP*: Plug the Wireless USB Adapter or stand into an available USB port on your PC and click Finish. The Found New Hardware Wizard will launch automatically. If this screen doesn’t appear, remove the Wireless USB Adapter and restart the notebook. Reinsert the Wireless USB Adapter once the notebook has rebooted. - Page 7 Installing with Windows 98se/Me/2000 2. Installing the Wireless USB Adapter with Windows 98se/Me/2000: 1. Installing the Wireless USB Adapter: Power on the notebook PC and let it boot into Windows. Plug the Wireless USB Adapter into an available USB port on your PC. The Found New Hardware Wizard will launch automatically.
-
Page 8: Installation & Setup
Installation / Setup 2. Installing the Wireless USB Adapter Drivers: Insert the AirNavigator CD. Click Next at the Welcome to the Found New Hardware Wizard. Select Search for a suitable driver for my device. Click Next to continue. Check only the CD-ROM drives checkbox, and clear any other checkboxes that are selected. -
Page 9: Client Manager
Client Manager 3. Installing Client Manager Client Manager lets you configure your wireless network, survey and connect to available access points, enable and use WEP encryption, initiate AOSS, and create connection profiles. Note: If you have Windows XP, and you don’t want to install or use Client Manager, you may use the built in Windows Zero Configuration Tool instead. - Page 10 Client Manager Once the Installer Wizard launches, click the Next button to begin the software installation. Press I Agree to accept the license agreement and continue the installation process.
- Page 11 Press the OK button to finish and close the installation program. Press the Exit Setup button to close the AirNavigator installation utility. The Buffalo Client Manager is now installed and running; clicking on its icon (the black antenna icon) will allow you to begin using...
- Page 12 WLI-U2-KG125S to your wireless network, easily and securely. Start Client Manager by double clicking on the black antenna icon your System Tray, or by launching the Client Manager from your Start Menu: Programs >> Buffalo >> AirStation Utility >> Client Manager.
- Page 13 Using AOSS • From the Status Screen, select the Profiles tab. • Initiate AOSS by clicking the blue AOSS button on the Client Manager’s screen. The AOSS wizard will appear. • Now, press the AOSS button on your access point. Hold it down until the AOSS LED on the access point begins to flash (1-3 seconds).
- Page 14 Using AOSS Once AOSS is complete (about 30 seconds), the connection is archived as a profile for later use. To minimize Client Manager to the system tray, click the ‘X’ in the top right corner. Notes: AOSS will scan for an AOSS partner for about two minutes. If it times out before finding one, just press the AOSS buttons again.
- Page 15 Connected! Congratulations! You’re now connected to your local network with the Buffalo AirStation WLI-U2-KG125S. For more detailed setup instructions and more information on this product, see the User Manual, available on your AirStation CD or for download from www. buffalotech.com.
- Page 16 Contact Information (North America) ADDRESS Buffalo Technology (USA), Inc. 4030 West Braker Lane, Suite 120 Austin, TX 78759-5319 GENERAL INQUIRIES Email: sales@buffalotech.com TECHNICAL SUPPORT North American Technical Support by phone is available 24 hours a day, 7 days a week. (USA and Canada).
-
Page 17: Contact Information (Europe)
TECHNICAL SUPPORT Technical Support in Europe is available between the hours of 9am-6pm (GMT) Mon- day to Thursday and 9am-4:30pm (GMT) Friday for this product. Customers in Europe can obtain Technical Support using the following information: E-mail: helpdesk@buffalo-technology.ie | Web: www.buffalo-technology.com...