Table of Contents
Advertisement
Quick Links
Advertisement
Table of Contents

Related Manuals for Belkin F1DC102P-SR


Summary of Contents for Belkin F1DC102P-SR
-
Page 1: Package Contents
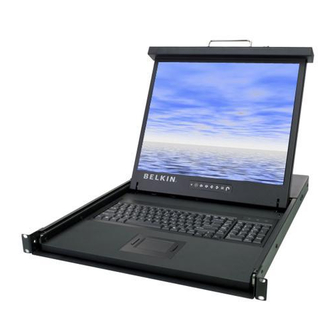
Package Contents 15", 17", or 19" Bracket Kit Bracket Screws LCD Rack Console VGA, PS/2 Cable Kit IEC Power Cable Quick Installation Guide Keys Introduction This booklet will guide you through the basic steps needed to install the 15", 17", or 19" LCD Rack Console. Introduction... -
Page 2: Specifications
31.5 in. (800.1mm) [F1DC100P-SR, F1DC101P-SR, and F1DC102P-SR] 15" TFT/LCD active-matrix color [F1DC100P-SR] 17" TFT/LCD active-matrix color [F1DC101P-SR] 19" TFT/LCD active-matrix color [F1DC102P-SR] Up to 1024x768 [F1DC100P-SR] Up to 1280x1024 [F1DC101P-SR and F1DC102P-SR] 400:1 [F1DC100P-SR] 450:1 [F1DC101P-SR] 1000:1 [F1DC102P-SR] 250 cd/m typical [F1DC100P-SR]... - Page 3 Button 0.297mm [F1DC100P-SR] 0.264mm [F1DC101P-SR] 0.294mm [F1DC102P-SR] 16.0 million display colors [F1DC100P-SR] 16.2 million display colors [F1DC101P-SR] 16.7 million display colors [F1DC102P-SR] Rising 5ms, Falling 13ms [F1DC100P-SR] Rising 3ms, Falling 10ms [F1DC101P-SR] Rising 1.3ms, Falling 3.7ms [F1DC102P-SR] Laptop style PS/2...
-
Page 4: Installation
Installation Step 1: Place the console inside the rack. Step 2: Mount the front brackets to the rack. Step 3: Connect the rear brackets to the Console with the provided screws. Step 4: Adjust the length of the rack-mount brackets. Installation... - Page 5 Step 5: Lock the adjustable brackets by tightening the rear screws. Step 6: Connect the IEC power cable to an active power outlet and power up the Console. Installation...
- Page 6 Connecting the KVM Switch or Server Step 1 Make sure your KVM switch or server is powered OFF. Step 2 Using the included PS/2 KVM Cable Kit, connect one set of VGA and PS/2 connectors to the back of the Console. (Refer to diagrams below.) Step 3 Connect the other end of the Cable Kit to the console monitor, keyboard, and mouse ports on your KVM switch or server.
- Page 7 You are now ready to use your LCD Rack Console. The Console offers two power on/off methods: • a power switch on the rear, and • an LCD power-save (with drawer closure). Connecting the KVM Switch or Server...
-
Page 8: Troubleshooting
The LCD panel supports a resolution of up to 1024x768 (F1DC100P-SR) and 1280x1024 (F1DC101P-SR and F1DC102P-SR). Do I have to install any software to use the Console? No, the Console does not require any drivers or software to be installed in your computers. - Page 9 Rushden, NN10 6GL, United Kingdom +44 (0) 1933 35 2000 +44 (0) 1933 31 2000 fax © 2008 Belkin International, Inc. All rights reserved. All trade names are registered trademarks of respective manufacturers listed. 15", 17", or 19" LCD Rack Console Belkin B.V.
-
Page 10: Start Here
Start Here Quick Installation Guide 15", 17", or 19" LCD Rack Console F1DC100P-SR F1DC101P-SR F1DC102P-SR...