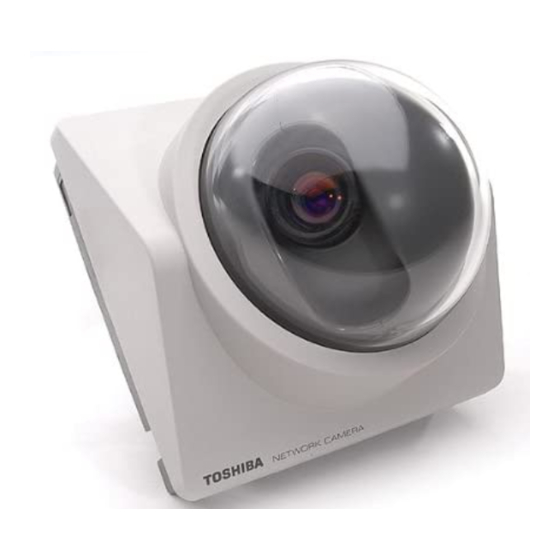
Toshiba IK-WB01A Quick Start Manual
Hide thumbs
Also See for IK-WB01A:
- User manual (142 pages) ,
- Advanced user's manual (119 pages) ,
- Quick start manual (4 pages)
Advertisement
Quick Links
All manuals and user guides at all-guides.com
BEFORE INSTALLING OR CONNECTING IK-WB01A/ IK-WB11A TO
YOUR PC, READ THIS QUICK START GUIDE
Quick Start Guide for Network connection
The following software must be downloaded and installed before installing
the IK-WB01A/11A:
・Sun Microsystems JAVA
o http://www.java.com
TM
・Internet Explorer
Version 6.0
o http://www.microsoft.com/windows/ie
TM
・or Netscape
Version 7.0
o http://channels.netscape.com/ns/browsers
・Toshiba Camera Finder software
o http://www.netcam.toshiba.com
1) Connect the IK-WB01A/11A to your network using a Cat5/Ethernet cable
BEFORE powering on your camera. Repeat this step for any additional
cameras.
Obtained IP address depends
on DHCP or Static IP address If
192.168.0.30
Ethernet cable ( straight-through cable)
2) Power on your devices in the following order: cable or DSL modem, router
or hub, PCs.
3) Power on the IK-WB01A/11A.
4) Run the Toshiba Camera Finder software to automatically detect your
cameras. Refer to both the Basic and Advanced User's Guides for more
details.
5) If the camera is not found, power off the camera and repeat the above
steps.
6) Click on User to view video, or Administrator to change the settings.
If you do not have a static IP address for your Internet connection, Toshiba
offers a DDNS service that will allow you to have an Internet address for your
camera.
1) Register for Toshiba's DDNS service by clicking on the link IK-WB11A
settings under Network Settings>DDNS
2) Follow the instructions to set up your account.
1
STOP!
THANK YOU
TOSHIBA
TM
software
Network camera
Internet
Router
Ethernet cable (straight-through cable)
Personal computer
Advertisement

Related Manuals for Toshiba IK-WB01A


Summary of Contents for Toshiba IK-WB01A
- Page 1 All manuals and user guides at all-guides.com STOP! BEFORE INSTALLING OR CONNECTING IK-WB01A/ IK-WB11A TO YOUR PC, READ THIS QUICK START GUIDE THANK YOU TOSHIBA Quick Start Guide for Network connection The following software must be downloaded and installed before installing the IK-WB01A/11A: ・Sun Microsystems JAVA software o http://www.java.com ・Internet Explorer Version 6.0 o http://www.microsoft.com/windows/ie ・or Netscape Version 7.0 o http://channels.netscape.com/ns/browsers ・Toshiba Camera Finder software o http://www.netcam.toshiba.com 1) Connect the IK-WB01A/11A to your network using a Cat5/Ethernet cable BEFORE powering on your camera. Repeat this step for any additional cameras. Network camera Personal computer Internet Obtained IP address depends Router on DHCP or Static IP address If 192.168.0.30 Ethernet cable ( straight-through cable) Ethernet cable (straight-through cable) 2) Power on your devices in the following order: cable or DSL modem, router ...
- Page 2 All manuals and user guides at all-guides.com Quick Start Guide for Direct* PC connection * A Cat5 Crossover cable is required The following software must be downloaded and installed before installing the IK-WB01A/11A: ・Sun Microsystems JAVA software o http://www.java.com ・Internet Explorer Version 6.0 o http://www.microsoft.com/windows/ie ・or Netscape Version 7.0 o http://channels.netscape.com/ns/browsers ・Toshiba Camera Finder software o http://www.netcam.toshiba.com 1) Connect the IK-WB01A/11A to your PC using a Cat5 Crossover cable BEFORE powering on your camera. 2) Change the IP address of your PC to Use the following IP address: IP address: 192.168.0.50 Subnet mask: 255.255.255.0 Refer to the User's Guide for more information. 3) Power on the IK-WB01A/11A. 4) Run the Toshiba Camera Finder software to automatically detect your cameras. Refer to both the Basic and Advanced User's Guides for more details. 5) If the camera is not found, power off the camera and repeat the above steps. 6) Click on User to view video, or Administrator to change the settings. If you do not have a static IP address for your Internet connection, Toshiba offers a DDNS service that will allow you to have an Internet address for your camera. 1) Register for Toshiba's DDNS service by clicking on the link IK-WB11A settings under Network Settings>DDNS 2) Follow the instructions to set up your account.
- Page 3 All manuals and user guides at all-guides.com ●Admin Menu Screen Camera name Live button Displays images from the camera in single view. Exit button Closes the settings screen. Main menus Sub menus Reset button Save button Restores the Saves the changes. previous configuration. ●Single View ●Multi View All the buttons and icons, except the button for switching views, function Camera name Sound button the same as those of single view. Switches sound on/off. Single View button Multi View button Displays the upper left Switches the display screen in single view. to multi view. Controller button Displays the controller. Image magnification Indicates the magnification...
- Page 4 All manuals and user guides at all-guides.com ●Administrator Controller Camera name Close button Closes the controller. Scan button One shot Moves the lens horizontally Captures one image back and forth. from camera. Auto Patrol button Back Light button Moves the lens Performs back light automatically at a preset compensation. angle. Controller buttons Zoom in button Adjusts the direction of the Enlarges the camera lens by panning (left/right) images. and tilting (up/down). The center button moves the Zoom out button lens to the center position. Reduces the camera Control buttons for images. playing recordings LIVE button Displays the current camera images.