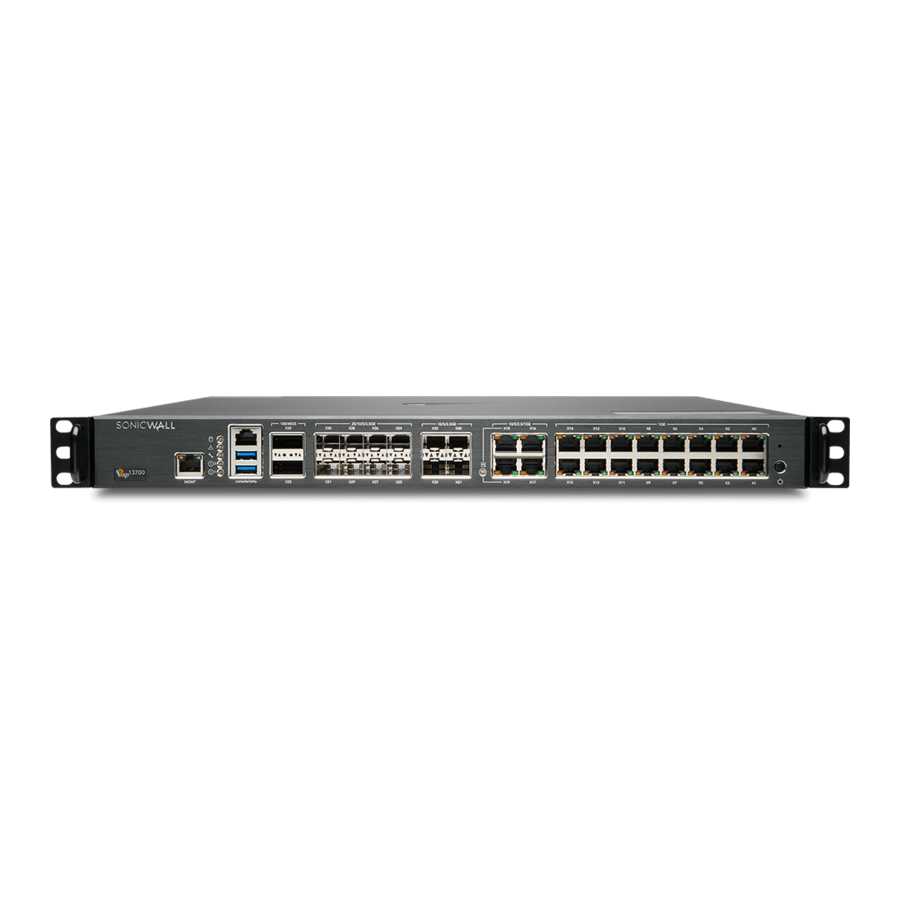
SonicWALL NSa Series Installation Manual
M.2 module
Hide thumbs
Also See for NSa Series:
- Getting started manual (62 pages) ,
- Quick start manual (2 pages) ,
- Installation manual (2 pages)
Advertisement
Quick Links
®
SonicWall
NSa Series / NSsp Series M.2
Module Replacement and Installation
This document provides instructions for removing and installing a
SonicWall M.2 module in your NSa x700 Series or NSsp 1x700 Series
appliance.
Some NSa models have the M.2 module compartment on the bottom
of the appliance, while the NSsp Series and other NSa models have two
slots, M0 and M1, accessed from the appliance rear panel. The M.2
module can be installed only in the lower M0 slot.
Follow the procedure that applies to your model.
CAUTION:
The M.2 module contains parts and assemblies
susceptible to damage by electrostatic discharge (ESD). To
prevent damage, handle the module using standard ESD
procedures such as storing it in an electrostatic bag and
handling it only while grounded.
WARNING:
Power down the appliance before beginning M.2
module installation or removal.
For more safety guidelines, refer to the Safety, Regulatory and Legal
Information for the product in which the M.2 module is being installed.
Package Contents
•
M.2 module
•
Screw for attaching the M.2 module inside the compartment
•
Tamper-evident sticker for FIPS compliance
Depending on the firewall model, the M.2 storage
module is installed using one of the below methods:
a) NSa Models with Module Compartment on the Bottom
b) NSa/NSsp Series with M0 Slot on the Rear Panel
a) NSa Models with Module Compartment on the
Bottom
To replace or install an M.2 module in the NSa appliance:
1
Turn the NSa upside-down and remove any tamper-evident sticker
from the module cover plate.
2
Use a Phillips PH2 screwdriver to remove the module cover plate.
3
If replacing an M.2 module, use a PH1 screwdriver to remove the
inner screw, and then remove the module.
4
Holding the new M.2 module label-side up and at an angle, insert
the module contact pins into the module slot and press the module
down, aligning the notch with the inner screw location.
5
Hold the module down and insert the provided screw. Tighten it
until snug with the PH1 screwdriver.
6
Replace the cover plate and use the PH2 screwdriver to tighten the
outer screw until snug.
7
Power on the appliance and ensure that the new M.2 module is
functioning correctly. Check the storage LED on the front panel and
view M.2 module status in the DEVICE | Settings > Storage page.
8
If using FIPS mode, place the tamper-evident sticker over the
module cover plate and outer screw.
b) NSa/NSsp Series with M0 Slot on the Rear Panel
To prepare for M.2 module replacement on NSsp and NSa 4700+:
1
Export firewall configuration settings to a file on your computer.
2
In MySonicWall, get the firewall's Maintenance Key and download
the firmware upgrade file. Rename it, if needed: "<model>.bin.sig".
3
Insert a USB drive into your computer to create a Recovery USB:
•
Right-click the USB device (in Windows) and select Format.
•
Set Capacity = 15.6GB, File System = FAT32, select Default
allocation size, and then click Start.
•
Copy the firmware upgrade file to the USB root directory. For
example: D:\nsa6700.bin.sig.
4
Connect your computer to the firewall console port using the serial
cable (RJ45 to DB9).
5
Using PuTTY (or similar), connect to the firewall with settings:
Connection Type = Serial, Serial Line = COMx, Speed = 115200.
Use Device Manager to find the COM port number in Windows.
6
In the console window, press Enter to display the User: prompt
and then log in with your SonicOS admin credentials.
7
Press the power button briefly (1 sec) to gracefully shut down the
firewall. The console displays "Shutting down". Now you are ready
to remove and replace the M.2 module.
To replace an M.2 module in the NSsp/NSa appliance:
1
Remove the seal covering the Phillips screw (left side) from the M0
slot cover on the rear panel of the appliance.
2
Use a Phillips PH2 screwdriver to remove the screw.
3
Loosen the thumb screw holding the right side of the M0 tray and
then pull the tray out of the appliance.
Advertisement

Summary of Contents for SonicWALL NSa Series
- Page 1 Turn the NSa upside-down and remove any tamper-evident sticker In MySonicWall, get the firewall’s Maintenance Key and download SonicWall M.2 module in your NSa x700 Series or NSsp 1x700 Series from the module cover plate. the firmware upgrade file. Rename it, if needed: “<model>.bin.sig”.
- Page 2 Copyright © 2021 SonicWall Inc. All rights reserved. SonicWall is a trademark or registered trademark of SonicWall Inc. and/or its affiliates in the Tighten the thumb screw by pushing in and turning to the right.


