Advertisement
Quick Links
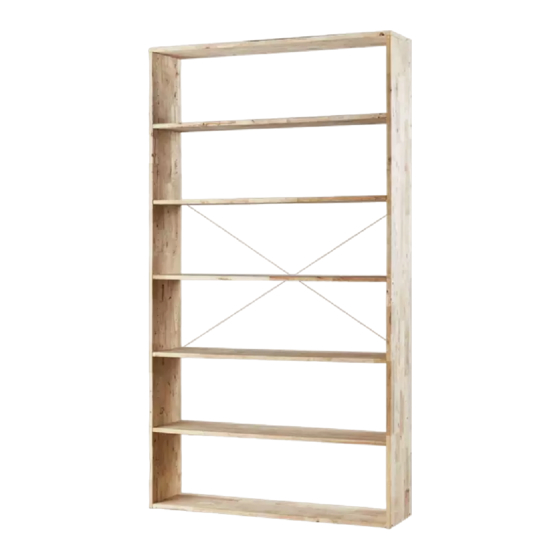
WOODWALL-1200 STD
ITEM NO. 25-4626A-2
TIPS
1
Please review all parts and hardware before disposing of any packaging.
2
Check to be sure that all parts and hardware are complete before you start assembly.
3
Before beginning assembly, separate each type of screw.
4
Using a screw that is too long will cause damage.
5
Carefully study the screw diagrams below.
6
You may receive extra hardware with your unit.
7
Place all parts on a clean and smooth surface to avoid the parts from being scratched.
8
Keep the product away from heat and humidity.
9
Light blue stains and natural wood knots on the product are not considered defects.
PART LIST
A
Top Panel
1Pc
E
Shelf Panel
5Pcs
HARDWARE LIST
F
Minifix Bolt(Long)
8Pcs
J
Wood Dowel M10 x 30mm
4Pcs
N
CSK C/B Screw
M4 x 32mm
8Pcs
PAGE 1 OF 4
B
Side Panel
2Pcs
G
Rafix Bolt(Short)
20Pcs
K
Allen Key M4 x 100mm
1Pc
O
Wood Button 10.5mm
8Pcs
Scan Me For Step-By-Step
Real Photo Assembly Instructions
C
Bottom Panel
1Pc
H
Rafix Cam
20Pcs
L
Wire Rope
2Pcs
D
I
Base
1Pc
I
I
Minifix Cam
8Pcs
I M
Pan Head C/B Screw
M4 x 12mm
4Pcs
Ref : 25-4626A-2/DP/131120
Advertisement

Summary of Contents for Natural Signature WOODWALL-1200 STD
- Page 1 WOODWALL-1200 STD ITEM NO. 25-4626A-2 TIPS Scan Me For Step-By-Step Real Photo Assembly Instructions Please review all parts and hardware before disposing of any packaging. Check to be sure that all parts and hardware are complete before you start assembly.
- Page 2 WOODWALL-1200 STD ITEM NO. 25-4626A-2 ATTENTION : MINIFIX AND RAFIX MUST BE USED IN THE CORRECT WAY : MINIFIX : RAFIX : TIGHTEN MINIFIX TIGHTEN RAFIX PAGE 2 OF 4 Ref : 25-4626A-2/DP/131120...
- Page 3 WOODWALL-1200 STD ITEM NO. 25-4626A-2 ASSEMBLY INSTRUCTIONS STEP 1 IMPORTANT Screw-In Mini Fix Bolt must be screwed down ush. STEP 2 STEP 3 STEP 4 E x5 PAGE 3 OF 4 Ref : 25-4626A-2/DP/131120...
- Page 4 WOODWALL-1200 STD ITEM NO. 25-4626A-2 ASSEMBLY INSTRUCTIONS STEP 5 STEP 6 Tighten Tighten STEP 7 STEP 8 Tighten STEP 9 STEP 10 N x8 pcs O x8 pcs PAGE 4 OF 4 Ref : 25-4626A-2/DP/131120...