Table of Contents
Advertisement
Quick Links
Advertisement
Table of Contents

Related Manuals for Telex NEXUS‑IP‑G1‑US‑IOT


Summary of Contents for Telex NEXUS‑IP‑G1‑US‑IOT
- Page 1 NEXUS‑IP‑G1‑US‑IOT PC SMALL FORM FACTOR PC, IOT Installation manual...
-
Page 3: Table Of Contents
NEXUS-IP-G1-US-IOT PC Table of contents | en Table of contents PC & Network Security Considerations Before you start Connection ports and controls Installation Mounting Initial power NEXUS-IP-G1-US-IOT PC recovery and backup options Create a USB recovery media Create a system backup file Restore a system from the backup file Restore a system from a USB flash drive recovery image Bosch Security Systems, LLC... -
Page 4: Pc & Network Security Considerations
Bosch recommends utilizing the services of IT professionals knowledgeable about network design and security when designing, installing, and configuring dispatch networks and deploying PCs. By default, the Telex Dispatch PC has Windows Update enabled along with Windows Defender (firewall and anti-virus). Disabling these features is not recommended unless it is part of an internal IT security program that uses customized security policies along with appropriate anti-virus and firewall software. -
Page 5: Before You Start
NEXUS-IP-G1-US-IOT PC Before you start | en Before you start Notice! This PC utilizes a Windows 10 IoT Enterprise Long-Term Servicing Channel operating system. Please read and understand the Microsoft EULA enclosed with this product. It is to only be used for the purpose of Dispatch operations and any associated Dispatch use as described in the Microsoft EULA. -
Page 6: Connection Ports And Controls
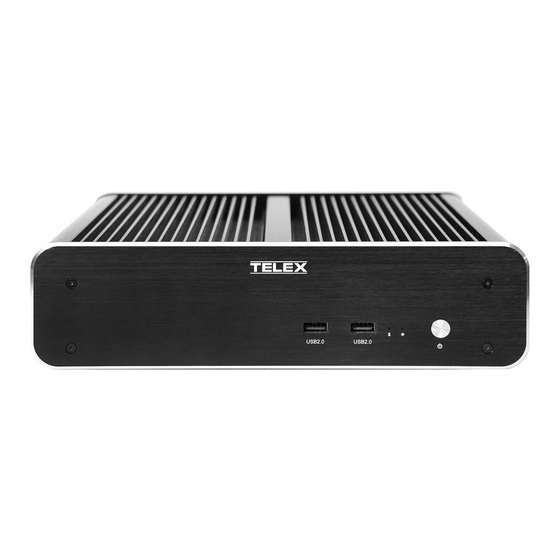
en | Connection ports and controls NEXUS-IP-G1-US-IOT PC Connection ports and controls Figure 3.1: Reference View USB 2.0 HDD LED Power LED Power Button Power Connection USB 3.0 Display Port HDMI Video Port Ethernet Connections 1 and 2 10. Audio Connections (typically not used) 11. -
Page 7: Installation
NEXUS-IP-G1-US-IOT PC Installation | en Installation Figure 4.1: PC Connection Diagram Steps to install the NEXUS-IP-G1-US-IOT PC: – Follow the instructions included with keyboard/mouse kit. The dongle can be inserted into any USB port – Using an Ethernet cable connect ETH1 to network with access to the Internet –... -
Page 8: Mounting
en | Installation NEXUS-IP-G1-US-IOT PC Mounting The PC can set on a table top or can be mounted using the supplied mounting brackets. Figure 4.2: NEXUS-IP-G1-US-IOT PC with Mounting Brackets To mount the PC, do the following: Attach the brackets to the top of the PC using the supplied screws. Hold the PC in the desired mounting position. -
Page 9: Initial Power
Turn on the monitor. Press the PC power button. Select ADMIN at the login screen. Enter telex in the password field. Notice! It is required to change the default admin password after the first login to strengthen the system security. -
Page 10: Nexus-Ip-G1-Us-Iot Pc Recovery And Backup Options
NEXUS-IP-G1-US-IOT PC NEXUS-IP-G1-US-IOT PC recovery and backup options The Telex NEXUX-IP-G1-US-IOT PC is delivered with the Seneca Backup and Recovery software. This allows you to create external (USB Flash drive) restore media when replacing the SSD hard drive or to create a backup recovery point. This is stored on the internal D drive. -
Page 11: Create A Usb Recovery Media
NEXUS-IP-G1-US-IOT PC NEXUS-IP-G1-US-IOT PC recovery and backup options | en Create a USB recovery media To create a USB recovery, do the following Run the Seneca Backup and Recovery application from the Start menu. Select Create a USB Recovery Media. Press the Next button. -
Page 12: Restore A System From The Backup File
en | NEXUS-IP-G1-US-IOT PC recovery and backup options NEXUS-IP-G1-US-IOT PC 11. Run the Seneca Backup and Recovery application from the Start menu. 12. Select Create a new System Backup. 13. Press the Next button. The D drive stores the captured system configuration. 14. - Page 13 NEXUS-IP-G1-US-IOT PC NEXUS-IP-G1-US-IOT PC recovery and backup options | en Select Factory Image or System Backup. Press the Next button to start the recovery. Notice! You have the option to backup any user data created since the last saved date. To save data, use a blank USB flash drive of at least 32 GB capacity.
-
Page 14: Restore A System From A Usb Flash Drive Recovery Image
en | NEXUS-IP-G1-US-IOT PC recovery and backup options NEXUS-IP-G1-US-IOT PC Press the Restart button when finished. Restore a system from a USB flash drive recovery image Notice! System boot priority must be modified in BIOS to boot from the USB flash drive before a restore is attempted. - Page 15 NEXUS-IP-G1-US-IOT PC NEXUS-IP-G1-US-IOT PC recovery and backup options | Bosch Security Systems, LLC Installation manual 2020-07 | 03 | F.01U.380.986...
- Page 16 | NEXUS-IP-G1-US-IOT PC recovery and backup options NEXUS-IP-G1-US-IOT PC 2020-07 | 03 | F.01U.380.986 Installation manual Bosch Security Systems, LLC...