Table of Contents
Advertisement
Quick Links
Advertisement
Table of Contents

Summary of Contents for Smeg UD7122CSP
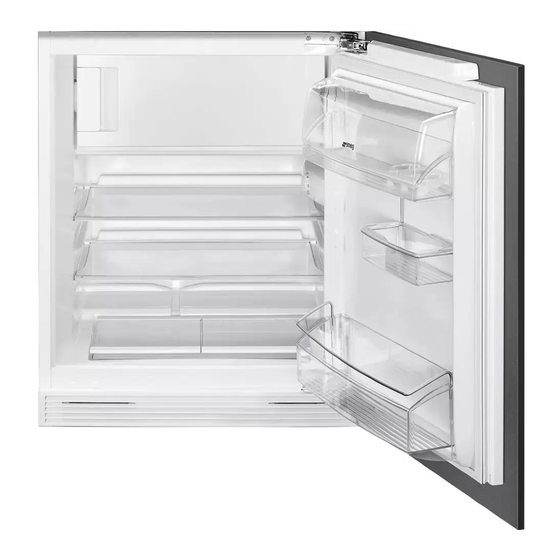
- Page 1 User Manual Refrigerator UD7122CSP...
-
Page 2: Table Of Contents
CONTENTS Safety information Hints and tips Safety instructions Care and cleaning Operation Troubleshooting First use Installation Daily use Technical information Subject to change without notice. SAFETY INFORMATION Before the installation and use of the appliance, carefully read the supplied instructions. The manufacturer is not responsible if an incorrect installation and use causes injuries and damages. -
Page 3: Safety Instructions
Do not use mechanical devices or other means to accelerate • the defrosting process, other than those recommended by the manufacturer. Do not damage the refrigerant circuit. • Do not use electrical appliances inside the food storage • compartments of the appliance, unless they are of the type recommended by the manufacturer. - Page 4 electrician to change the electrical • Obey the storage instructions on the components. packaging of frozen food. • The mains cable must stay below the Internal light level of the mains plug. • Connect the mains plug to the mains •...
-
Page 5: Operation
OPERATION Switching on 1. Turn the Temperature regulator toward lower settings to obtain the minimum 1. Insert the plug into the wall socket. coldness. 2. Turn the Temperature regulator 2. Turn the Temperature regulator toward clockwise to a medium setting. higher settings to obtain the maximum coldness. -
Page 6: Hints And Tips
Storage of frozen food Do not move the glass shelf above the vegetable drawer and When first starting-up or after a period out the bottle shelf to ensure correct of use, before putting the products in the air circulation. compartment let the appliance run at least 2 hours on the higher settings. - Page 7 • A sudden cracking noise from inside • Bottles: these need a cap and should be appliance caused by thermic dilatation (a stored on the door bottle shelf, or (if natural and not dangerous physical equipped) on the bottle rack. phenomenon).
-
Page 8: Care And Cleaning
• not open the door frequently or leave it • do not exceed the storage period open longer than absolutely necessary; indicated by the food manufacturer. • once defrosted, food deteriorates rapidly and cannot be refrozen; CARE AND CLEANING Defrosting of the refrigerator WARNING! Refer to Safety chapters. -
Page 9: Troubleshooting
About 12 hours prior to defrosting, set a lower temperature, in order to build up sufficient chill reserve for the interruption in operation. A certain amount of frost will always form on the freezer shelves and around the top compartment. Defrost the freezer when the frost layer reaches a thickness of about 3-5 mm. - Page 10 What to do if... Problem Possible cause Solution The appliance does not oper- The appliance is switched off. Switch on the appliance. ate. The mains plug is not con- Connect the mains plug to nected to the mains socket the mains socket correctly. correctly.
- Page 11 Problem Possible cause Solution Food products prevent that Make sure that food prod- water flows into the water ucts do not touch the rear collector. plate. Water flows on the floor. The melting water outlet is Attach the melting water out- not connected to the evapo- let to the evaporative tray.
-
Page 12: Installation
INSTALLATION Electrical Connection WARNING! Refer to Safety chapters. CAUTION! Any electrical work required to install this appliance Location should be carried out by a qualified electrician or Refer to the assembly competent person. instructions for the installation. WARNING! This appliance must To ensure best performance, install the be earthed. -
Page 13: Technical Information
5. Switch on the appliance. symbol or coloured green and The appliance is supplied with a 13 amp yellow. fuse (B). In the event of having to change 2. Connect the wire coloured blue to the the fuse in the plug supplied, a 13 amp terminal either marked with the letter ASTA approved (BS 1362) fuse must be “N“...


