Table of Contents
Advertisement
Quick Links
Advertisement
Table of Contents

Related Manuals for Haier HH-DTS1


Summary of Contents for Haier HH-DTS1
-
Page 2: Table Of Contents
CONTENTS 1. Safety Precaution................2. Product overview................2.1 Product Parameter............... 2.2 Size & Dimension................. 3. Installation..................3.1 Preparation Before Installation............3.2 Installation Position..............3.3 Packing list.................. 3.4 Installation Notice................ 3.5 Production Operation..............4. Disassembly guide................(HTH-DTS1) 5. Disassembly guide................(HTH-DTB1) 6.General Troubleshooting.............. -
Page 3: Safety Precaution
1.Safety Precaution Warning The service information is provided for technicians who have experience in repair technology, not for ordinary users. It does not included warnings for dangers fo non-technical personnel who attempt to repair a product. The service or repair of the electrical product needs to operation of precessional technicians. - Page 4 Warning There shall be adequate ventilation of the room when the range hood is Strict used at the same time as appliances burning gas or other fuels. Execution This appliance just for household use only.And it’s not allowed to exhaust dangerous or explosive matter or air.
- Page 5 Notice Because the installation is difficult and hood is heavy, the installation shall be executed by professional person based on manul. Strict Execution Don't break electric wire or other invisible equipment when cutting Strict something or drilling holes on ceiling. Execution When range hood is using in well sealed building, it should have air inlet Strict...
-
Page 6: Product Overview
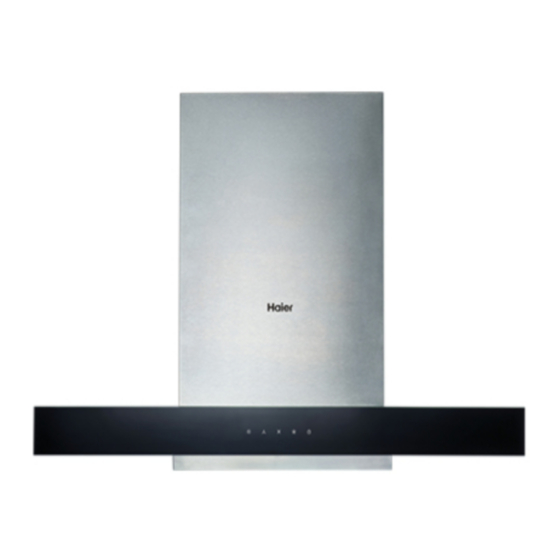
2.Product Overview 2.1 Product Parameter ≤53dB(A) Model HH-DTS1/HH-DTB1 Noise Power Supply Rated Power Input 220-240V~ 50Hz 283W Total Pressure Efficiency ≥23% Rated Main Motor Power Input 280W ≤2W Nominal Wind Pressure 350Pa Lamp Power(max) Grease Absorption Factor ≥91% Turbo Airflow 1200m /h ≥98%... -
Page 7: Installation
3.Installation 3.1 Preparation Before Installation ●Surrounding environment Range hood shall be avoided to be installed at the place where there are many doors and windows since it will cause too large cross-ventilation so as to influence the oil fume exhaust effect. ●Tool preparation The following tools shall be prepared when range hood installation: 1. -
Page 8: Packing List
Figure 2 Hole size of the exhaust pipe Ø200 Wall Ceiling hole sizes( Projection size of the hood top) 3.3 Packing List Please check lists if open the package. Quantity Quantity Name Name Range Hood 1 piece Operation Manual 1 piece 1 piece 1 pair Outer outlet... -
Page 9: Production Operation
3.5 Use Instruction (HH-DTB1) (HH-DTS1) Note: All the LED lights are turned on after power-on, they will go out after about 2 seconds and a beep sounds, then it will enter the shutdown state. Quick (simple stir-fry): Touch this key after standby, the key lights up, and the motor enters the fast working state. -
Page 10: Disassembly Guide
Range Hood 4. Disassembly guide HH-DTS1 4-1. Oil cup Remove the oil cup from the slot in the horizontal direction. - Page 11 4-2.Filter Disassemble the screw,then take out the filter. 4-3.Chimneycover Disassemble 4 screws,then take out the chimney cover.
- Page 12 4-4.Back cover of blowercase Disassemble10 screws,then take out the Backcover of blower case. 4-5.Thenut Remove 6 screws, take out the motor box ring, and then turn the nut clockwise by hand to take out the nut.
- Page 13 4-6.The propellor Take out the Propellor. 4-7.Glass panel & LED light Push the glass panel horizontally, disconnect all the corresponding wire connectors, and remove the LED light from the inside and out with your handsfor replacement.
- Page 14 4-8.Butterfly valve Disassemble the screw,then can take out the butterfly valve.
- Page 15 4-9.Motor Disassemblethe screw ( the backside of the blower case and the exhaust position), then take out the plastic blower box, then can arrange repair / replace the motor.
-
Page 16: Disassembly Guide
5. Disassembly guide HH-DTB1 5-1.Oil cup Remove the oil cup from the slot in the horizontal direction. - Page 17 5-2. Filter Disassemble the screw,then take out the filter. 5-3.Chimney cover Disassemble the screw on the top, the take out the upper chimney cover.
- Page 18 5-4.The nut Remove 6 screws, take out the motor box ring, and then turn the nut clockwise by hand to take out the nut. 5-5. Propellor Takeout the Propellor.
- Page 19 5-6. Glass plate & LED light Two hands holding the glass plate, then pull it out forward or backward slightly, disconnect all the corresponding wire connectors, and remove the LED light from the inside and out with your hands for replacement.
- Page 20 5-7.Butterfly valve Disassemble the screw,then can take out the butterfly valve. 5-8.Motor Disassemblethe screw the backside of the blower case and the exhaust position), then take out the plastic blower box, then can arrange repair replace the motor.
-
Page 21: General Troubleshooting
Tighten the set screw of impeller of impeller is not tightened Oil cup is not assembled in place Oil dripping at rear back of hood Assemble the oil cup in place after disassembly for cleaning 7.Product decomposition diagram HH-DTS1... -
Page 22: Circuit Diagram
HH-DTB1 8.Circuit Diagram CONTROL BOARD POWER BOARD MOTOR CAPACITOR 6μF/ 450V~ 220-240V~50Hz...