Table of Contents
Advertisement
Quick Links
Advertisement
Table of Contents

Related Manuals for Ninja Foodi MAXPRO AG651UK


Summary of Contents for Ninja Foodi MAXPRO AG651UK
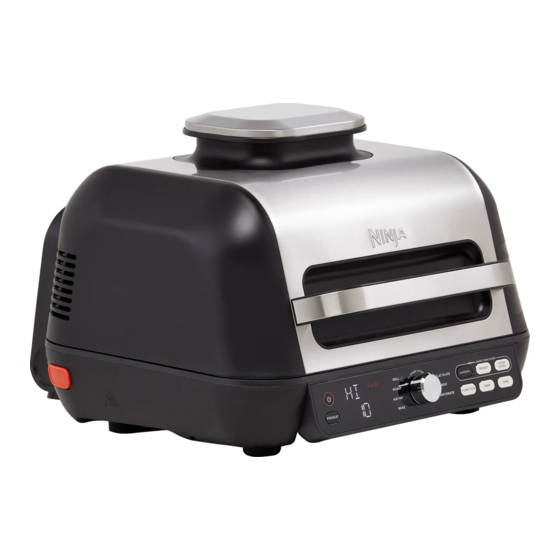
- Page 1 AG651UK INSTRUCTIONS Health Grill, Flat Plate & Air Fryer ninjakitchen.co.uk...
-
Page 2: Table Of Contents
Using the Ninja® Foodi® Max Pro . . . . . . . . . . . . . . . . . -
Page 3: Important Safeguards
IMPORTANT SAFEGUARDS HOUSEHOLD USE ONLY • READ ALL INSTRUCTIONS BEFORE USE When using electrical appliances, basic safety precautions should always DO NOT touch accessories during or 28 DO NOT clean with metal scouring be followed, including the following: immediately after cooking. The grill pads. -
Page 4: Parts
GETTING TO KNOW YOUR GRILL PARTS COOK LEVEL Grill Plate NOTE: Not all functions included with every model. FUNCTION BUTTONS OPERATING BUTTONS GRILL Closed-lid cooking: Top and bottom POWER Make sure unit is plugged in. To heat which is best for grilling large or thick turn on the unit, press the button. -
Page 5: Using The Ninja® Foodi® Max Pro
USING THE NINJA® FOODI® MAX PRO USING THE NINJA® FOODI® MAX PRO - CONT . SPLATTER GUARD GRILL CONTROL USING THE DIGITAL COOKING PROBE 4 If using PRESET, then press the PRESET button and turn the centre dial to select... -
Page 6: Using The Probe In Different Cooking Scenarios
USING THE NINJA® FOODI® MAX PRO - CONT . USING THE NINJA® FOODI® MAX PRO - CONT . HOW TO INSERT THE PROBE 5 Place the accessory required for your NOTE: The probe will be HOT. Use either selected cook function in the unit and oven gloves or tongs to take the probe out close the lid. -
Page 7: Cooking Functions
COOKING FUNCTIONS – CONT . COOKING FUNCTIONS Grill Flat Plate 7 When preheating is complete, the unit Cook with lid open for bottom heat only, Cook with lid open with heat from the bottom will beep and ADD FOOD will appear best for cooking delicate foods and lean for foods that require flipping or stirring and on the display. -
Page 8: Roast
COOKING FUNCTIONS – CONT . COOKING FUNCTIONS – CONT . Roast Air Fry 6 Press the dial to begin preheating. The 6 When preheating is complete, the unit To install the grill plate, position it in the To install the grill plate, position it in the front of the base so it hooks in, then will beep and ADD FOOD will appear front of the base so it hooks in, then... -
Page 9: Bake
COOKING FUNCTIONS – CONT . COOKING FUNCTIONS – CONT . Bake Dehydrate Reheat 5 Press the TIME button and turn the dial to To install the grill plate, position it in the To install the grill plate, position it in the To install the grill plate, position it in the front front of the base so it hooks in, then of the base so it hooks in, then press down... -
Page 10: Cleaning & Maintenance
CLEANING & MAINTENANCE TROUBLESHOOTING • If food residue or grease are stuck on the The unit should be cleaned thoroughly • “ADD FOOD” appears on the control panel display . after every use. Always let the appliance grill plate, splatter guard, or any other The unit has completed preheating and it is now time to add your ingredients. - Page 11 Illustrations may differ from actual product. We are constantly striving to improve our products, therefore the specifications contained herein are subject to change without notice. FOODI and NINJA are registered trademarks of SharkNinja Operating LLC. © 2021 SharkNinja Operating LLC PRINTED IN CHINA...