
Summary of Contents for Pyle PLINK4
- Page 1 PLINK4 PCI-E Gen2 4K HDMI Video Capture Card with Line in and Line out 4K@30FPS; 2560x1440@60FPS, 1920x1080@120FPS PC Capture Card, Internal Capture Card...
-
Page 2: What's In The Box
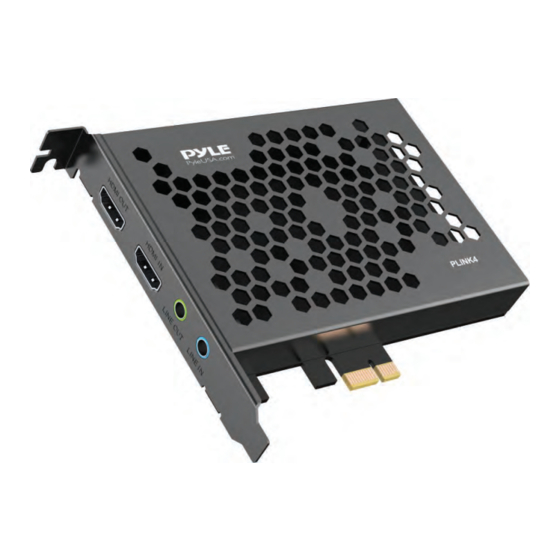
Overview 1. PCI-E X1: Connect to PCI-E slot of your computer 2. LINE IN: Connect to Audio mixer or Microphone, and mix the audio with video together. 3. LINE OUT: Connect to Earphone or Speaker. 4. HDMI IN: HDMI input port, connect to console. 5. - Page 3 For professional live streaming or recording, we suggest use OBS, download https://obsproject.com/ link: Note: PLINK4 Video Capture Card also can work with Mac Pro, and please download OBS Mac version. The operation is similar as working under Windows as below. www.PyleUSA.com...
-
Page 4: Video Setting
You also can insert a name you want to create for the device. One window will appear you after above. Please click the drop-down box next to Device and select Pyle LiveGamer PLINK4. Video Setting You should get the video in window. If not, and you see Check Resolutions Settings on the window, you need to set the video resolution. - Page 5 Then click the drop- down box next Resolution to select one resolution that same or smaller as the resolution of your video source. Because the default video output resolution of device is 3840 x 2160, and software will not display video if resolution of video source is smaller than 3840 x 2160, such as 1920 x 1080.
-
Page 6: Audio Setting
You may cannot hear the sound when you nish above settings. Please tick “Use custom audio device”, and click the drop-down box next to Audio Device and select HDMI (Pyle LiveGamer PLINK4), you will hear the sound now. If you still cannot hear the sound, please click... - Page 7 Recording Click Settings in the low right conner of OBS panel, and click Video on the left in the pop-up Settings window. Click the drop-down box next to Base (canvas) Resolution to select the appropriate resolution, and click the drop-down box next to Output (Scaled) Resolution to select the output resolution.
-
Page 8: Operating System
After setting, click Apply and Ok in the low right conner of Settings panel, then simply click Start Recording in the low right conner of OBS panel to start recording videos, and click Stop Recording to stop recording. Streaming Click Output in the Settings panel, in the Streaming column, set video quality for streaming (adjust depends your computer, network speed), then click icon Apply and OK in the Settings panel. -
Page 9: Technical Specs
Features: • Seamless Picture Quality with Video Capture at 4K@30FPS; 2560x1440@/60FPS, 1920x1080@120FPS • Real 4K HDMI Capture with High-Quality Video Experience • 4K@30FPS, 1920*1080@120FPS and 2560x1440 @60 FPS, HDMI Input and Pass-through • 4K@30FPS, 1920*1080@120FPS and 2560x1440 @60 FPS Recording. •... - Page 10 Questions? Issues? We are here to help! Phone: (1) 718-535-1800 Email: support@pyleusa.com...