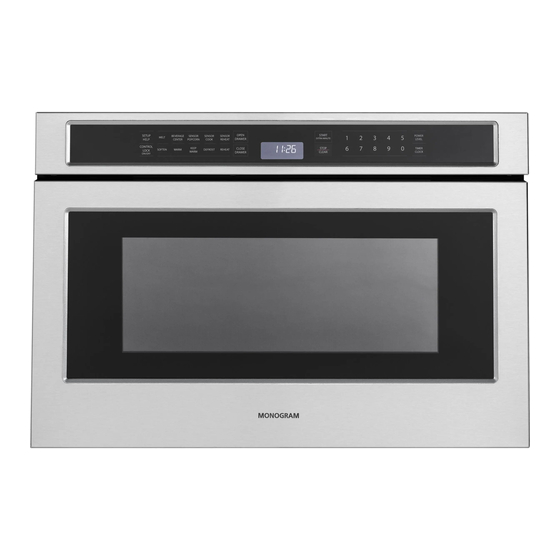
Monogram ZWL1126SJ Installation Instructions Manual
Drawer microwave
Hide thumbs
Also See for ZWL1126SJ:
- Installation instructions manual (17 pages) ,
- Owner's manual (48 pages)
Summary of Contents for Monogram ZWL1126SJ
- Page 1 Installation Instructions Monogram Drawer Microwave For Models: ZWL1126SJ 49-40754-2 (01-18 GEA)
-
Page 2: Before You Begin
Installation Instructions Questions? Call 800.GE.CARES (800.432.2737) or Visit our Website at: monogram.com. In Canada, visit our website at: monogram.ca. BEFORE YOU BEGIN WARNING Stepping, leaning or sitting on Read these instructions completely and the drawer may result in serious injuries and can also cause damage to the Drawer Microwave. - Page 3 Installation Instructions CLEARANCES AND DIMENSIONS 24” DRAWER MICROWAVE • Dimensions that are shown in Figure 1 (for MEASUREMENTS (Continues) 24”) must be used. Given dimensions provide minimum clearance. Locate electrical outlet in (6”) the shaded area in the upper left-hand corner Suggested electrical Anti-Tip outlet location*...
-
Page 4: Drawer Installation
Installation Instructions ANTI-TIP BLOCK GROUNDING INSTRUCTIONS NORMAL INSTALLATION STEPS This appliance must be grounded. In the event of an electrical short circuit, grounding reduces the risk Anti -Tip BLOCK Installation Instructions of electric shock by providing an escape wire for To reduce the risk of tipping of the drawer, the the electric current. - Page 5 Installation Instructions 24” Flush Mount Deflector Vent IMPORTANT NOTES TO THE PARTS INCLUDED INSTALLER Description Flush Mount • Read all of the Installation Manual that is Deflector Vent included with the Drawer Microwave before installing in the flush mount configuration. •...
- Page 6 Installation Instructions 24” Flush Mount Deflector Vent 1. Prepare cabinet opening as shown in Figures 6, 7, 8, and 9. Anti-Tip Block Mounting Cleat ” Cabinet ” 1 Drawer Face Face 22” mounting cleat opening width NOTE: the mounting surface of the finished cleat must sit 1 ”...
- Page 7 Installation Instructions 24” Flush Mount Deflector Vent 2. Install deflector as shown in 6. Open the drawer. Using the 4 holes on the Figures 10 and 11 drawer as a template, pre drill the cabinet using a 1/16” bit. See Figure 12. Shelf detail showing the deflector vent during installation.
- Page 8 Notes TINSLB048MRR0l...
- Page 9 Instructions d'installation Four à micro-ondes à tiroir Monogram Pour les modèles : ZWL1126SJ 49-40754-2 (01-18 GEA)
-
Page 10: Avant De Commencer
Instructions d'installation Des questions? Appelez le 800-GE-CARES (800-432-2737) ou visitez notre site Web à : monogram.com. Au Canada, visitez notre site Web à : monogram.ca. AVANT DE COMMENCER AVERTISSEMENT Grimper, s'appuyer ou s'asseoir sur le Lisez attentivement toutes ces instructions. - Page 11 Instructions d'installation DIMENSIONS ET DÉGAGEMENTS MESURES POUR L'INSTALLATION • Les dimensions indiquées dans la figure 1 (pour un DU FOUR À MICRO-ONDES À TIROIR four à micro-ondes de 24 po) doivent être utilisées. Ces DE 24 po (suite) dimensions correspondent aux dégagements minimaux. Localisez la prise électrique dans la zone ombrée dans le (6 po) Emplacement...
- Page 12 Instructions d'installation BLOC ANTIBASCULEMENT INSTRUCTIONS DE MISE À LA TERRE ÉTAPES D'UNE INSTALLATION STANDARD et appareil doit être mis à la terre. En cas de court- circuit, le conducteur de mise à la terre permet au courant Instructions d'installation du BLOC antibasculement électrique de s'échapper, ce qui réduit le risque de choc Afin de réduire les risques de renversement, le four à...
- Page 13 Instructions d'installation Déflecteur de ventilation encastré de 24 po PIÈCES INCLUSES REMARQUES IMPORTANTES DESTINÉES À L'INSTALLATEUR Qté Description Déflecteur • Lisez entièrement le manuel d'installation inclus de ventilation avec ce four à micro-ondes à tiroir avant d'encastrer encastré ce dernier. •...
- Page 14 Instructions d'installation Déflecteur de ventilation encastré de 24 po 1. Préparez l'ouverture de l'armoire comme illustré dans les figures 6, 7, 8 et 9. Bloc antibasculement Cale de fixation Face avant po 1 Face avant de l'armoire du tiroir 22 po Largeur d'ouverture depuis les cales REMARQUE : La surface de montage des cales de finition doit être située à...
- Page 15 Instructions d'installation Déflecteur de ventilation encastré de 24 po 2. Installez le déflecteur comme illustré 6. Ouvrez le tiroir du four. En utilisant comme dans les figures 10 et 11. modèle les 4 trous situés sur le tiroir, pré-percez l'armoire à l'aide d'un foret de 1/16 po. Voir figure 12. Détail de l'étagère montrant le déflecteur de ventilation lors de l'installation.
- Page 16 Notes TINSLB048MRR0l...


