Advertisement
Quick Links
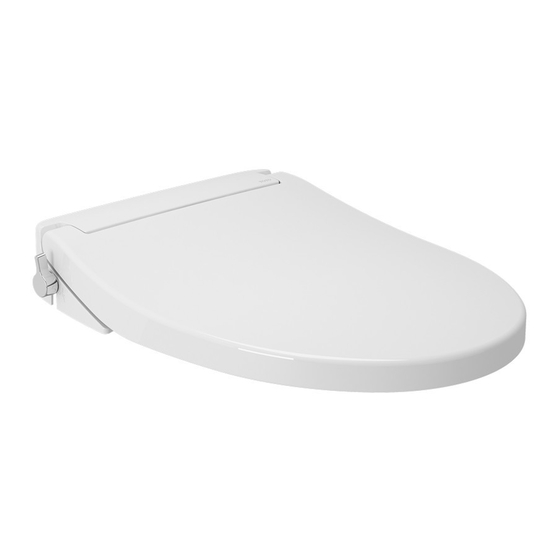
Installation for Toto Eco Washer: TCW07 model
This bidet kit is suitable for most bottom inlet toilet
cisterns and Australian "round style" toilet pans with
140mm mounting-hole centres.
1. Remove your old toilet seat and clean up any 'yuck' left on the toilet pan with
bleach or CLR and an abrasive pad (use gently), then rinse off and dry.
Remove the Toto bidet seat from its packaging and identify the different
components of the kit. Isolate the plastic bag containing the 2 black rubber
mounting tubes with the stainless steel screws and plastic locating washers.
Take the rubber tubes and remove the stainless steel screws. These
mounting tubes are the correct length for toilet pans with deep mounting
holes; but for most Australian pans these rubbers will need to be made
shorter.
2. Using side-cutters or scissors, cut these rubbers where shown in the photos
left. If your toilet pan is thicker than about 15mm at the mounting holes; you
should make the second cut on these mounting rubbers at the end of the next
straight section (so that you only remove the top rounded section).
3. Now push the top part of the rubbers (with the flanges up) down into the
mounting holes on the top of the toilet pan.
4. Place the mounting plate on the top of the pan – initially in the rearwards
most position and lined up with these rubbers. Place the stainless steel
screws with plastic locators through the mounting plate so they protrude
through the mounting holes. The photo left shows a mounting plate which
has been modified to fit a toilet pan with 150mm hole centers. (We didn't
have a toilet pan with 140mm mounting holes available for these photos)
Advertisement

Related Manuals for Toto TCW07


Summary of Contents for Toto TCW07
- Page 1 1. Remove your old toilet seat and clean up any ‘yuck’ left on the toilet pan with bleach or CLR and an abrasive pad (use gently), then rinse off and dry. Remove the Toto bidet seat from its packaging and identify the different components of the kit. Isolate the plastic bag containing the 2 black rubber mounting tubes with the stainless steel screws and plastic locating washers.
- Page 2 5. Screw the bottom halve of the mounting rubbers up onto these screws (from underneath) as shown and tighten finger tight only. Now place the bidet seat back onto the base. Re-check the position of the front bumpers and re-align the seat slightly if necessary so they are contacting the rim of the toilet pan correctly.
- Page 3 9. Unscrew the retaining nuts at both ends of the supply pipe. It is good practice to hold this plastic fitting on the tank with suitable multi-grip pliers when undoing the nut or the whole assembly may turn in the tank. 10.
- Page 4 12. If your cistern inlet is on the right side as in the photos; you will need to turn the bidet isolating valve with a spanner slightly further (clockwise only) so the outlet is pointing towards the inlet of the bidet seat as in the bottom photo.
- Page 5 Helpful operating hints Open the valve by turning it forward. After the wand has extended and is shooting water, you can rotate this valve further clockwise to increase the water pressure. You may have to experiment with your seating position until you find the ideal spot where the water stream does hit the target correctly.