
Summary of Contents for The Singing Machine SML2082BTBK
- Page 1 SML2082BTBK/C/S INSTRUCTION MANUAL www.singingmachine.com The Singing Machine® is a registered trademark of The Singing Machine Co., Inc.
-
Page 2: Important Safety Information
Warnings WARNING: TO PREVENT FIRE OR SHOCK HAZARD, DO NOT EXPOSE CAUTION THIS UNIT TO RAIN OR MOISTURE. RISK OF ELECTRIC SHOCK FCC WARNING: This equipment may generate or use radio frequency DO NOT OPEN energy. Changes or modifications to this equipment may cause harmful interference unless the modifications are expressly approved in the CAUTION: TO REDUCE THE RISK OF ELECTRIC SHOCK, DO NOT instruction manual. - Page 3 Included Please make sure the following items are included. Main Unit Wired Microphone AC Adapter Manual — 2 —...
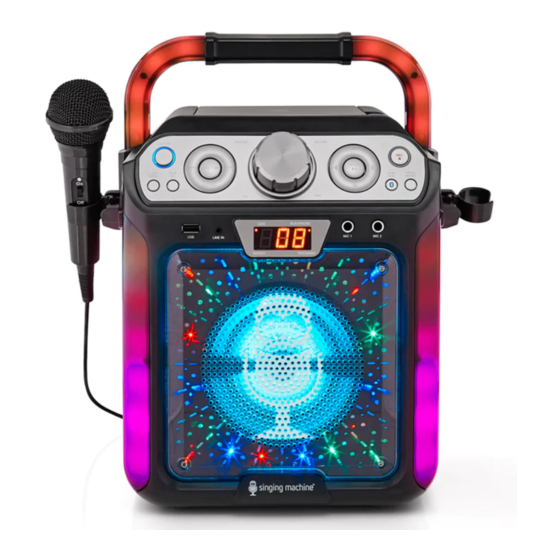
- Page 4 Location of Controls (Top/Front) 1. Handle 14. Open/Close Tab 2. MASTER VOLUME Control 15. Skip –/Navigation Button 3. CD Compartment 16. Play/Pause Button 4. ECHO + Button 17. KEY + Button 5. FUNCTION Button 18. Bluetooth Button 6. MIC VOLUME + Button 19.
-
Page 5: Location Of Controls (Rear)
Location of Controls (Rear) 1. Video Out Jack 5. Mic Holder (side of unit) 2. Mic Holder (side of unit) 6. Battery Compartment 3. Right/Left Audio Out Jacks 4. DC In Jack Location of Controls (Display) PLAY/ PAUSE PROG 1. CDG Indicator 4. - Page 6 Connection Connecting the Microphone(s) Microphones: Connect a microphone into MIC jack 1 u as well as MIC jack 2 v (when desired). Note: Do not drop or tap the Mic as damage to the Mic or speakers may occur. Do not twirl the microphone by cord as it will cause damage to the encased wiring.
-
Page 7: Making The Connections
Connection Connecting to AC Power Insert the AC power cord into a conveniently located AC outlet having 120V AC, 60Hz. Note: SML283-eng and fra.V4_Layout 1 11/7/16 8:37 AM Page 3 Make all connections before connecting to AC power. MAKING THE CONNECTIONS INSTALLATION OF BATTERIES “C”... - Page 8 Operation Connecting to Line In Jack To External Unit AUDIO OUTPUT Connect an external device / HEADPHONE JACK by using an appropriate cable (3.5mm audio cable not included) as shown. Note: See page 15 to select and use the LINE IN Line In function.
- Page 9 Operation Playing a CD Connect the unit as described previously; it should be connected to a TV (see page 5). Press the POWER ON/OFF button to turn the unit on. Lift open the CD door and insert a CD (with standard or MP3+G files) or a CD+G by gently pressing it on the center spindle.
- Page 10 Operation Playing a CD (Continued) Adjust the volume to a comfortable level using the MASTER VOLUME control. Notes: • Never place anything other than a CD in the compartment, as foreign objects can damage the unit. • If no disc is inserted, “No” will appear on the display.
- Page 11 Operation Playing a CD (Continued) SKIP: Advance or go back one track by pressing the Skip –/ Navigationand Skip +/ Navigationbutton. REPEAT: During playback, press the REPEAT/PROGRAM button once to repeatedly play the selected song; the Repeat indicator will blink. Press the REPEAT/ PROGRAM button a second time to repeatedly play the whole CD;...
- Page 12 Operation Playing a CD (Continued) Program Notes: • Press the STOP button TWICE to stop and clear the program. • If more than 20 tracks are attempted to be programmed, “FUL” will appear in the display. PAUSE: During playback, if you wish to pause the disc momentarily, press the Play/ Pause button;...
- Page 13 Operation Using a Bluetooth Device Connect the unit as described previously. Press the POWER ON/OFF button to turn the unit on. Repeatedly press the FUNCTION button to select the Bluetooth; “bt” will appear in the display. The unit automatically searches for and pairs a previously paired Bluetooth device (if previously paired).
- Page 14 Operation Using a Bluetooth Device (Continued) Start playback of your bluetooth device. Press the Play/Pause button during playback to pause the song. Adjust the volume to a comfortable level using the MASTER VOLUME control on this unit as well as the volume on your Bluetooth device.
- Page 15 Operation Using a Bluetooth Device (Continued) Press the POWER ON/OFF button to turn the unit off. — 14 —...
- Page 16 Operation Using the LINE IN Jack Connect the unit as described previously (see page 6). Press the POWER ON/OFF button to turn the unit on. Connect the external unit to the LINE IN Jack on the front of this unit. Connecting an external unit will allow the audio to be played through your Singing Machine.
- Page 17 Operation Using the LINE IN Jack (Continued) Press the MIC VOLUME + or –button as desired, which will affect both microphones. Press the ECHO + or – button to add an echo effect to your voice. Press the ON/OFF button to turn the unit off.
-
Page 18: Troubleshooting Guide
Troubleshooting Guide Should this unit exhibit a problem, check the following before seeking service: No Power • Power is not on; press the POWER ON/OFF button to turn power on. • Confirm the AC adapter is connected securely to the back of the unit. •... -
Page 19: Specifications
Specifications AUDIO Output Power ....................8 Watts (RMS) 10% THD Output Impedance ........................4 Ohms CD SECTION Frequency Response ..................... 100Hz - 20kHz Signal-to-Noise Ratio ....................50dB (A-WTD) Number of Programs ............20 Step Random Access Programming Sampling System ....................8 Times Over Sampling BLUETOOTH Bluetooth Version ........................V2.1 + EDR Working Distance ...........Up to 30 feet/10 meters measured in open space... - Page 20 Visit Our Website: www.singingmachine.com The Singing Machine Company, Inc. 4060 E Jurupa Street, Unit B Ontario, CA 91761-1413 USA Copyright © 2017 - All Rights Reserved. PRINTED IN CHINA PART NUMBER HERE — 19 —...