
Summary of Contents for Sylvania SDPF7095
- Page 1 USER MANUAL SDPF 7095 SYLVANIA is a registered trademark of OSRAM Sylvania Inc. used under license. ENGLISH...
-
Page 2: Key Points
Key Points This manual includes security measures and correct operating methods. For personal safety, please make sure to read this manual before using. Thank you! 1. The machine adopts capacitive touch screen, you can just touch it by finger or click with capacitive pen for operation. - Page 3 1. POWER Use power adapter to power on the frame. When it is on, press and hold power button for approximately 3 seconds to access reboot or power off menu. Short press on power button will turn off/onscreen (but leave the photo frame in on position). Power off: To avoid any possible damage to the frame, please do not unplug the power adapter from the frame directly, please always press the power button for 2 seconds and tap “Power off”...
- Page 4 4. Micro SD (Support maximum 32G micro SD card) Load external micro SD memory cards here. Photos in the micro SD card can’t be displayed directly in the frame, you have to upload/import photos from micro SD card to the frame first. You can export/ copy photos from the frame to micro SD card.
-
Page 5: Getting Started
Getting started Congratulations with your brand new Frameo photo frame! If you are new to using Frameo then start by following the Frameo quick setup or follow the on-screen guide when powering it on for the first time. Once you have set up your Frameo frame, you can start connecting it to your friends and family. -
Page 6: Frameo Quick Setup
Frameo quick setup When starting your frame for the first time, you will need to setup the frame. ● Select a language. This will be the language used on the Frameo. ● Connect your frame to the internet by connecting it to a Wi-Fi. ●... -
Page 7: Start Using Frameo
Start using Frameo Next step is to connect Frameo with your friends and family by providing them with a code from your frame. If you want to be able to send photos to the frame yourself, start by downloading the app for iOS or Android on App Store Google Play. -
Page 8: Navigating Your Frameo
Navigating your Frameo Swipe left or right to go through your photos. To access the menu, simply tap once on the screen. In the menu you will find the most used features. A dd friend This will generate a code that you can share with your friends and family so they can connect and send photos to your frame. - Page 9 Fit to frame will make sure that the entire photo is shown on the screen. See the second picture below. Adjust photo Allows you to adjust the position of the photo in the frame for an even better fit. Here you can also use to rotate your photo.
- Page 10 My frame Frame name Changes the name of your frame. This is also the name that connected friends and family will see in their list of connected frames in the smartphone app. Frame location Changes the location of your frame. This is the location displayed on your friends' and family's list of connected frames which can help to distinguish frames from each other.
- Page 11 Import photos Allows you to import photos from an external storage (e.g. microSD card). Before you try to import photos, make sure you have an external storage (e.g. microSD card) inserted into your frame with the photos you wish to import. Start by selecting the photos that you want to import onto your frame.
- Page 12 Add person To allow a new person to send you photos, simply tap the add friend button and share the presented code in whatever way you prefer. Display Brightness level Adjust the brightness level of the screen. Sleep mode Frameo offers a sleep mode which turns off the screen to reduce power consumption.
- Page 13 Autoplay Enables/disables autoplay of videos in the slideshow. Videos can always be manually started regardless of this setting. Video playback Determines how videos should be played when autoplay is enabled. ● Loop videos: The video will loop until the slideshow timer is up. ●...
- Page 14 Notification volume Adjust the volume level for notification sounds. Storage space Enables/disables notifications shown when frame storage is low. Backup Enables/disables notifications shown if automatic backup has failed. Network connection Enables/disables notifications showing network connection status. New photos Enables/disables notifications shown when receiving new photos. New friends Enables/disables notifications shown when new friends are added.
- Page 15 Restore from backup Before you attempt to restore your frame, start by confirming that your backup is up- to-date. This is done by confirming the date under “Backup frame to external storage (e.g. microSD card)”. If e.g. the last backup is too old or if no backup is made, then press the “Backup frame to external storage (e.g.
- Page 16 Guide Opens the quick start guide, that was shown when you first started the frame. About Android version See what version of Android that is installed on the frame. Peer ID This is a unique ID for your photo frame. When contacting our support, please provide this ID with your message.
- Page 17 Note: To connect Wi-Fi after rest, you need to follow below steps: 1. Slightly press the screen,it will show below iamge.Click setting and find Wi-Fi at setting page 2. Click Wi-Fi,select Wi-Fi from poped up menu and connect.
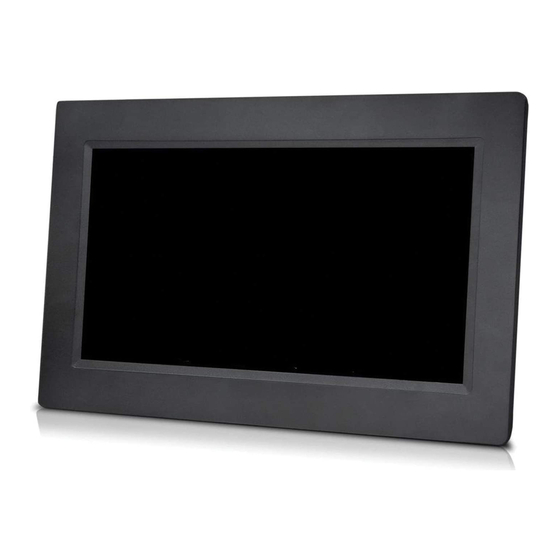
- Page 18 Product Specification Android CPU Type: Rockchip 3126 512 MB DDRIII RAM Memory Memory 8GB EMMC Display 7" LCD 1 024X600 TN Touch Panel 5 Point Capacitive touch screen Wi-Fi 802.11 b/g/N Picture format JPEG & PNG Video format MP4(within 15 seconds) Specifications are for reference Warning: Changes or modifications to this unit not expressly approved by the party responsible for compliance could void the user’s authority to operate the equipment.
- Page 19 To make a warranty claim, do not return this product to the store. Please email support@ curtiscs.com or call 1-800-968-9853. 90 day Year Warranty This product is warranted to be free from defects in material and workmanship for a period of ninety (90) days from the date of original purchase. During this period, your exclusive remedy is repair or replacement of this product or component found to be defective, at our option;...