Advertisement
Quick Links
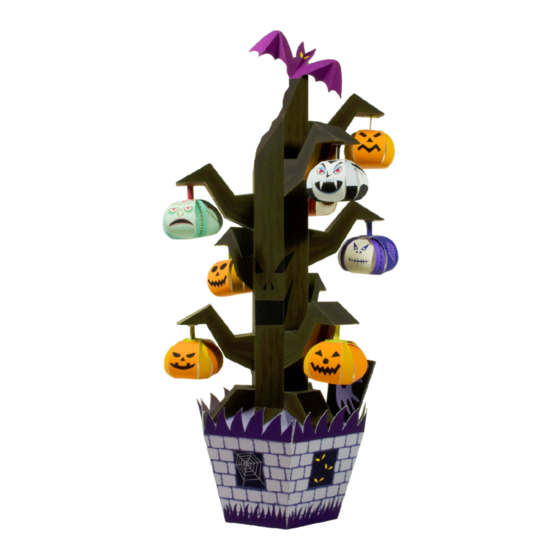
Halloween tree : Assembly Instructions
Assembly Instructions : Three A4 sheets (No. 1 to No. 3)
Before starting assembly:
Writing the number of each section on its back side before cutting
out the sections is highly recommended.
(* This way, you can be sure which section is which even after
cutting out the sections.)
Assembling the pot
1-1
1-3
2-2
2-1
The bottom
of the pot
Complete the pot by
gluing the bottom in
place.
1
©
Canon Inc.
©
TakaTaka
Indicates where
sections should be glued together.
Indicates where to
insert sections. Do not glue the
sections together.
1-2
Glue the six surfaces of part 1 marked
with
to the rear side of part 2.
Although a mountain fold is used for the
folds in the blades of grass on part 2,
fold them outward where indicated here
to make it easier to work with part 1.
1
2
Advertisement

Summary of Contents for Canon PAPER CRAFT
- Page 1 Halloween tree : Assembly Instructions © Canon Inc. © TakaTaka Before starting assembly: Indicates where Writing the number of each section on its back side before cutting sections should be glued together. out the sections is highly recommended. Indicates where to (* This way, you can be sure which section is which even after insert sections.
- Page 2 Halloween tree : Assembly Instructions © Canon Inc. © TakaTaka Assembling the tree trunk Assembling the branches Assembling the trunk, branches, roots, and pot together Cross-section of the Apply glue to the spot trunk marked with a Glue the nine branches in place.
- Page 3 Halloween tree : Assembly Instructions © Canon Inc. © TakaTaka Assembling the jack-o'-lanterns Decorating the tree Assemble a total of nine jack-o'-lanterns. Each has the same shape and is assembled in the same way, with only their patterns differing. Use a round pencil or similar Glue the tips in order, referring to item to curve these parts.


