Table of Contents
Advertisement
Available languages
Available languages
Quick Links
Advertisement
Table of Contents

Related Manuals for Toa N-8000AF

Summary of Contents for Toa N-8000AF
- Page 1 INSTALLATION MANUAL AUDIO INTERFACE UNIT N-8000AF Thank you for purchasing TOA’s Audio Interface Unit. Please carefully follow the instructions in this manual to ensure long, trouble-free use of your equipment.
-
Page 2: Table Of Contents
TABLE OF CONTENTS 1. SAFETY PRECAUTIONS ................3 2. GENERAL DESCRIPTION ................6 3. FEATURES ......................6 4. NOMENCLATURE AND FUNCTIONS ..........7 Front ..........................7 Rear ..........................7 5. INSTALLATION ....................8 5.1. Equipment Rack Mounting ..................8 5.1.1. Setting space ....................8 5.1.2. -
Page 3: Safety Precautions
• Should the following irregularity be found during or personal injury. use, immediately disconnect the power supply plug from the AC outlet and contact your nearest TOA · Install the equipment rack on a stable, hard floor. dealer. Make no further attempt to operate the unit... - Page 4 • Do not place heavy objects on the unit as this may · The supplied rack-mounting screws can be used cause it to fall or break which may result in personal for the TOA equipment rack only. Do not use them injury and/or property damage. In addition, the for other racks.
- Page 5 évents de seulement être utilisées pour le bâti de l’équipement ventilation du capot de l’appareil sous peine de TOA. Ne pas les utiliser pour d’autres bâtis. provoquer un incendie ou une électrocution. Pendant l’utilisation de l’appareil •...
-
Page 6: General Description
DESCRIPTION GÉNÉRALE L’unité N-8000AF de TOA est l’interface audio utilisée pour le système de paquet intercom des séries N-8000 (intercom compatible avec un réseau IP) utilisant une technologie de paquet audio*. -
Page 7: Nomenclature And Functions
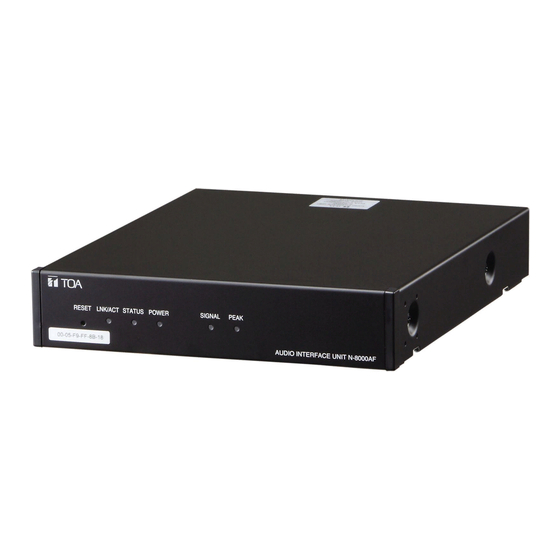
4. NOMENCLATURE AND FUNCTIONS [Rear] [Front] 1 2 3 4 5 6 7 16 17 1. Reset key [RESET] 10. Audio output terminal [AUDIO OUTPUT] Pressing this key reactivates this unit. This terminal connects to a recording device, etc. (Refer to p. 14.) 2. -
Page 8: Installation
5. INSTALLATION The N-8000AF can be installed in any of three ways: Equipment rack mounting, Desk-top installation, and Wall mounting. 5.1. Equipment Rack Mounting A) Elevated Operating Ambient - If installed in a closed or multi-unit rack assembly, the operating ambient temperature of the rack environment may be greater than room ambient. -
Page 9: Mounting On The Rack
Component parts of MB-15B-BK Composants du MB-15B-BK Tapping screw 3 x 14 Vis-taraud 3 x 14 Tapping screw 3 x 8 Vis-taraud 3 x 8* N-8000AF Blank bracket Patte vierge Tapping screw 3 x 8 Vis-taraud 3 x 8 Rack mounting bracket... -
Page 10: Desk-Top Installation
5.2. Desk-Top Installation Installation sur un bureau When installing the N-8000AF on a desk, secure the supplied plastic feet to the unit’s bottom using the supplied machine screws. Pour installer l’unité N-8000AF sur un bureau, installez les pieds en plastique fournis sur le fond de l’appareil à... - Page 11 Step 2. Mount the N-8000AF on the wall. Notes • Use appropriate screws for the construction of wall. • Wood screws 3.5 x 20 are supplied with the YC-850. • The socket-outlet shall be installed near the equipment and the plug (disconnecting device) shall be easily accessible.
-
Page 12: Wiring
Select an appropriate UPS taking into consideration the total power consumption of all system components and the required back up time, and also the requirement that the UPS should employ the on-line power system. 3P removable terminal plug (supplied with the N-8000AF) 2P removable terminal plug (supplied with the N-8000AF) - Page 13 3. Audio input terminal connection 5. Contact input terminal connection Connect the microphone, audio device, etc. to this (Refer to p. 14, "Removable terminal plug connection.") terminal using the two-core shielded cable. [Specification of no-voltage make contact input] [Audio input terminal specifications] Short-circuit current: 5 mA –...
-
Page 14: Type Of Cable
Note Specifications related to junction are as follows. Removable terminal plug (N-8000AF Control I/O and Audio I/O and Time sync input terminal) Conductor diameter: ø 0.5 – 2 mm (AWG12 – 24), Solid wire/Stranded wire 6.3. -
Page 15: Accessories
<Drive where CD is placed> \index.html For example, when placing the CD in the "d" drive, d:\index.html 8. OPTIONAL PRODUCTS Rack mounting bracket: MB-15B-BK (for rack mounting one N-8000AF unit) MB-15B-J (for rack mounting two N-8000AF units) Wall mounting bracket: YC-850... - Page 16 Version update information • Download our TOA Products Data, web site (https://www.toa-products.com/international/) to get the up-to-date version for N-8000 software, firmware, and Instruction manuals. • The software version number can be confirmed using the Help menu. • The current firmware version can be confirmed on the system management screen displayed when the browser establishes the connection to the Exchange.