
Related Manuals for Alpine 428-L-GRY


Summary of Contents for Alpine 428-L-GRY
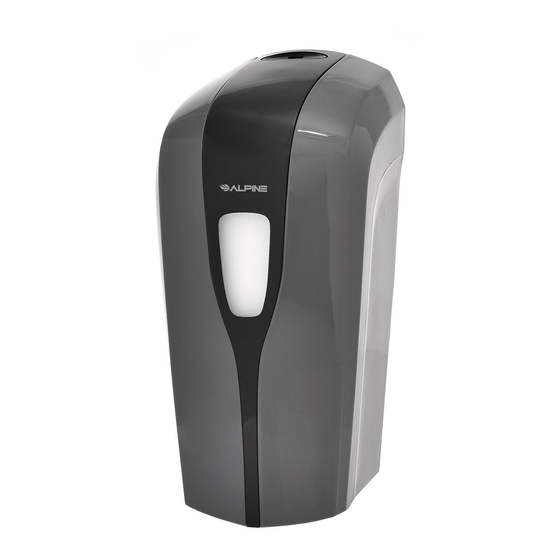
- Page 1 ASPEN SOAP DISPENSER MODELS 428-L-GRY 428-F-GRY OPERATION & INSTALLATION MANUAL W W W . A L P I N E I N D U S T R I E S . C O M...
- Page 2 Alpine will not be liable for any damages because of failure to comply with the installation and operating instructions outlined in this manual or because of improper use. Failure to comply with the installation and operating instructions or improper use voids the warranty.
-
Page 3: Parts List
PARTS LIST 1 — Dispenser 4 — Wall Screws 4 — Anchor Plugs 2 — Keys Note: Typical wood screws have been included with this product. These screws can be used in most types of walls and studs. However, other screw types may be needed such as: for masonry walls with tiles —... -
Page 4: Components List
COMPONENTS LIST 1. cover 2. power adapter plug 3. key button 4. sight glass 5. dispenser 6. reservoir 7. screw cap 8. pump 9. case tab 10. pump tab 11. single dose button 12. double dose button 13. LED 14. internal unit 15. -
Page 5: Preparing The Dispenser
PREPARING THE DISPENSER 1. Carefully remove dispenser from shipping carton, remove packing material (recycling is recom- mended), and inspect unit for damage. 2. Check for missing of damaged parts. If parts are missing or damaged contact the retailer. 3. Open the dispenser by inserting key, pressing down on key button 3 and swinging cover 1 down. 4. - Page 6 PUSH TAB www.alpineindustries.com...
-
Page 7: Tools Needed
INSTALLING DISPENSER CAUTION: Make sure that no electrical wiring or pipe runs are located in the wall cavity where the dispenser is to be installed. TOOLS NEEDED Phillips head screw driver Drill Drill bit Stud finder Pencil 1. Mount over a counter top no less than 16 inches (40cm) above counter. Do not install dispenser over electrical outlets. -
Page 8: Limited Warranty
The replacement of any part is warranted for the remainder of the original warranty period. What is Covered — The parts are warranted for a 1 year period from the date of purchase. Alpine Industries will provide part replacement for original defects, when in accordance to the owner's manual and installation guide.