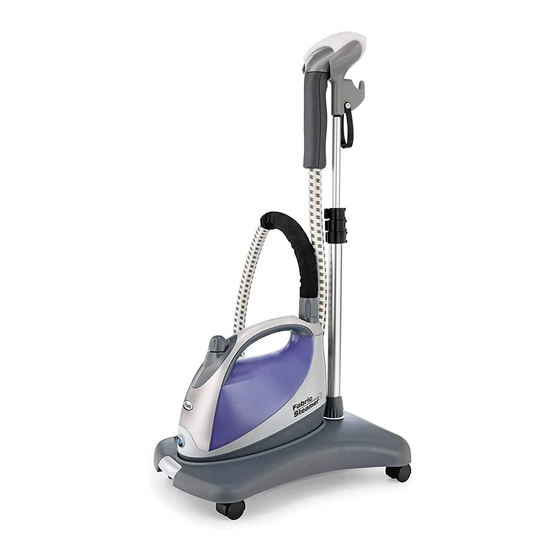
Summary of Contents for Shark R-GS300
- Page 1 OWNER’S GUIDE R-GS300 Refurbished by America’s Remanufacturing Company, an independent company not affiliated with SharkNinja Operating LLC. This product is warranted and supported by America’s Remanufacturing Company.
- Page 2 WARNINGS IMPORTANT SAFETY INSTRUCTIONS For Household Use Only WHEN USING YOUR SHARK GARMENT 11. This appliance and the accessories become hot during ® STEAMER, BASIC SAFETY PRECAUTIONS use. Exercise care when changing accessories and follow removal and changing instructions as outlined in SHOULD ALWAYS BE FOLLOWED, INCLUDING THE the manual.
-
Page 3: Table Of Contents
Use care when you turn a steam appliance upside down, there may be hot water in the reservoir. SAVE THESE INSTRUCTIONS This manual covers model numbers: R-GS300 TECHNICAL SPECIFICATIONS Voltage: 120V., 60Hz. Power: 1200 Watts Water Capacity: 1150 ml (38.5 oz.) -
Page 4: Quick Start Guide
QUICK START GUIDE fig. 2 fig. 4 fig. 1 fig. 3 ASSEMBLY 1 Set the base on the floor and 3 Pull the release button (3) on the 4 Align the notch on the inside of the insert the telescoping pole, align base towards you. - Page 5 ENGLISH fig. 6 fig. 5 fig. 7 FILLING THE WATER TANK USING THE STEAMER Portable Mode Stand Mode 1 Make sure the power switch is OFF “0” then unplug the unit from 1 Remove the steam unit from the 1 Make sure the steam bonnet is in the power outlet.
-
Page 6: Assembly
ASSEMBLY GARMENT STEAMER YOUR GARMENT COMPONENTS STEAMER FEATURES A Unit / Garment Steamer F Steam Nozzle K Carrying Handle B Steam hose/steam nozzle with G Garment Hook L Water Tank Cap steam bonnet and bristle brush frame assembled. (Bonnet and H Telescoping Garment Pole M Power Switch frame are removable) - Page 7 ENGLISH fig. 2 fig. 4 fig. 1 fig. 3 ASSEMBLY 1 Remove all packaging from the 4 Pull the release button (3) on the 6 Hang the steam nozzle on the appliance. Do not plug in or turn base towards you. (2) Holding steam nozzle cradle.
-
Page 8: Using Your Garment Steamer
ASSEMBLY- cont. USING YOUR ACCESSORIES fig. 6 fig. 8 fig. 7 FILLING THE WATER TANK 1 Make sure the power switch is OFF “0” then unplug the unit from the power outlet. 2 Unscrew the water cap from the inlet, the cap is tethered to the water tank and can not be completely removed. - Page 9 USING YOUR GARMENT STEAMER ENGLISH GARMENT HOOK fig. 10 fig. 9 fig. 11 STAND STEAMING PORTABLE/TABLETOP STEAMING 1 Plug the steamer into an electrical 1 Use the steamer in portable or 5 Begin steaming the fabric, outlet and turn the On/Off Switch to the “I”...
-
Page 10: Maintenance
MAINTENANCE CLEANING & STORING 1 Turn the steamer off “0” and 3 Collapse the telescoping pole 4 Store the steamer in a cool unplug from the electrical outlet. for compact storage. Wipe the dry place. exterior of the steamer with 5 We recommend to remove the Let the steamer cool for 30 a damp cloth and wipe dry if...


