Table of Contents
Advertisement
Quick Links
Advertisement
Table of Contents

Related Manuals for MTX Can-Am Maverick X3-17-DK


Summary of Contents for MTX Can-Am Maverick X3-17-DK
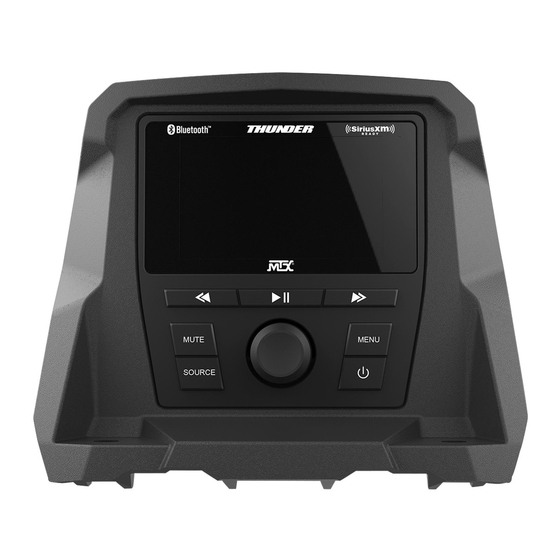
- Page 1 X3-17-DK CAN-AM MAVERICK X3 DASH KIT ® OWNER’S MANUAL M T X . C O M...
-
Page 2: We're Here To Help
Thank you for making the AWESOME decision to purchase our Can-Am Maverick X3 dash kit ® designed for use with the MTX Audio AWMC3 Bluetooth all-weather head unit. This easy to install dash kit is the perfect OEM fit solution for your Can-Am Maverick X3. So, congratulations on your ®... -
Page 3: Installation Tools
FIT GUIDE Turbo / Max Turbo ..........................2018 - 2019 Turbo R / Max Turbo R ...........................2017 - 2019 X-DS Turbo .................................2017 X-RS Turbo R / Max X-RS Turbo R .......................2017 - 2019 X-DS Turbo R / Max X-DS Turbo R ......................2018 - 2019 X-MR Turbo .............................2019 - 2021 X-MR Turbo R ..............................2019 X-RC Turbo ..............................2019 - 2021... -
Page 4: Installation
INSTALLATION Step 1 - Remove the cover from top center of the dash. Step 2 - Locate the four (4) dimples formed into the tray area on the top center dash. Two are located toward the front and two are at the rear under the cover that was just removed. Using a ⁄... - Page 5 Step 3 - Using a 1" hole saw, drill a hole in the top of the dash to pass the wiring harness through. Our recommended location is indicated in the picture. Note: The 12-volt power port can be removed and used to pass the harness through the dash if you do not desire to drill a separate hole. This will require the removal of the center dash console panel to remove the power port.
- Page 6 Step 6 - Sliding the plate toward the rear of the kit, install the radio into the kit opening from the rear making sure the top of the radio is between the kit face and compression plate. Once in position, press the radio forward into the opening until it is flush with the front and aligned with the pre-molded screw holes.
- Page 7 Step 8 - While pressing the pressure plate forward against the radio chassis, tighten the two (2) screws left loose in Step 5. Step 9 - Prepare the pigtail harness supplied with the AWMC3 radio for installation by connecting additional wire to reach power / ground locations, speaker wire if needed and amplifier turn on wire. Note: If the radio installation is part of a full plug and play kit, use the pigtail supplied with the kit and not the radio.
- Page 8 Step 11 - With connections made, collect the wire harness under the kit shroud and place the radio kit on top of the dash aligning it with the four (4) holes drilled earlier. Making sure all wires are tucked under the kit, secure it in place with the four (4) screws provided Step 12 - With the radio secure, make the appropriate electrical connections to complete the install such as power, ground and remote turn on for amplifiers.
-
Page 9: Warranty Period
WARRANTY PERIOD At MTX Audio we engineer products that will stand up to the test of time. We also realize that from time to time a problem may occur. That’s why our products carry a 2-year limited warranty that begins at the time of sale to the end user. - Page 10 NOTES M T X . C O M...
- Page 11 NOTES M T X . C O M...
- Page 12 Like, Follow, & Subscribe © 2021 MiTek Corporation. All rights reserved. MTX is a trademark of MiTek Corporation. All other trademarks are property of their respective owners. Designed and Engineered in the U.S.A. Due to continual product development, all specifications are subject to change without notice.