Table of Contents
Advertisement
Advertisement
Table of Contents

Related Manuals for Nakamichi NAM5420


Summary of Contents for Nakamichi NAM5420
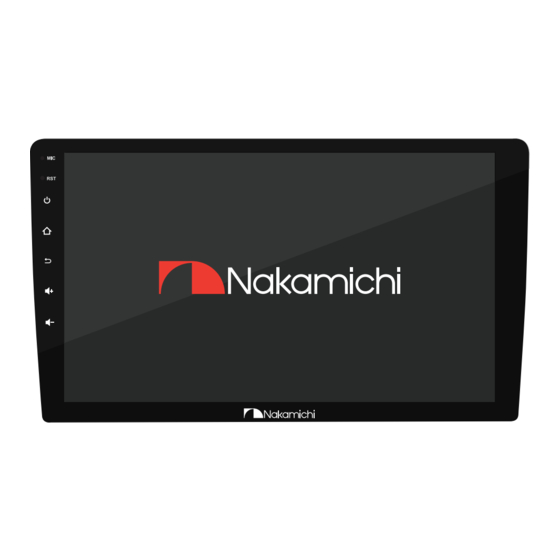
- Page 1 9"/10" ANDROID RECEIVER...
-
Page 3: Table Of Contents
CONTENTS Warning & PRECAUTION 1 EN Product Features 2 EN Wiring Connection 3 EN Accessory List 4 EN Front Panel 4 EN Home Page Operation 5 EN Home Interface 5 EN Application Interface 5 EN Radio 6 EN FM Interface 6 EN AM Interface 6 EN... -
Page 4: Warning & Precaution
WARNING & PRECAUTION 1 EN... -
Page 5: Product Features
PRODUCT FEATURES NK 10.0 operating system Cpu 8-Core A53 Architecture 9"/10.1" IPS Screen 1024 x 600 resolution 500 lumens LCD display Support multicolor key backlight 2.5D G+G Capacitive screen 2G or 4G large memory 32G or 64G storage space Support ios Phone link Support Android Phone link Built-in bluetooth,support A2DP Support bluetooth music playback... -
Page 6: Wiring Connection
WIRING CONNECTION A: Power Supply B: Extend C: NA D: NA E: 4P USB F: 6P USB G: Camera Input H: Radio ANT I: GPS J: HDMI A:Power G: Camera Input Lobel Color Name Lobel Color Name Lobel Color Name Black Groud Wire Grey/Black... -
Page 7: Accessory List
ACCESSORY LIST Check and identify the contents of your package: 5. 6P USB Cable x 1pc 1. 16P ISO Cable x 1pc 2. GPS Antenna x 1pc 6. 10P Camera Input Cable x 1pc 3. 20P InPut / OutPut Cable x 1pc 7. -
Page 8: Home Page Operation
HOME PAGE OPERATION Press [ ] on the panel to enter the homepage. Click the [ ] icon to enter the APP application interface. Home Interface Application Interface Click this icon to enter the application interface; The factory app interface is divided into three pages, you can swipe left to browse all the apps. -
Page 9: Radio
RADIO FM Interface AM Interface Radio Setting Interface Manual Input Keyboard Interface Function ICONS are as follows: Touch the icon to join or cancel your Click the icon to enter FM band. favorite radio station. Short press to switch to a previous station, Click the icon to enter AM band. -
Page 10: Bluetooth
1. Click [ ] to enter the Bluetooth setting interface. 2. Turn on the phone's Bluetooth to search: Bluetooth device: NAM5420. 3. Click to [ Bluetooth Auto Connect ] select enable [ ON ]. 4. In the Bluetooth Settings, you can change the name, password, automatic connection switch and automatic call switch. -
Page 11: Bluetooth Music
BLUETOOTH MUSIC 1. Press [ ] on the panel to enter the homepage. 2. Click [ ] to enter the Application Software interface. 3. Click [ ] to enter the Bluetooth Music interface. When bluetooth is connected to the phone, music from the phone can be played through the machine. -
Page 12: Navigation
NAVIGATION 1. Click to [ ] to enter the Navigation interface. Navigation lnterface 2. Navigational map data: Navigation map data can be copied to local internal storage, and some navigation applications support placing data on external USB drives. Deletingand copying can be done using a file managementapplication. -
Page 13: Dsp Settings
DSP SETTINGS DSP Audio Interface 1. Press [ ] on the panel to enter the homepage. 2. Click [ ] to enter the DSP setting interface. Frequency control point: 14 segment EQ, can be adjusted according to their preferred frequency. Each period of equalizer of center frequency points can be arbitrary set before 20-20 KHZ. -
Page 14: Dsp Settings
DSP SETTINGS DSP Listening Bit "Automatic" Interface Listening bit pattern: Full car mode, driving mode, co-driver mode, user mode, you can also manually adjust the listening position. Horn distance adjustment: the distance between the left and right speakers, the distance between the front and rear speakers can be adjusted by addition and subtraction. -
Page 15: Dsp Settings
DSP SETTINGS Note: When the DSP output interface is divided into 5.1 channels or two-way or three-way, you should install it according to the corresponding speaker layout. Please pull it at the same time, please pay attention to the connection of the RCA line audio output definition socket (RCA line). Check the "B: extension button" of the line connection in the manual. -
Page 16: Mobile Link
MOBILE LINK Mobile Phone Connection Interface Click [ ] to enter the mobile phone interconnection interface. Click this icon to open the setting interface. Click this icon to open the help interface. Click this icon to view the properties. Support iPhone WIFI connection. Support iPhone USB connection. -
Page 17: Setting
SETTING Setting Interface WiFi Connection 1. Click [ ] to enter Network & internet setting 1. Press [ ] on the panel to enter the homepage. interface. 2. Click [ ] to enter the setting interface. 2. Click to[ ] select enable as [ ],select the WIFI to be connected. -
Page 18: Setting
SETTING Tuner Region Settings EasyConnection Settings 1. Click [ ] to enter the setting interface. 1. Click [ ] to enter the setting interface. 2. Click [ ] to enter the Car settings interface. 2. Click [ ] to enter the Car settings interface. 3. -
Page 19: Setting
SETTING Whitelist Setting Reset Setting 1. Click [ ] to enter the setting interface. 1. Click [ ] to enter the setting interface. 2. Click [ ] to enter the Car settings interface. 2. Click [ ] to enter the Car settings interface. 3. -
Page 20: Camera Wiring Installation And Setting
CAMERA WIRING INSTALLATION AND SETTING Camera Wiring Installation Diagram Back car mirror type setting: 1. Click [ ] to enter the setting interface. 2. Click [ ] to enter the About System interface. 3. Click [ Factory Setting ] enter password (000000) to enter the factory setting interface. -
Page 21: Troubleshooting
TROUBLESHOOTING FAULT REASON SOLUTION Power supply fuse burned Replacement of the same type of fuse. out. Unable to boot Other factors cause Reboot the unit using the reset button. microprocessors to work Press the reset button with a pointed object. abnormally. -
Page 22: Specification
SPECIFICATION General Audio Operation Voltage: 14.4V(10.5-16V) Max Power: 4 x 50W Installation Size: Thickness 44mm Pre-Output: 8CH x 4V Operating Temperature: -10℃ - +60℃ Pre-output Impedance: ≤600Ω Storage Temperature: -20℃ - +70℃ Speakers Impedance: 4-8Ω System TFT Screen Item Operating System: NK 10.0 Size: 9"...