Table of Contents
Advertisement
Advertisement
Table of Contents

Related Manuals for TC Electronic Ditto X4 Looper


Summary of Contents for TC Electronic Ditto X4 Looper
- Page 1 Ditto X4 Looper...
-
Page 2: Table Of Contents
Current (in-memory) loop vs. stored loop (backing track) Current loop stays in memory ..........9 USB operation vs. looping ............9 Exporting Ditto X4 Looper loops to a computer ..10 About audio formats .............. 10 Importing loops into Ditto X4 Looper from a computer 10 Importing MP3 files to Ditto X4 Looper ...... -
Page 3: Important Safety Instructions
Ditto X4 Looper User Manual 9. Do not defeat the safety purpose of the polarized 20. Please keep the environmental aspects of battery Important Safety or grounding-type plug. A polarized plug has two blades disposal in mind. Batteries must be disposed-of at a Instructions with one wider than the other. -
Page 4: Introduction
Ditto X4 Looper User Manual 1. Introduction Ditto X4 Looper is the pedal that'll let you turn a single moment in time into something truly spectacular. By perfectly merging ease of use with stellar creative features like dual loop tracks, 7 loop FX, loop decay and MIDI sync, Ditto X4 Looper will instantly become the canvas on which you paint your multi-layered sonic masterpieces. -
Page 5: Hookup
Ditto X4 Looper User Manual 3. Hookup Basic Looping - No E ects Input Combo Ditto X4 looper with e ects (mono or stereo) Drive Modulation Pedals Pedals Optional second amp Input Combo... - Page 6 Ditto X4 Looper User Manual Ditto X4 looper in an FX loop Drive Pedal(s) FX Loop Send Input FX Loop Return Reverb, delay and modulation pedals Combo Dual mono with two instruments Combo...
-
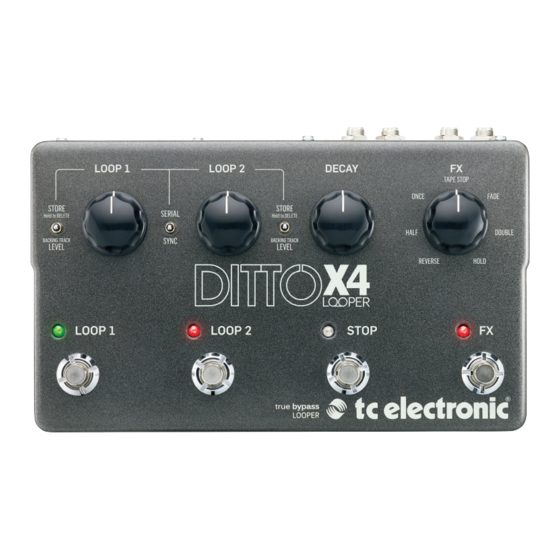
Page 7: Controls
Ditto X4 Looper User Manual 4. Controls (10) (11) (12) (13) (14) (1) STORE/LEVEL switches – these perform the following functions for their (4) DECAY knob – this controls the amount of volume reduction that occurs associated loop: each time an overdub repeats. When set fully clockwise, the loop will not decay at all. -
Page 8: Creating Loops
Ditto X4 Looper User Manual Undo (10) OUTPUT jacks – Send audio via one or two 1/4" TS cables. (11) Power input – connect the 9V power supply. Note that this pedal cannot It’s very possible that at some point during your looping experimentation, operate on batteries. -
Page 9: Deleting The Loop When You Are Not Recording Or Playing Back
Ditto X4 Looper – but you cannot play The LED will turn red and recording will begin. Loop 1 will continue to play as you back (or record) audio at the same time. Ditto X4 Looper does not act as a USB record onto loop 2. -
Page 10: Exporting Ditto X4 Looper Loops To A Computer
X4 Looper’s audio outputs to your DAW – but this could lead to signal quality at all – you will have to convert the files coming from Ditto X4 Looper to a degradation and requires post-editing (trimming) the recording. This is why Ditto supported format. -
Page 11: Importing Mp3 Files To Ditto X4 Looper
Importing MP3 files to Ditto X4 Looper Half Usually, you will want to import AIFF or WAV files into Ditto X4 Looper: This will Engaging this effect causes the loop to play back at half speed and also detunes give you the highest possible audio quality, and no conversion is required. -
Page 12: Multiple Fx
Ditto X4 Looper User Manual Multiple FX Switch 4 It is possible to run more than one effect at the same time. For example, start True Bypass mode is a hard-wire bypass that gives absolutely no coloration of playback from a loop, then engage the Reverse effect. The LED will flash red. -
Page 13: Specifications
Ditto X4 Looper User Manual 10. Specifications Bypass mode True Bypass (Buffered Bypass optional) Signal circuitry Analog dry-through Dimensions (W x D x H) 235 x 145 x 57 mm (9.3 x 5.7 x 2.2") Input connector 2 Standard 1/4” jacks – mono/TS with...