Table of Contents
Advertisement
Midea America Corp.
4 Campus Drive Parsippany, NJ 07054, U.S.A
Servicio al consumidor 1866-646-4332
www.midea.com/us/
Before using your washing machine, please read this
manual carefully and keep it for future reference.
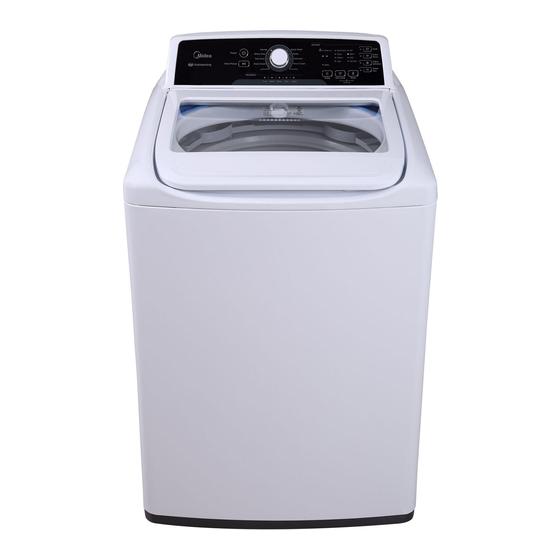
Top Loading Washer
OWNER'S MANUAL
www.midea.com/us/
Read This Manual
Your product manual will provide suggestion on
how to maintain your washing machine properly
a little
preventive
care can save you a great deal of
time and money over the life of your washing
machine.
Refer to the trouble shooting chart for
quick solutions to issue you maybe experiencing.
If a solution can't be reached, please contact the
Midea Customer service hotline(305 591 8460)
. Just
.
Advertisement
Table of Contents

Related Manuals for Midea MLV41N1AWW


Summary of Contents for Midea MLV41N1AWW
- Page 1 Refer to the trouble shooting chart for quick solutions to issue you maybe experiencing. If a solution can't be reached, please contact the www.midea.com/us/ Midea Customer service hotline(305 591 8460)
-
Page 2: Table Of Contents
Contents Safety and Precautions This manual contains important information on the installation, use, and Contents care of your appliance. Please read this manual carefully before installation and operation of this machine to prevent injury and property Safety and precautions ..............damage. -
Page 3: Safety And Precautions
Safety and Precautions Safety and Precautions IMPORTANT SAFETY INSTRUCTIONS Installation Warnings and Precautions SAVE THESE INSTRUCTIONS Read all instructions before using the appliance. Plug the power cord into an AC 120V/60Hz wall socket rated at 15amps or higher. Use the socket for this washer only. Use this appliance only for its intended purpose as described in this Do not use an extension cord. -
Page 4: Usage And Maintenance Warnings And Precautions
Safety and Precautions Safety and Precautions Installation Warnings and Precautions Usage and Maintenance Warnings and Precautions Do not install on carpet. Install washer on a level and solid floor that can Do not let children or infirm persons use this washer unsupervised. support its weight. - Page 5 Safety and Precautions Safety and Precautions Usage and Maintenance Warnings and Precautions Usage and Maintenance Warnings and Precautions Open the faucet slowly after a long period of non-use. Do not wash laundry contaminated by oils, creams, or lotions usually Do not wash laundry contaminated by oils, creams, or lotions usually - The air pressure in the water supply hose or the water pipe may result found in skincare shops or massage clinics.
-
Page 6: Installation
Installation Installation Removing from the package Parts identification Remove the package and take out the machine from the carton box and foam cushion. Open the lid of washer to take out all accessories including a protection foam. Faucet and Water inlet hose Packaging materials can be dangerous to children;... -
Page 7: Location Requirement
Installation Installation Location Requirements Location Requirements Do not install your washer in areas where water may freeze, since your Flooring washer will always retain some water in its water valve, pump, and hose For best performance, you must install your washer on a solidly constructed floor. Wood areas. -
Page 8: Installation Steps
Installation Installation Location Requirements Installation Steps Minimum clearances for closet and alcove installations These instructions should be retained for future reference. Follow the followings STEP by STEP to ensure a successful installation. Sides - 1 in. / 2.5cm Closet Front - 2 in. / 5.1cm CAUTION Rear - 6 in. -
Page 10: Operation
Operation Operation Control Panel Control panel Tap cold - Cold water with no warm Temp button water added. Press the button to select the washing Fabric Softener water temperature. The rinsing water temperature will always keep in Tap If you are using fabric softener, Press Cold. - Page 11 Operation Operation lb. (7.53 kg) maximum weight of clothes} Washing a load of laundry Washing a load of laundry{16.06 STEP 3: Add detergent and additives to the dispenser Fabric Detergent Cycle Fabric type Soil Level Temp Delay Soak My Cycle Extra Rinse Softener - Loading the liquid or powder detergent compartment...
-
Page 12: Useful Functions
Operation Operation Washing a load of laundry Useful functions STEP 5: Set Delay Start Child Lock Note: You can skip this step if you don’t want this function. This function is useful to prevent children from playing with the unit. Child lock - You can set a period time in hours to delay your washing operation. -
Page 13: Troubleshooting
Maintenance Troubleshooting Cleaning the exterior Check these solutions if your washer... Turn off the water faucets after final use. If your washer has any following problems, you can check from the This will shut off the water supply to your washer and prevent the unlikely possibility of solutions listed below before making a service call. - Page 14 Troubleshooting Troubleshooting Check these solutions if your washer... Check these solutions if your washer... Error Codes Problem Solution Fills with wrong - Turn both faucets fully. Error Code Possible Cause Solutions temperature - Make sure the temperature selection is correct. water.
-
Page 15: Appendix
Appendix Fabric Care Chart The following symbols provide garment care direction. The Clothing care labels include symbols for washing, bleaching, drying and ironing, or dry cleaning when necessary. The use of symbols ensures consistency among garment manufacturers of domestic and imported items. Follow care label directions to maximize garment life and reduce laundering problems. - Page 16 Information collected or submitted to us is only available to company internal employees for purposes of contacting you or sending you emails, based on your request for informa- tion and to company service providers for purposes of providing services relating to our communications with you.