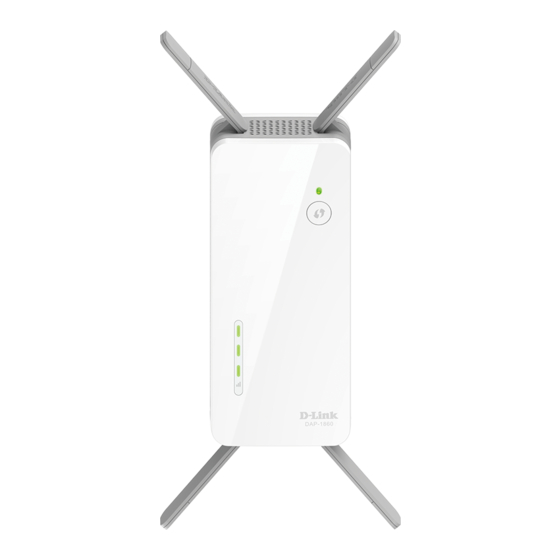
D-Link DAP-1860 Technical Support Setup Procedure
How to configure as access point with default wireless ssid
Hide thumbs
Also See for DAP-1860:
- User manual (104 pages) ,
- Quick installation manual (33 pages) ,
- Technical support setup procedure (4 pages)
Advertisement
Quick Links
Technical Support Setup Procedure
How to configure DAP-1860 as Access Point with default wireless
SSID.
(Note: Please ensure the device LED is blinking orange colour before you do
setup.
If it is not blinking in orange colour, follow the guide on page 2 on how to reset
the device before follow the guide to setup.)
Step 1: Copy down the wireless name and password that was on the sticker of the device.
Step 2: a) Plug DAP-1860 direct to power outlet.
b) Connect LAN Cable from DAP-1860 to LAN port of the Router.
Step 3: Click on the Computer Icon on the right bottom side of the Windows. Select the Wireless
network name that was copy down.
Page | 1
Advertisement

Summary of Contents for D-Link DAP-1860
- Page 1 Step 1: Copy down the wireless name and password that was on the sticker of the device. Step 2: a) Plug DAP-1860 direct to power outlet. b) Connect LAN Cable from DAP-1860 to LAN port of the Router. Step 3: Click on the Computer Icon on the right bottom side of the Windows. Select the Wireless network name that was copy down.
- Page 2 Technical Support Setup Procedure Step 4: Enter the Wifi Password which had copy down earlier on. Click on OK. Step 5: You are now connected to the DAP-1860 and use the internet. --- END --- How to reset DAP-1860. Step 1: Plug DAP-1860 direct to power outlet.


