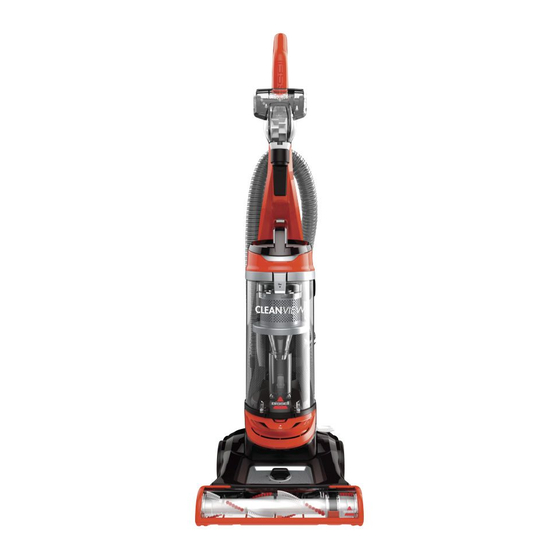
Summary of Contents for Bissell CLEANVIEW 2486 Series
- Page 1 CLEANVIEW ® Vacuum ___________ USER GUIDE 2488, 2492, 2486 Series More of a video person? Look for this icon and go online for an instructional how-to video at www.BISSELL.com...
-
Page 2: Safety Instructions
This plug will fit in a polarized outlet only one way. If the plug does not fit fully in the outlet, reverse the plug. If it still does not fit, contact a qualified electrician to install a proper outlet. Do not change the plug in any way. www.BISSELL.com... -
Page 3: Table Of Contents
Thanks for buying a BISSELL® vacuum! We love to clean and we’re excited to share one of our innovative products with you. This guide has important instructions on how your new vacuum works, including using, maintaining, and if there is a problem, troubleshooting. -
Page 4: Product View
Do not plug in your vacuum until you are familiar with all instructions and operating procedures. Handle TurboBrush® Tool Stretch Hose Tank Release Button Carry Handle Pre-Motor Filter (not shown) Dusting Brush Holder Dirt Tank Post-Motor Filter Recline Height Pedal Adjustment Power Pedal NOTE: The Crevice Tool is stored inside the Extension Wand. www.BISSELL.com... -
Page 5: Assembly
Wrap hose up and around Extension Wand the hose wrap on the Dusting TurboBrush® (Crevice Tool handle. Slide end of hose Brush Tool into vacuum base. stores inside) NOTE: The PowerFoot will not suction properly unless the hose is firmly attached. www.BISSELL.com... -
Page 6: Operations
NOTE: Certain carpets and low humidity conditions may generate small static discharges. Static discharges are entirely harmless and are not associated in any way with the main power supply. www.BISSELL.com... -
Page 7: Maintenance & Care
To replace, fit into place you hear “click”. and twist to the right. NOTE: The Dirt Tank may be washed in warm water with a mild detergent. Make sure it is completely dry before replacing. www.BISSELL.com... - Page 8 “click”. NOTE: Replace this filter every 3 to 6 months. Search BISSELL.com for Style 1214. Maintain the Post-Motor Filter Located on the front of the vacuum above the Recline...
- Page 9 Brush Roll. Line up the end caps and pull the brush forward into place. This will stretch the Belt. Return bottom cover back on and replace the screws. End Cap www.BISSELL.com...
-
Page 10: Troubleshooting
Incorrect height adjustment Adjust foot to correct height setting, see page 6 Dirt Tank full Empty Dirt Tank Visible dirt escaping Filters missing or installed Check pre-motor and post-motor from vacuum incorrectly filters for correct installation, see page 8 www.BISSELL.com... -
Page 11: Warranty
Care by E-mail or telephone as described it was sold. below. BISSELL is not liable for incidental or It may be necessary to obtain some of your consequential damages of any nature personal information, such as a mailing associated with the use of this product. -
Page 12: Product Registration
Visit www.BISSELL.com/registration! Visit the BISSELL website: www.BISSELL.com When contacting BISSELL, have model number of cleaner available. Please record your Model Number: ___________________ Please record your Purchase Date: ___________________ NOTE: Please keep your original sales receipt. It provides proof of purchase date in the event of a warranty claim.


