D-Link DCS-1000 Installation Manual
D-link dcs-1000: install guide
Hide thumbs
Also See for DCS-1000:
- Manual (97 pages) ,
- Installation manual (8 pages) ,
- Supplementary manual (4 pages)
Advertisement
Quick Links
Download this manual
See also:
Manual
Package Contents:
One Internet Camera
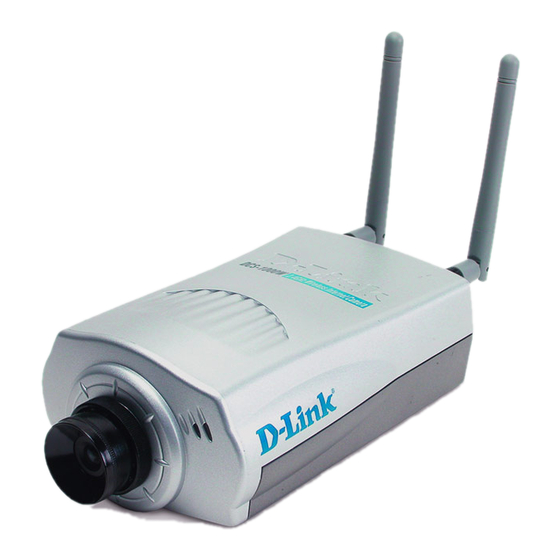
Two External Wireless Antennas (DCS-1000W Only)
One Installation CD-ROM
One AC power adapter
One Camera Stand
One Category 5 Ethernet Cable
Note: If any of the contents are missing, please contact the reseller.
System Requirements
Java Enabled and Compliant Web Browser
CPU: Pentium II, 266 MHz or above
Memory Size: 32 MB (64 MB recommended)
VGA card resolution: 800x600 or above
An 802.11b Access Point (for Infrastructure Mode) or another 802.11b
wireless adapter (for Ad-Hoc mode.)
Hardware Installation
(DCS-1000W Only) Attach the Wireless
Antenna: From the rear panel of DCS-
1000W screw the 2 external antennas
that came with DCS-1000W into the
antenna connector.
Installation Guide
D-Link Internet Camera
DCS-1000 & DCS-1000W
1
Advertisement

Related Manuals for D-Link DCS-1000


Summary of Contents for D-Link DCS-1000
-
Page 1: Package Contents
(for Ad-Hoc mode.) Hardware Installation (DCS-1000W Only) Attach the Wireless Antenna: From the rear panel of DCS- 1000W screw the 2 external antennas that came with DCS-1000W into the antenna connector. Installation Guide D-Link Internet Camera DCS-1000 & DCS-1000W... - Page 2 (DCS-1000W Only) Configure Network Communication: From the rear panel of DCS-1000W select the desired network communication for DCS-1000W from the Slide Switch. Position the Slide Switch to the setting required either LAN or LAN/WLAN position. Please refer to the Physical Description section for detailed information.
- Page 3 Configuring the IP address on your PC The instructions contained in this section are intended for users of Windows Me, 98 and 95. Please refer to the documentation for your specific operating instructions for details on changing the IP address of your computer so that you can access and configure the Internet Camera.
- Page 4 Under the configuration tab, find and double click TCP/IP for the network adapter used to configure the Intenet Camera. Please make note of the IP Address settings so that you can change these settings back after the configuration of the Internet Camera is complete.
- Page 5 Configuring the Internet Camera Using your favorite web browser, type “http://192.168.0.20” in the address (the default IP address is 192.168.0.20) The Welcome screen of the Internet Camera will appear. Click “System Administration” to access and change system settings. In the “Computer Name” field, type a name of your choosing that relates to the camera or its location.
- Page 6 Refer to the Manaul for instructions on how to use the “Loading Active X From” setting. The Open Second Port section is reqired to be used when installing the Internet Camera on a network with a public web server. Please refer to the Manual for detailed information regarding this feature.
-
Page 7: Technical Support
Appendix section of the Manual for troubleshooting tips. If the Manual does not answer your questions, please refer to the D-Link technical support web page described in the next section. Technical Support D-Link provides free technical support for customers within the United States during the warranty period. - Page 8 Notes: Building Networks for People...