Advertisement
Advertisement

Related Manuals for Acoustic Research AW721


Summary of Contents for Acoustic Research AW721
- Page 3 900MHz WIRELESS STEREO HEADPHONES Model AW721 Installation and Operation Manual...
-
Page 4: Table Of Contents
Table of Contents Location of functions………..………………………………………… Connecting the headphone system.………………………………… III. Adjusting the transmitter....…………………………………. IV. Tuning the headphones………..……………………………………... 7 More helpful information……..………………………………………. 7 VI. Troubleshooting……..………………………………………..…. VII. Specifications & Features………..……………………………………. VIII. Warranty ..………………………………………………..... Introduction AR Wireless Stereo Headphones expand and enhance your enjoyment of music or TV sound. -
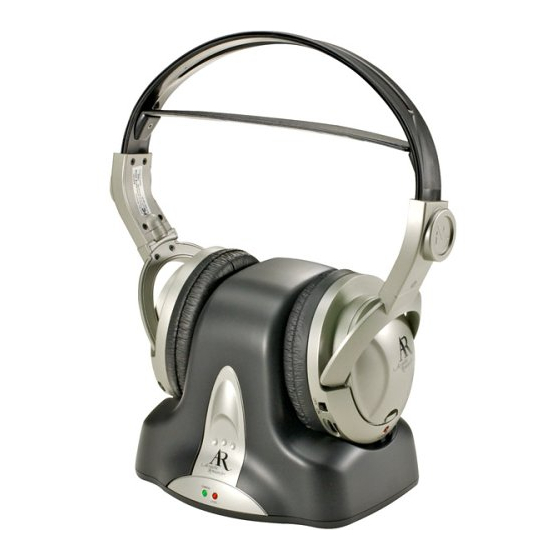
Page 7: Location Of Functions
I. Location of Functions Headphones (left ear cup) Headphones (right ear cup) Charging contacts Self-adjusting headband Power indicator light Tuning indicator light Power switch Tuning control Battery compartment Volume control Transmitter Back View: Transmitter Front View: Charging indicator light Transmitter power input jack Audio level indicator light Audio input cable Input level control... -
Page 8: Connecting The Headphone System
The transmitter is designed to be left plugged in and powered at all times. If you do not intend to use the AW721 for an extended period of time, you may wish to unplug the transmitter AC power adapter. - Page 11 Using Optional Alkaline Batteries: The AW721 headphones can also be powered by 3 AAA alkaline batteries (not included). You may experience slightly longer play time with alkaline batteries, but you will not be able to recharge them, as you can with the supplied NiMH...
- Page 12 Charging Batteries: Warning: The AW721 built-in charger will charge rechargeable NiMH (supplied) or NiCd batteries only. DO NOT attempt to charge any other batteries except those specified above. Note: The included NiMH batteries can be charged at any time, without any adverse memory effect, whereas NiCd batteries must be fully discharged before they can be recharged in order to avoid a reduction in performance.
-
Page 15: Adjusting The Transmitter
III. Adjusting the Transmitter Transmitter power input jack Audio level indicator light Audio input cable Input level control Channel select switch 1. Turn ON your audio source (i.e., A/V receiver, TV, portable CD player, etc.) and play music at a normal listening volume. 2. -
Page 16: Tuning The Headphones
IV. Tuning the Headphones Tuning indicator light Power indicator light Tuning control Power switch Volume control 1. Push the power switch (F) to the ON position to turn the headphones ON. The power indicator light (E) will illuminate red. 2. Rotate the tuning control wheel (C) until the tuning indicator light (B) illuminates green and you can hear clear sound coming from the headphones. - Page 19 Hint: When connecting to the audio outputs of a VCR, remember that the VCR must be playing a tape or showing a TV channel for sound to be produced. Hint: If your VCR (or other audio source with line audio output jacks) only has a single audio output, you will need another “Y”...
-
Page 20: Troubleshooting
VI. Troubleshooting The following troubleshooting guide takes you through some of the more common problems associated with the installation and/or operation of these wireless headphones. If the problem persists, please call 1-800-732-6866 and a knowledgeable customer service representative will assist you. Issue: Cause and solution: •... -
Page 23: Specifications & Features
VII. Specifications & Features Transmitter Omnidirectional Effective transmitting range: up to 300 feet* Adjustable audio level input 3 selectable broadcast frequencies (between 912.5 and 914.5 MHz) Line-level, stereo audio input with 3.5mm stereo mini plug (1/4" headphone adapter and “Y” cable included) UL-listed AC power adapter Headphones Volume control... -
Page 24: Warranty
VIII. Warranty ONE YEAR LIMITED WARRANTY Recoton Corporation (the Company) warrants to the original retail purchaser of this product that should the product or any part thereof be proven defective in material or workmanship within One Year from the date of original purchase, such defects will be replaced without charge for parts or labor.