Table of Contents
Advertisement
Quick Links
Advertisement
Table of Contents

Summary of Contents for Omega OO610XA
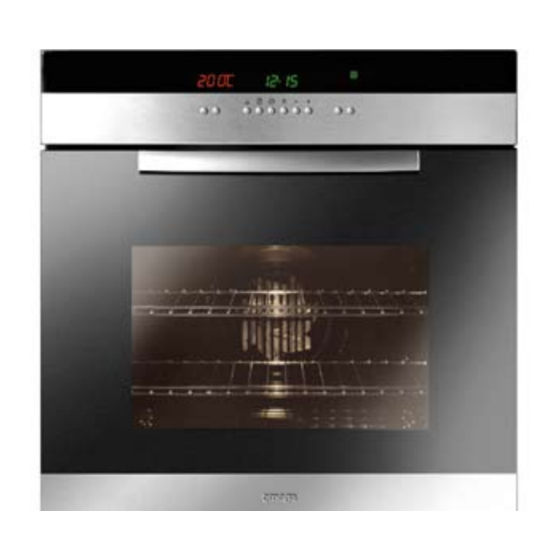
- Page 1 OO610XA oven...
- Page 2 GENERAL INFORMATION Please read this booklet thoroughly before you use this appliance. It is important that you understand all the control functions before commencing to cook with your new appliance. Please remember the advice and warnings shown in this manual which is headed ‘IMPORTANT –...
- Page 3 IMPORTANT NOTE – WARNING and SAFETY INSTRUCTIONS This appliance complies with all current safety legislation, however the manufacture wishs to emphasise that compliance does not remove the fact that the appliance surfaces will become hot during use and retain heat after operation.
-
Page 4: Table Of Contents
DEAR CUSTOMER, We thank you and congratulate you on your choice. This new carefully designed product, manufactured with the highest quality materials, has been carefully tested to satisfy all your cooking demands. We would therefore request you to read and follow these easy instructions which will allow you to obtain ex- cellent results right from the start. -
Page 5: First Use Pag
THE FIRST TIME YOU USE THE OVEN Clean the oven thoroughly with soapy water and rinse well. To remove the lateral frames from smooth-walled ovens, proceed as shown in the figure. Operate the oven for about 30 minutes at maximum temperature to burn off all traces of grease which might otherwise create unpleasant smells when cooking. - Page 6 STEP TWO. Once the shelf has started to enter the oven, lower the front so that the shelf is in a flat position. STEP THREE. Continue to push the shelf to the back of the oven until it stops. The correct installation can be checked by withdrawing the shelf in the flat position. It should come up against stops at the approximately three quarters of the way out preventing the complete withdrawal of the shelf.
-
Page 7: Self-Cleaning Panel
SELF-CLEANING CATALYTIC PANELS Our smooth walled ovens can be fitted with self-cleaning panels to cover the inside walls. These special panels are simply hooked on to the walls before the side frames are fitted. They are coated in a special, micro-porous catalytic enamel which oxidises and gradually vaporises splashes of grease and oil at cooking temperatures above 200°... -
Page 8: Control Panel
CONTROL PANEL FUNCTIONS FUNCTION SYMBOLS ON THE SELECTOR Oven light (stays on while oven is in use). Bottom heating element. Thermostat setting from 50°C to MAX. Top and bottom heating elements. Thermostat setting from 50°C to MAX. Top and bottom heating elements with fan. Thermostat setting from 50°C to MAX. Circular heating element with fan. -
Page 9: Instructions For Use
INSTRUCTIONS FOR USE CONVENTIONAL COOKING Conventional cooking uses top and bottom heat to cook a single dish. Place the food in the oven only once cooking temperature has been reached, i.e. when the heating indicator goes out. If you want to increase top or bottom temperature towards the end of the cooking cycle, set the temperature control to the right position.It is advisable to open the oven door as little as possible during cooking. -
Page 10: Fan Cooking
FAN COOKING For this type of cooking a fan positioned at the back allows the circulation of hot air inside the oven, creating uniform heat. In this way cooking is more rapid than conventional cooking. It is a suitable method for cooking dishes on more than one shelf, especially when the food is of different types (fish, meat etc.) DEFROSTING By selecting one of the fan cooking functions and setting the thermostat to zero, the fan allows cold air to... -
Page 11: Thermostat
THERMOSTAT Use the thermostat to set the cooking temperature you need. The thermostat can be adjusted from 50° to 250° C. 0-11 HEAT REGULATOR 0-6 SELECTOR Use these to adjust the heat in the cast iron or glass-ceramic plates. Increase the setting from 0 to 6 or from 0 to 11 to raise the temperature. -
Page 12: Electronic Timer
6 KEY ELECTRONIC TIMER Setting the clock Press the duration key and the end of cooking key simultaneously, then press the +/- keys to set the time. MANUAL OPERATION To start cooking without setting end of cooking time, press the manual key SETTING ONLY THE DURATION OF COOKING IN SEMI-AUTOMATIC MODE To set the duration of cooking, press the duration key and press the +/- keys to set the duration of cooking.