Table of Contents
Advertisement
Quick Links
Advertisement
Table of Contents

Summary of Contents for Planar PJL19W
- Page 1 PJL19W LCD Monitor USER'S GUIDE www.planar.com...
-
Page 2: Table Of Contents
Content Operation Instructions ......................2 Safety Precautions ........................3 First Setup ............................4 Front View of the Product ......................5 Rear View of the Product ......................6 Quick Installation ........................7 Basic Operation .........................8 Advanced Operation—OSD Menu ..................10 Supporting Timing Modes ....................12 Technical Information ......................13 Wall-mount instruction ......................14 Care and Maintenance ......................15 Troubleshooting ........................15 Product Registration and Technical Support ..............16... -
Page 3: Operation Instructions
Operation Instructions Thank you for purchasing this TFT LED Monitor, a high-resolution multi-scan color TFT LED Monitor. Please read this guide thoroughly before installation. FCC RADIO FREQUENCY INTERFERENCE STATEMENT WARNING: (FOR FCC CERTIFIED MODELS) This TFT LED Monitor has been tested and found compliant with the limits for a Class B digital device, pursuant to part 15 of the FCC Rules. -
Page 4: Safety Precautions
Safety Precautions This TFT LED Monitor is manufactured and tested on a ground principle that a user’s safety comes first. However, improper use or installation may result danger to the TFT LED Monitor as well as to the user. Carefully go over the following WARNINGS before installation and keep this guide handy. -
Page 5: First Setup
First Setup Congratulations on your purchase of this high performance TFT LED monitor. This TFT LED Monitor comes with the following accessories : ● User's Guide ● LED Monitor ● Base ● Power Cable ● VGA Cable (15 pin) Install the stand base 1. -
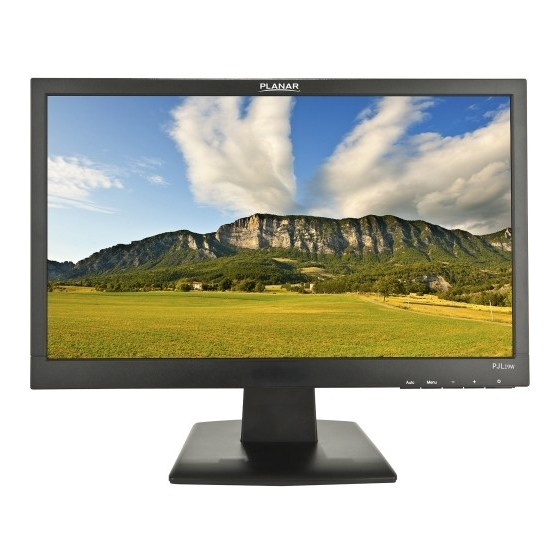
Page 6: Front View Of The Product
Front View of the Product 3 4 5 6 Auto Image Adjust/ OSD Exits Scroll Down/ Adjust Decrease Scroll UP/ Adjust Increase LED Indicator... -
Page 7: Rear View Of The Product
Rear View of the Product Power Input VGA Input (D-Sub 15 pin) -
Page 8: Quick Installation
Quick Installation 1. Connect either VGA ofrom the monitor to the computer. Make sure both monitor and computer are powered OFF . 2. Connect power cord to a properly grounded AC outlet, and then to the monitor. 3. Power-ON computer and then POWER-ON the monitor. 4. -
Page 9: Basic Operation
Basic Operation Before using the TFT LED Monitor: Connect external equipments properly. Press POWER button on the front of TFT LED Monitor. The power LED indicator lights green when the TFT LED Monitor is on. Using the OSD Menu You are able to use OSD menus to adjust various settings by using menu button on the front of the TFT LED Monitor. - Page 10 Option 2: OSD & Power button lock – all 5 buttons including the “POWER” button are locked. Press and hold the button for 5 seconds to lock all 5 buttons. The TFT LED Monitor will show an “Locking Power Button” message for 2~4 seconds and the message will disappear automatically.
-
Page 11: Advanced Operation-Osd Menu
Advanced Operation—OSD Menu You can use the OSD menu to adjust various settings for your TFT LED Monitor. Press the Menu button to display the OSD Menu, and use +/- to select the desired OSD menu. Short Cuts Function from the button(s) Auto Adjust: To auto adjust Horizontal Position, Vertical Position, Phase (Fine Tune) and Clock (H. - Page 12 Recall: To recall factory settings, You can select recall color only or recall all settings. Information: To display the information, regarding the current input signal coming from the graphic card in your computer. Aspect Ratio: To select full- screen or 4:3 image size.
-
Page 13: Supporting Timing Modes
Supporting Timing Modes STANDARD RESOLUTION 720 x 400 @ 70Hz 640 x 480 @ 60Hz x 480 @ 70Hz x 480@ 72Hz x 480 @ 75Hz x 600 @ 60Hz 800 600 @ 72Hz x 60 0 @ 75Hz 24 @ 60Hz VESA x 768 @ 60Hz VESA... -
Page 14: Technical Information
Technical Information LED Panel 18.5” TFT (LED Backlight) On: 16 Watts (typical)/18 Watts (maximum) Power Management Standby Mode: < 1 Watt O : < 0.5 Watt Displayable Resolution 1366 x 768 max. Vertical Frequency 60Hz max. Pixel Dimension 0.3 x 0.3 mm LED Display Color 16.7M Tilt... -
Page 15: Wall-Mount Instruction
Wall-mount instruction Preparing To Install The Optional Wall Mount Arm (not included) This TFT LED Monitor can be attached to a wall mounting arm you can purchase separately. Turn the power OFF then disconnect the cables from the TFT LED Monitor before performing the procedure below. 1. -
Page 16: Care And Maintenance
Care and Maintenance Care ● Avoid exposing your TFT LED Monitor directly to sunlight or other heat source. Place your TFT LED Monitor away from the sun to reduce glare. ● Put your TFT LED Monitor in a well ventilated area. ●... -
Page 17: Product Registration And Technical Support
Product Registration and Technical Support Register Your Planar Products Today Thank you choosing Planar. To assure you receive all the benefits of your Planar product and services, register your Planar product today. Visit our website to register your product at www.planar.com/support/registration/...