Advertisement
Quick Links
Phone Setup
•
•
•
•
Phone Battery Installation
You must read the information in the Product Safety and Security chapter of the User Guide, before you install
or charge the battery, or use the phone.
Before you can use your phone, you must install and charge the battery. The battery may already be installed
in your phone, or you may have to install it yourself.
To maximize the battery storage capacity and lifespan, fully charge the battery before you turn on and set up
the phone.
Related Topics
Install the Battery
Don't install the battery in a dusty or wet environment.
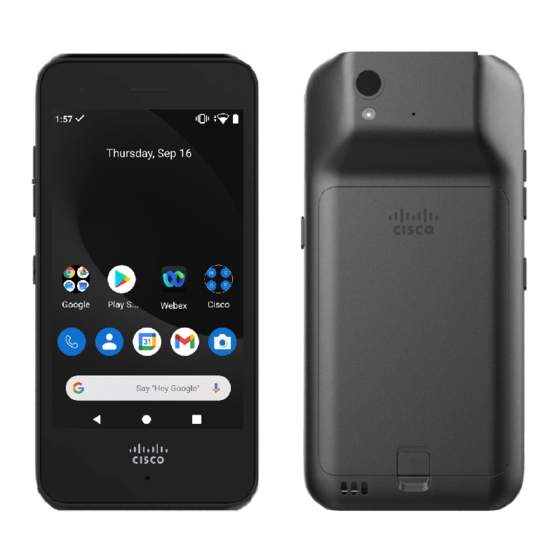
The steps to install the battery are the same for both the Cisco Webex Wireless Phone 840 and Cisco Webex
Wireless Phone 860. However, the battery contacts are in different locations on these models, as shown in
the following illustration. The illustrations in the steps are of the Cisco Webex Wireless Phone 860.
Figure 1: Battery Contact Location on the Cisco Webex Wireless Phone 840 and Cisco Webex Wireless Phone 860
Phone Battery Installation, on page 1
Battery Contact Damage Prevention, on page 5
Phone Battery Charging, on page 6
Phone Configuration, on page 7
Product Safety and Security
Phone Setup
1
Advertisement

Related Manuals for Cisco Webex Wireless Phone 800 Series


Summary of Contents for Cisco Webex Wireless Phone 800 Series
- Page 1 Don't install the battery in a dusty or wet environment. The steps to install the battery are the same for both the Cisco Webex Wireless Phone 840 and Cisco Webex Wireless Phone 860. However, the battery contacts are in different locations on these models, as shown in the following illustration.
- Page 2 Warning Use only the Cisco-branded batteries for this phone. If you attempt to use a third-party battery, you will receive an error and the battery will not work. We don't support damage from attempting to use third-party batteries.
-
Page 3: Remove The Battery
Battery removal follows a reversed but similar procedure to battery insertion. The steps to remove the battery are the same for both the Cisco Webex Wireless Phone 860 and Cisco Webex Wireless Phone 840. However, the battery contacts are in different locations on these models. The illustrations in the following steps are of the Cisco Webex Wireless Phone 860. - Page 4 Battery Hot Swap for 860 Phones The Cisco Webex Wireless Phone 860 and Cisco Webex Wireless Phone 860S have a hot swap feature that allows you to continue to use your phone while you change a low battery. During a hot swap, the 860 internal phone battery provides minimum power to allow the phone to remain on.
- Page 5 • Check that the contact fingers on the phone are straight relative to the contact base, with all fingers at the same height. In the following image of the Cisco Webex Wireless Phone 860 battery compartment, the finger on the top left illustrates damage from incorrect battery insertion.
- Page 6 Caution Don’t let the main battery or the internal battery of Cisco Webex Wireless Phone 860 fully deplete for extended periods. If you must store the phone or battery for longer than one month, then we recommend that you recharge them every six months.
-
Page 7: Phone Configuration
Phone Setup Charge the Battery with the AC Power Supply Charge the Battery with the AC Power Supply If you don't have a desktop charger or multicharger, you can charge your phone battery using the USB cable and AC power adapter. Any cables or adapters must be USB certified and built to the USB-C specification. - Page 8 Phone Setup Wi-Fi Profile Configuration • Configure Cisco Phone app User settings, such as ringtones and automatic noise cancellation. ® • Pair your Bluetooth device to the phone. Settings for detailed directions. Wi-Fi Profile Configuration For an out of box or factory reset phone, you configure the Wi-Fi network through the startup wizard or select Set up offline.
- Page 9 Phone Setup Add the Phone to a Nonbroadcast Wi-Fi Network Step 8 Tap Connect. Add the Phone to a Nonbroadcast Wi-Fi Network Follow these steps to add your phone to a Wi-Fi network that is hidden or not broadcast. Before you begin You need the following information about the Wi-Fi network: •...
- Page 10 You need the following information: • Local Phone Unlock Password, if the default password was updated • IP address of the TFTP server Procedure Step 1 Access the Cisco Phone app. Step 2 Tap the Overflow menu. Step 3 Select Settings > Phone information > Security.