Canon PIXMA iP2702 Getting Started
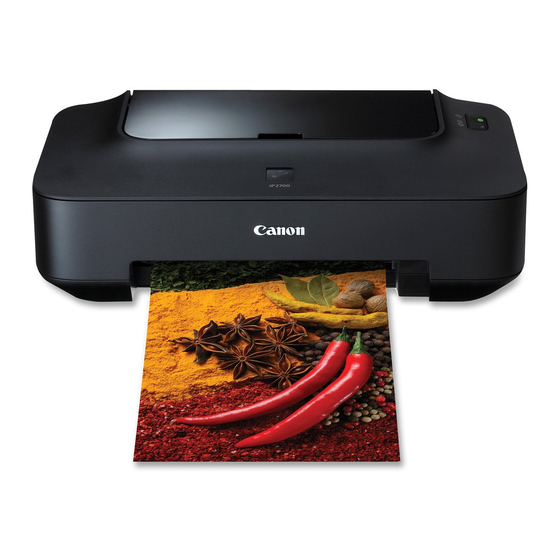
Pixma ip2700 series photo printer
Hide thumbs
Also See for PIXMA iP2702:
- Getting started (32 pages) ,
- Getting started (32 pages) ,
- Manual (4 pages)
Advertisement
Quick Links
Photo Printer
Impresora fotográfica
Getting Started
Read Me First
Guía de inicio
Léame en primer lugar
Make sure to read this manual before using the printer. Please keep it in hand for future reference.
Asegúrese de leer este manual antes de usar la impresora. Consérvelo a mano para utilizarlo como referencia en el futuro.
series
ENGLISH
ESPAÑOL
Advertisement

Related Manuals for Canon PIXMA iP2702


Summary of Contents for Canon PIXMA iP2702
-
Page 1: Getting Started
Léame en primer lugar Make sure to read this manual before using the printer. Please keep it in hand for future reference. Asegúrese de leer este manual antes de usar la impresora. Consérvelo a mano para utilizarlo como referencia en el futuro. -
Page 2: Solución De Problemas
Ge tti n g S tar te d ( th i s ma nua l) Describes how to set up and use your printer. Gu í a d e i ni ci o ( es t e ma nua l) Describe cómo configurar y usar la impresora. - Page 3 3 Turn the Power On P.4 4 Install the FINE Cartridges P.6 5 Load Paper P.10 6 Install the Software P.11 7 Try Using the Printer P.17 Print Photos from a Computer P.18 8 Maintenance P.19 9 Specifications P.20 In this guide, Windows 7 operating system is referred to as Windows 7 and Windows Vista operating system as Windows Vista.
-
Page 4: Setup Cd-Rom
Setup CD-ROM (que contiene los controladores, las aplicaciones y los manuales en pantalla) • A USB cable is necessary to connect the printer with your computer. • Se necesita un cable USB para conectar la impresora al ordenador. Color Black... - Page 5 Remove all the protective materials and orange tape from the outside of the printer. Do not remove the orange tape (A) on the front side yet. • The tape and protective materials may differ in shape and position from what they actually are.
- Page 6 Do not install the printer where an object may fall on it. The object may fall inside the printer, resulting in malfunction. • Do not place any object on top of the printer. It may fall into the printer when opening covers, resulting in malfunction. •...
- Page 7 1. Press the ON button (A) to turn off the printer. 2. Make sure that the POWER lamp (B) is not lit. Operating noise may continue for up to 25 seconds until the printer turns off. Asegúrese de que la luz de encendido (POWER) Asegúrese de seguir el procedimiento que se explica a continuación.
- Page 8 When opening the Front Cover, the FINE Cartridge Holder moves automatically. • If the FINE Cartridge Holder does not move, make sure that the printer is turned on. • If the Front Cover is left open for more than 10 minutes, the FINE Cartridge Holder moves to the right. In this case, close and reopen the Front Cover.
- Page 9 Be careful not to stain your hands or surrounding work area with ink on the removed protective tape. • Do not touch the electrical contacts (G) or print head nozzles (H) on a FINE Cartridge. The printer may not print properly if you touch them.
- Page 10 Place the Black FINE Cartridge into the right slot • Do not knock the FINE Cartridge against the sides of the holder. • Install the Black FINE Cartridge into the right slot and the Color FINE Cartridge into the left slot Coloque el cartucho FINE (FINE Cartridge) negro en la ranura...
- Page 11 Insert the Color FINE Cartridge into Close the Front Cover. the left FINE Cartridge Holder in the same way as the Black FINE Cartridge. Introduzca el cartucho FINE (FINE Cierre la cubierta delantera. Cartridge) de color en el soporte de cartucho FINE (FINE Cartridge Holder) del mismo modo que lo hizo con el cartucho FINE (FINE Cartridge) negro.
- Page 12 Open the Paper Support (A). Abra el soporte del papel (A). Move the Paper Guides Load paper in the center (B) to both edges. of the Rear Tray (C). Load paper in portrait orientation with the printing side facing up. Desplace las guías del Cargue el papel en el papel (B) hasta ambos...
- Page 13 Do not connect the USB cable yet. • To use the printer by connecting it to a computer, software including the drivers needs to be copied (installed) to the computer's hard disk. The installation process takes about 20 minutes. (The installation time varies depending on the computer environment or the number of application software to be installed.)
- Page 14 □ If you connect the printer via USB cable before installing the software: □ Si se conecta la impresora mediante un cable USB antes de instalar el software: For Windows 7 1. Remove the USB cable connected to your computer.
- Page 15 Turn on the computer, then insert the Setup CD-ROM into the CD-ROM drive. If you are using Windows, the setup program starts automatically. For Windows • If the program does not start automatically, double-click the CD-ROM icon in Computer or My Computer. When the CD-ROM contents appear, double-click MSETUP4.EXE.
- Page 16 If you want to select particular items to install, click Custom Install. For Windows 7/Windows Vista SP1 or later • You can install the XPS Printer Driver from Custom Install. When installing the XPS Printer Driver, select the IJ Printer Driver at the same time. •...
- Page 17 Program If you can agree to Extended Survey Program, click Agree. If you click Do not agree, the Extended Survey Program will not be installed. (This has no effect on the printer's functionality.) • If the power is on, the FINE Cartridge Holder will move when the Front Cover (B) is opened.
- Page 18 Congratulations! Setup is complete. Proceed to page 17 for information regarding the Solution Menu and the on-screen manual or page 18 to start using the printer. Enhorabuena. El proceso de Instalación ha finalizado. Consulte la página 17 para obtener información sobre Solution Menu y el manual en pantalla o la página 18...
- Page 19 Para obtener más información sobre cómo utilizar las aplicaciones de software y la impresora, consulte el manual en pantalla. Solution Menu is a gateway to functions and information that allow you to make full use of the printer! For example, •...
- Page 20 • Para obtener más información, consulte “5 Carga del papel” en la página 10. Start Solution Menu from the Canon Select the image you want to Solution Menu icon on the desktop print, then click Layout/Print. (Windows) or on the Dock (Macintosh), then click One-Click to Photo Print.
- Page 21 After a period of use, the inside of the printer may become stained with ink. To avoid staining your hands or clothes with ink, it is recommended that you clean the Ink Cartridge Locking Cover (A) and the inside of the Front Cover (B) with a facial tissue or the like as required.
- Page 22 Windows: Operation can only be guaranteed on a PC with Windows 7, Windows Vista, Windows XP or Windows 2000 pre-installed. Windows: Uninstall software bundled with the Canon inkjet printer before upgrading from Windows Vista to Windows 7, then, install the bundled software again.
- Page 23 Windows: sólo se garantiza el funcionamiento en un PC con Windows 7, Windows Vista, Windows XP o Windows 2000 preinstalado. • Windows: desinstale primero el software incluido con la impresora de inyección de tinta Canon antes de actualizar de Windows Vista a Windows 7, y, a continuación, vuelva a instalar el software. •...
-
Page 24: Getting Help From Canon
2973B001 CL-211XL 2975B001 PG-210 2974B001 CL-211 2976B001 Call 1-800-OK-CANON to locate a dealer near you, or visit the Canon online store at www.shop.usa.canon.com CANON U.S.A. INC. One Canon Plaza, Lake Success, NY 11042 U.S.A. www.usa.canon.com QT5-2766-V01 XXXXXXXX Cómo solicitar ayuda a Canon Soporte técnico por correo electrónico:...