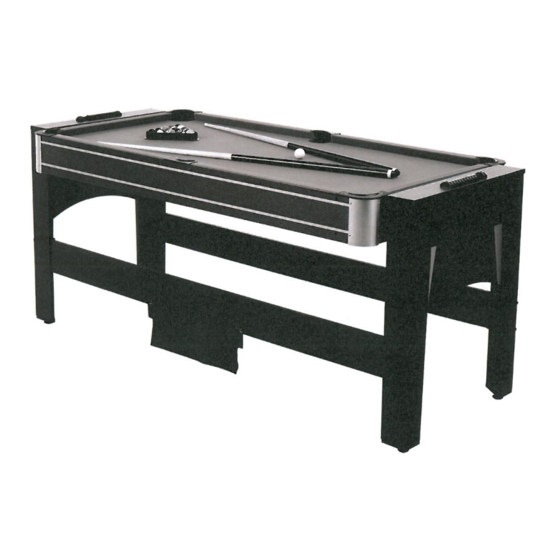
Summary of Contents for Superior G1SP2000
- Page 2 PARTS IDENTIFIER Cabinet Allen Key End Panel Catcher Box Ball Return Board 1 Piece 1 Piece 2 Pieces 2 Pieces 2 Pieces Top End Panel Leg Brace Leg Panel Left Leg Right Leg 2 Pieces 2 Pieces 2 Pieces 2 Pieces 2 Pieces Leg Base Table Tennis Surface...
- Page 3 PARTS IDENTIFIER Glue Goal Post Wrench Chalk Cue Stick 1 Piece 2 Pieces 2 Pieces 2 Pieces 1 Piece Board Basketball Triangle Football 4mm Lock Nut 1/4''*1-1/8'' Bolt 1/4'' Hex Nut 1 Piece 1 Set 4 Pieces 4 Pieces 4 Pieces Upright Pole - A 4*12mm Bolt 3.5*8mm Screw...
- Page 4 ASSEMBLY INSTRUCTIONS 1. Find a clean, level place to begin the assembly of your 5 in 1 Multi-Game Table. This cabinet is very heavy, and it is recommended that at least two strong adults turn the cabinet onto its assembled legs and End Panels.
- Page 5 FIG. 3 BALL RETURN BOARD ASSEMBLY 7. Attach the Ball Return Boards (#5) underneath the End Panels (#3) using four Screws (#25) per Ball Return Board. FIG. 3 FIG. 4 LEGS TO END PANELS ASSEMBLY 8. Insert four Barrel Nuts (#22) into the left and right holes of an End Panel (#3). Attach a Left Leg (#9) and a Right Leg (#10) to an End Panel (#3) using two Bolts (#16) per leg.
- Page 6 FIG. 5 LEG BRACES ASSEMBLY 11. Insert four Barrel Nuts (#23) into the holes of the Leg Braces (#7) as shown in FIG. 5. Then, attach the Leg Braces (#7) between the assembled legs using four Washers (#21) and four Bolts (#17) per Leg Brace.
- Page 7 FIG. 7 TOP SIDE PANEL AND SLIDE SCORER ASSEMBLY 15. Attach the two Top End Panels (#6) to the top of the End Panels (#3) using eight Screws (#25) per Top End Panel. 16. Then, attach the Slide Scorers (#15) to the Top End Aprons (#6) using two Screws (#26) per Slide Scorer.
- Page 8 FIG. 10: BASKETBALL GAME ASSEMBLY Attach the Basketball Rim (#53) to the Backboard (#45) using four Bolts (#46) and four Nuts (#44). FIG. 10A FIG. 10 FIG. 10A & 11: BACKBOARD/POST ASSEMBLY • Install the Rod Caps (#56) on the top of the Upper Basketball Posts (#50) on the back of the Backboard/Hoop assembly.
-
Page 9: Service Questions
FOR PARTS SERVICE QUESTIONS, PLEASE CALL ACADEMY CUSTOMER SERVICE AT 1-888-922 2336...
