Advertisement
Advertisement
Table of Contents

Related Manuals for Polaroid iD922


Summary of Contents for Polaroid iD922
- Page 1 Streaming Action Camera User Manual...
-
Page 2: What's Included
What’s Included Polaroid iD922 streaming camera Micro SD memory card NOT included... -
Page 3: A Quick Look At Your Camera
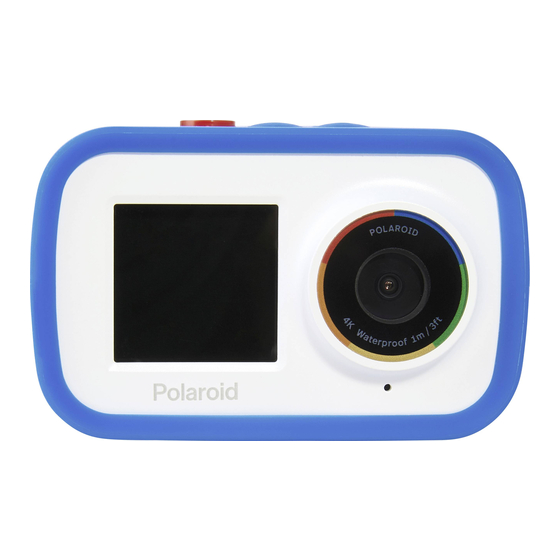
A Quick Look at Your Camera Wi-Fi Indicator light 1.4”selfie screen Busy/Charging indicator light... -
Page 4: Inserting A Memory Card
Inserting a Memory Card Before turning on your camera, insert a Micro SD memory card(NOT included) into the memory card slot . The memory card is needed in order to store photos or videos. Note: Class 4 or higher Micro SD memory cards are supported (up to 64GB). -
Page 5: Charging Your Camera
Charging Your Camera Your camera has a built-in lithium-ion battery. To charge the battery, follow the below steps. 1. Insert the Micro USB end of the included USB cable into the Micro USB port on your camera. 2. Insert the other end of the USB cable into the USB port of a computer or a suitable 5V / 1A USB charging adapter(NOT... -
Page 6: Turning On Your Camera
Turning On Your Camera Press and hold the Power/Shutter button for approximately 3-4 seconds to power on or power off your camera. Note: Press and hold the Power/ Shutter button for approximately 6-7 seconds to restart the camera if the camera freeze. -
Page 7: Changing Modes
Changing Modes... -
Page 8: Video Capture Mode
Video Capture Mode By default, when you first turn on your camera, it will be in Video Capture Mode. Use this mode when you want to record videos. Press to Record & End Recording Video Battery Capture Meter Mode Press the Power / Shutter button to begin recording video. - Page 9 Video Capture Mode Settings While in Video Capture Mode , press the Menu button to access the Video Capture Mode Settings Menu. Video Capture Mode Make sure the Video settings is selected on the on-screen menu, and press the Power / Shutter button Video settings System settings...
-
Page 10: Photo Capture Mode
Photo Capture Mode To take photos, press the Mode button to access the Photo Capture Mode Press to Take a Picture Photo Battery Capture Meter Mode Press the Power / Shutter button to take a picture. Photos will automatically be recorded to the Micro SD memory card. - Page 11 Photo Capture Mode Settings While in Photo Capture Mode , press the Menu button to access the Photo Capture Mode Settings Menu. Photo Capture Mode Make sure the Camera settings is selected on the on-screen menu, and press the Power / Shutter button Camera settings System settings...
-
Page 12: Playback Mode Settings
Playback Mode When you want to view the photos and videos you’ve taken, press the Mode button repeatedly after turning on your camera to enter Playback Mode. Playback Mode Playback Mode Settings While in Playback Mode , press the Menu button to access the Playback Mode Settings Menu. -
Page 13: General System Settings
General System Settings When in Photo C apture or Video C apture Modes, you c an press Menu button to access th e General S ystem S ettings. System settings Make sure the System settings is selected on the on-screen menu, and press the Shutter button Selfie off... - Page 14 Wifi Settings When in Photo C apture or Video C apture Modes, you can press Menu button to access the Wifi Settings Menu. Wifi settings Make sure the Wifi settings is selected on the on-screen Selfie off Wifi ON menu, and press the Power / Camera settings S hutter button to turn the...
- Page 15 Connect to the Polaroid Wave App The Polaroid Wave app allows you to see the camera’s live view and stored recordings directly from your device. 1. Download the Polaroid Wave app on the App Store ® (for iOS ™ devices) or the Google Play store (for Android ™...
- Page 16 Using the Polaroid Wave App...
- Page 17 Using the Polaroid Wave App When viewing the Camera memory card gallery , you can download photos onto your phone, delete images or share downloaded images. *Note: Only downloaded images can be shared using the app.
- Page 18 Using the Bicycle Mount The bicycle mount can be used on bicycle handle bars or other similarly sized poles. 1. Unscrew the two knobs on the mount and remove the bottom piece. 2. Wrap the rubber grip around the handle bar. 3.
-
Page 19: Using The Helmet Mount
Using the Helmet Mount The helmet mount can be used on a standard bicycle helmet by securing with the included helmet mount straps and adhesive pads on the underside of the mount. Optional: Remove the protective seal on the adhesive strip and place on your bike helmet so that it sticks in place. - Page 20 FCC Statement Changes or modifications not expressly approved by the party responsible for compliance could void the user’s authority to operate the equipment. This device complies with Part 15 of the FCC Rules. Operation is subject to the following two conditions: (1) this device may not cause harmful interference, and (2) this device must accept any interference received, including interference that may cause undesired operation.
- Page 21 Support For warranty information and technical support, please call 877-408-0033 or visit polaroid.com/help. For e-mail support, please contact us at polaroid@sakar.com. One Year Warranty This warranty covers the original consumer purchaser only and is not transferable. This warranty covers products that fail to function properly UNDER NORMAL USAGE, due to defects in material or workmanship.
- Page 22 You may also go to www.polaroid.com and reference Social Responsibility https://polaroid.com/pages/social-responsibility to learn more about the specific laws in your area and to locate a collection facility near your home.
- Page 23 1-877-408-0033 ©2020 All rights reserved. Polaroid, Polaroid Color Spectrum and Polaroid Classic Border Logo are trademarks of PLR IP Holdings, LLC, used under license. PLR IP Holdings, LLC does not manufacture this product or provide any Manufacturer’s Warranty or support.