Advertisement
Quick Links
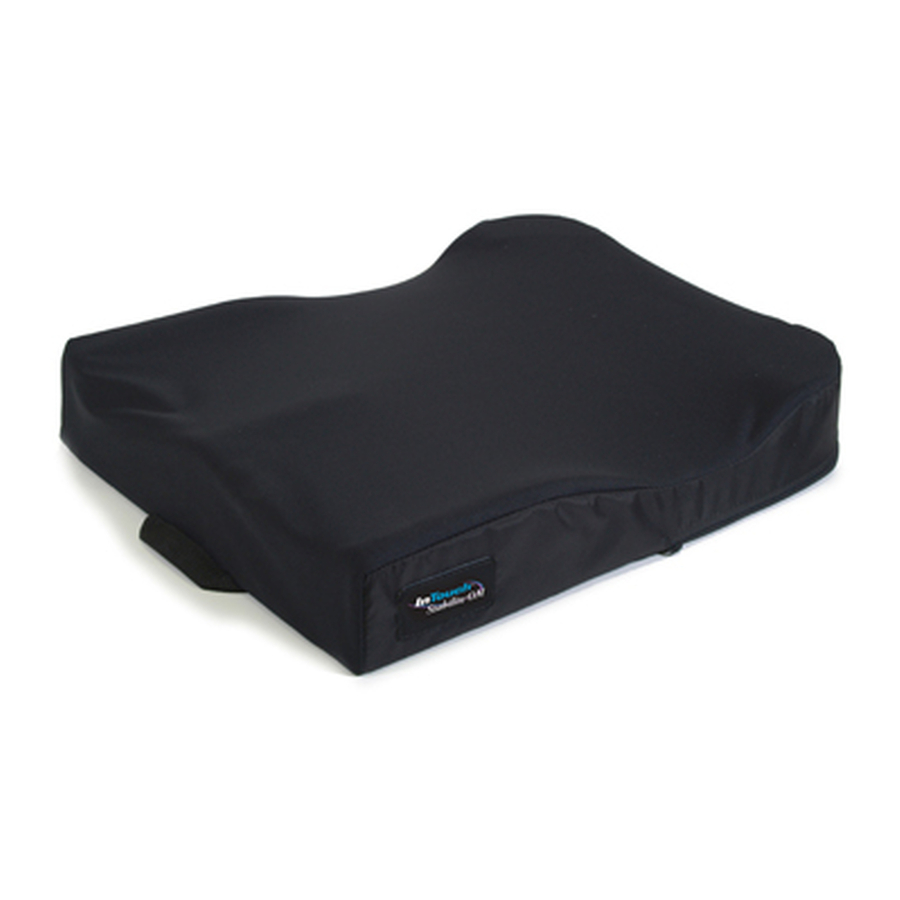
InTouch™ Flovair Cushion
Assembly, Installation and Operating Instructions
Model Nos. ITFG, ITFM
SAVE THESE INSTRUCTIONS
NOTE: Check all parts for shipping damage. In case of shipping damage, DO NOT use. Contact carrier/dealer
for further instruction.
To ensure the safe installation, operation and use of the Flovair cushion, these instructions MUST be
followed:
WARNING
DO NOT use this equipment without first reading and understanding these instructions. If
you are unable to understand the Warnings, Cautions, and Instructions, contact distributor
before attempting to use this equipment, otherwise, injury or damage may result.
Check all parts for shipping damage and test before use. In case of damage, DO NOT use.
Contact the distributor for further instructions.
The Flovair cushion IS NOT designed for use in the treatment of pressure sores.
Skin condition should be checked very frequently after the installation of any new cushion.
Your therapist and physician should be consulted if you have any questions regarding weight
relief, self-examination of the skin, or individual limitations and needs.
Make sure the hook and loop fastening straps are securely attached between the seating
surface and cushion before using.
The Flovair cushion has a weight limitation of 250 lbs for cushion widths up to and including
20" and 350 lbs for cushion widths over 20".
ACCESSORIES WARNING
Invacare products are specifically designed and manufactured for use in conjunction with
Invacare accessories. Accessories designed by other manufacturers have not been tested by
Invacare and are not recommended for use with Invacare products.
INSTALLATION WARNING
After ANY adjustments, repair or service and before use, make sure that all attaching com-
ponent parts are secure.
NOTE: Fluid in the pelvic pressure‐relieving insert may have a tendency to migrate downward if the cushion
is resting or stored in the vertical position. If this is the case, please remove the outer/inner cover to inspect the
insert. If migration has occurred, gently knead the insert to ensure a uniform volume of fluid exists across the
surface.
1
Part No 1141447
InTouch™ Flovair Cushion
Advertisement

Related Manuals for Invacare InTouch ITFG


Summary of Contents for Invacare InTouch ITFG
- Page 1 20” and 350 lbs for cushion widths over 20”. ACCESSORIES WARNING Invacare products are specifically designed and manufactured for use in conjunction with Invacare accessories. Accessories designed by other manufacturers have not been tested by Invacare and are not recommended for use with Invacare products.
-
Page 2: Outer Cover
Important Information The best way to avoid problems related to pressure sores is to understand their causes and your role in a skin management program. Your therapist and physician should be consulted if you have questions regarding individual limitations and needs. All cushions should be selected carefully. Working with your therapist, and physician is the best way to assure that a cushion choice matches your individual needs. As the needs of the individual become more complex, cushion evaluation becomes more important. Introduction The Flovair cushion is designed to provide pelvic stability, leg positioning and pressure management for patients with postural asymmetry and skin integrity concerns. The Flovair cushion is available in two different contours to suit the amount of positioning required by the user. Outer/Inner Covers The outer cover is made from a water resistant fabric to protect the foam. The top is fabricated from a stretch fabric. The bottom is fabricated from a heavyweight, non‐skid fabric. A water resistant inner cover allows air circulation while providing additional protection for the foam. Cushion Inspection and Cleaning Regular cleaning and inspection of the outer and inner covers is recommended. WARNING DO NOT continue to use this product if any of the upholstery materials, foams, and/or plastics are found to be deformed, breaking, worn, and/or compressed. - Page 3 Attaching/Removing the Cushion To/From the Seating Surface NOTE: For this procedure, refer to FIGURE 1. NOTE: To remove the cushion from the seating surface, reverse the following procedure. NOTE: The seating surface can be one of the following: seat upholstery, drop base or seat pan. NOTE: The zipper on the cushion should ALWAYS face rearward. WARNING Make sure the hook and loop fasteners are securely attached to the seating surface and to the cushion BEFORE using. If the cushion is not secured to the seating surface, use caution when transferring in and out of the wheelchair.
-
Page 4: Removing The Outer Cover
Removing/Installing the cushion covers Removing the outer cover NOTE: For this procedure, refer to FIGURE 2. WARNING The covers are designed to protect the foam from moisture and to provide fire retardency. DO NOT use the cushion without either the inner or outer cover. If the covers are torn, they MUST be replaced IMMEDIATELY. - Page 5 Removing the inner cover NOTE: For this procedure, refer to FIGURE 3. 1. Remove the cushion from the outer cover. Refer to Removing the outer cover on page 4. 2. Unflap the inner cover. 3. Remove the cushion from the inner cover. Installing the inner cover NOTE: For this procedure, refer to FIGURE 3. 1. Position the cushion with the pelvic support layer toward the rear of the inner cover. NOTE: The back surface of the cushion is marked “REAR”. 2. Slide the cushion into the inner cover. 3. Fold the top flap over and tuck it into the bottom cover. 4. Fold the bottom flap back. 5. Reinstall the cushion, with inner cover in place, into the outer cover. Refer to Installing the outer cover on page 4. Insert - Toward Rear of Inner Cover Inner Cover Cushion Top Flap Bottom Flap...
- Page 6 Removing/Installing the pelvic support layer NOTE: For this procedure, refer to FIGURE 4. NOTE: The cushion comes with a fluid/air pelvic support layer. Removing the pelvic support layer 1. Remove cushion from inner and outer covers. Refer to Removing/Installing the cushion covers on page 4. 2. Unfasten the front strap, the rear strap, and the two side straps. 3. Lift the existing pelvic support layer and remove from the foam. Installing the pelvic support layer 1. Center the pelvic support layer on the foam so that the side straps are centered in the contours on each side of the foam. 2. Fasten the rear, front, and side straps together at the bottom of the foam. NOTE: DO NOT over‐tighten the straps. The pelvic support layer MUST be free to move with the cushion. 3. Reinstall cushion into inner and outer covers. Refer to Removing/Installing the cushion covers on page 4. Rear Strap Pelvic Support Layer (not shown) Front Strap Side Strap...
- Page 7 Removing/Installing Removable Leg Wedges NOTE: For this procedure, refer to FIGURE 5. NOTE: This procedure provides 1‐inch of lower seat to floor height on one side of the cushion. This modification allows for easier foot propelling or the accommodation of some hip flexion limitations. NOTE: This modification can be done on either side of the cushion. 1. Remove the cushion from the inner and outer covers. Refer to Removing/Installing the cushion covers on page 4. 2. Remove the pelvic support layer. Refer to Removing/Installing the pelvic support layer on page 6. 3. Remove the front leg wedge from the side of the cushion that requires a lower cushion to floor height. Save the leg wedge for future use. NOTE: Leg wedges secure in place with hook and loop strips. 4. Reinstall the pelvic support layer. Refer to Removing/Installing the pelvic support layer on page 6. 5. Reinstall cushion into inner and outer covers. Refer to Removing/Installing the cushion covers on page 4. NOTE: This modification can be Top of cushion done on either side of the cushion. Bottom of cushion Hook and Loop Strips Removable Leg Wedges FIGURE 5 Removing/Installing Removable Leg Wedges Part No 1141447 InTouch™...
-
Page 8: Limited Warranty
Invacare warrants its product to be free from defects in materials and workmanship for the period of two years of use by original purchaser except for the cover, which is warranted for a period of 90 days of use by the original purchaser.