Advertisement
Quick Links
PCJD50
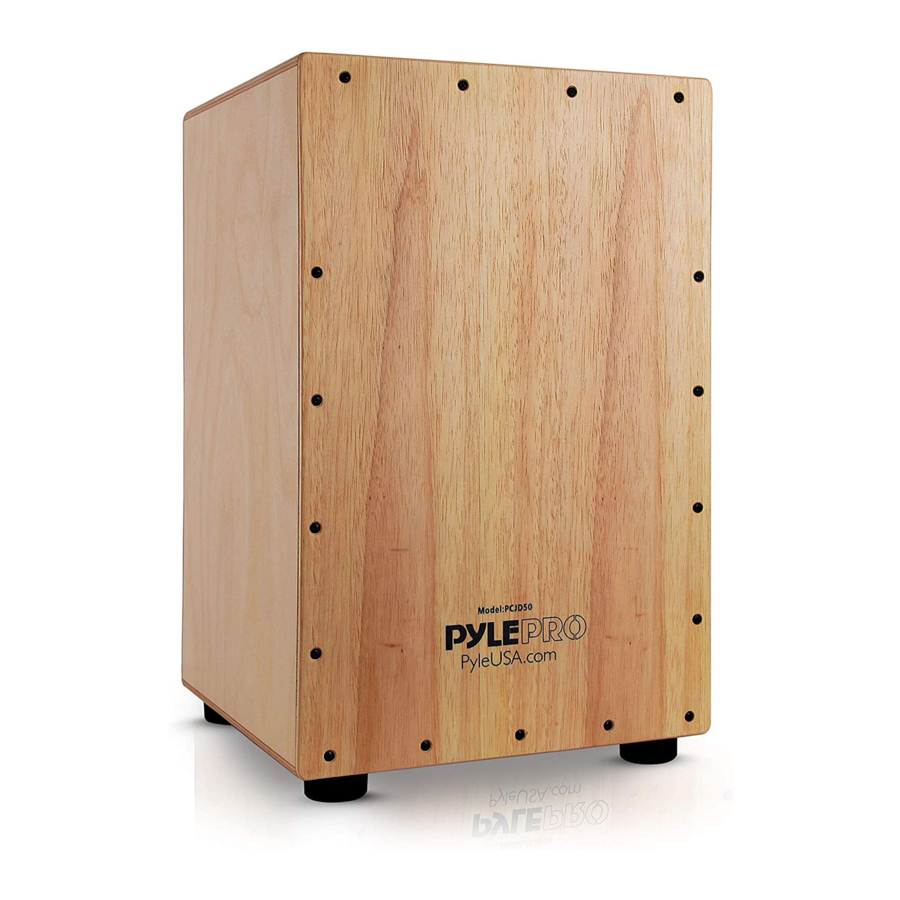
Hybrid Acoustic/Electronic Cajon
Stringed Cajon with Built-in Pickup Connector,
Internal Guitar Snare Strings
1. Nail Socket: 6.35 mono pickup output socket, the socket
with the power switch, the power will be supplied auto
matically when the connector plug is inserted, the power
will automatically power's OFF when unplugged.
2. Condenser Pickup Microphone: The microphone comes
with 3M glue at the bottom, and paste it inside of the drum
(as the installation drawing)
3. Battery: 9V battery is packed in the built-in strong 3M
rubber battery pack, and paste on the bottom of the drum.
4. Volume adjustment knob: Paste on the side of the sound
hole of the drum
Pickup installation steps:
1. The bottom left corner of the back board of the drum has a 12mm hole for nail.
2. Attach the microphone to the back panel of the drum, the distance from the sound hole edge can be adjusted
according to the timbre requirement of each drum.
3. Attach the volume control knob to the back panel of the drum, the knob should be higher than sound hole edge, it's
more convenient for adjusting the volume, clockwise to increase the volume, counter-clockwise to reduce the volume.
4. 9V battery is packed in the battery pack, 3M adhesive Velcro is attached to the bottom of the drum, near the back
panel.
5. Install the tail nail socket on the back board of the drum. (as picture below)
6. Tie the extra thread with a sticky buckle, paste to the back board, avoid noise caused by vibration when playing.
Right side of cajon
Volume adjustment knob
Tapping side of cajon
9V Battery pack
www.PyleUSA.com
2
3
4
Back side of cajon
Left side of cajon
Condencer Microphone
12mm Nail socket
1
Advertisement

Summary of Contents for Pyle PCJD50
- Page 1 PCJD50 Hybrid Acoustic/Electronic Cajon Stringed Cajon with Built-in Pickup Connector, Internal Guitar Snare Strings 1. Nail Socket: 6.35 mono pickup output socket, the socket with the power switch, the power will be supplied auto matically when the connector plug is inserted, the power will automatically power’s OFF when unplugged.
- Page 2 Pickup installation steps: 1. Tail screw shell 2. Gasket 3. Length Adjusting nut 4. Gasket 5. Non-slip mat 6 . Gasket 7. Fixed nut 8. Straps cap Installation points of tail nail: 1. Firstly make a 12mm hole then install the tail nail as shown in the photo above. 2.


